Table of Contents
Advertisement
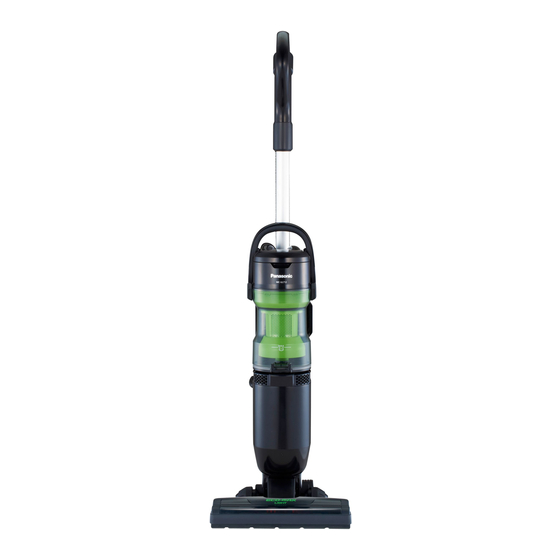
Vacuum Cleaner
(Domestic use)
Operating Instructions
Contents
Disposal. . . . . . . . . . . . . . . . . . . . . . . . . . . . . . . . . . . . . 2
IMPORTANT SAFETY INSTRUCTIONS . . . . . . . . . . . 3
Your Vacuum Cleaner . . . . . . . . . . . . . . . . . . . . . . . . . . 4
Using the Appliance. . . . . . . . . . . . . . . . . . . . . . . . . . . . 6
Maintenance . . . . . . . . . . . . . . . . . . . . . . . . . . . . . . . . . 9
Trouble Shooting . . . . . . . . . . . . . . . . . . . . . . . . . . . . . 12
Specifications . . . . . . . . . . . . . . . . . . . . . . . . . . . . . . . 13
Guarantee . . . . . . . . . . . . . . . . . . . . . . . . . . . . . . . . . . 13
Reminder for Customer . . . . . . . . . . . . . . . . . . . . . . . . 13
Warranty(Australia) . . . . . . . . . . . . . . . . . . . . . . . . . . . 14
Warranty(New Zealand) . . . . . . . . . . . . . . . . . . . . . . . 15
Thank you for purchasing the vacuum cleaner.
Please read these instructions carefully before using the
appliance and save these instructions for future reference.
This product complies with the Australian / New Zealand
Standard AS/NZS 60335.1, AS/NZS 60335.2.2, and
Australian EMC requirements for the RCM Mark.
MC-UL712
Model No.
Advertisement
Table of Contents

Related Manuals for Panasonic MC-UL712


Summary of Contents for Panasonic MC-UL712
-
Page 1: Table Of Contents
Vacuum Cleaner (Domestic use) MC-UL712 Model No. Operating Instructions Contents Disposal........2 IMPORTANT SAFETY INSTRUCTIONS . -
Page 2: Disposal
Disposal Disposing packaging Disposing the appliance If you wish to discard this appliance, please Make sure that any package, for example, contact your local authorities or dealer and plastic bags, are kept out of the reach of ask for the correct method of disposal. children to avoid risk of suffocation. -
Page 3: Important Safety Instructions
IMPORTANT SAFETY INSTRUCTIONS Before using the vacuum cleaner, please observe these basic safety instructions. Correct usage - This appliance is for indoor use with - Do not use wet filters after wash, make domestic purpose only and is not sure they are completely dry to avoid specifically designed for allergy sufferers. -
Page 4: Your Vacuum Cleaner
Your Vacuum Cleaner Dust bin Handle Dust bin handle (Quick draw handle) Latch Handle release button Cleaning Dust bin brush plate Carrying handle ON/OFF switch Filter cover Beater bar switch HEPA exhaust filter Foot pedal (inside) (Handle release) Floor nozzle Alternative nozzles Dusting brush (Blinds brush) - Page 5 Hose Cord clip Mains lead hook Upper cord storage hook Mains lead Plug Connection pipe Suction inlet Lower cord storage hook Overload protection reset button Overload protection The overload protection inside the nozzle stops the nozzle motor when the beater bar jams to prevent belt breakage.
-
Page 6: Using The Appliance
Using the Appliance Operating the appliance Insert the connection pipe to suction Press the beater bar switch to turn it inlet. Ensure that the 2 hooks of the ON or OFF to suit the flooring being connection pipe are completely fitted cleaned. -
Page 7: The Alternative Nozzles
How to use the alternative Storing nozzles Perform the following before storing. When using the handle(quick draw handle), Turn off the appliance, and then please place the nozzle as shown. remove the plug from the socket outlet. Turn the upper cord storage hook in the upright position and wind the mains lead around the upper and lower cord storage hooks. - Page 8 How to empty the dust bin Close the dust bin plate until it clicks. Empty the dust bin in the following cases: - When dust level reached the “MAX” line. - When suction power has dropped. Grasp the dust bin handle on the top of the dust bin.
-
Page 9: Maintenance
Maintenance Cleaning the floor nozzle WARNING Cut off any carpet pile and lint entangled around the beater bar for - Remove the plug from the socket the floor nozzle with a pair of scissors. outlet before cleaning or maintaining the appliance. CAUTION - Do not use detergent or any other Release the lower plate by rotating... -
Page 10: Dust Bin
Cleaning Cleaning the dust bin Disassembly <Light care> Pull the buckles and pull up the dust Remove the dust by tapping the filter at bin handle. the corner of garbage can. Buckle Pull off the filter using the pull tab. (Pinch the pull tab and pull off the filter.) <Heavy care>... -
Page 11: Removing Clogs
Assembly Removing clogs Assemble the dust bin unit in reverse order When you feel the suction power is not of disassembly. adequate,check if the dust bin is full of dust or if the filters are clogged. Align the marks and turn the mesh filter as shown. -
Page 12: Trouble Shooting
- Check for clogs.(see page 11) - Clogged hose. - Check for clogs.(see page 11) - Hole in hose. - Take to your nearest Panasonic Service Centre. - Hose not inserted fully. - Check hose connection. - Dirty filters. (see page 6) - Clean the dust bin. -
Page 13: Specifications
Using dust bags which are not those of future reference. Panasonic will make the guarantee invalid. Repairs should only be done by Panasonic service persons or technicians. Otherwise Model number the guarantee will be invalid. -
Page 14: Warranty(Australia)
1. Subject to the conditions of this warranty Panasonic or it s Authorised Service Centre will perform necessary service on the product without charge for parts or labour, if in the opinion of Panasonic, the product is found to be faulty within the warranty period. - Page 15 Home Appliance 12 Month Warranty from Date of Purchase...
- Page 16 1006, Oaza Kadoma, Kadoma-shi, Osaka 571-8501, Japan http://www.panasonic.net/ © Panasonic Corporation 2012 V01ZD200G F0912-0 Issued in 09 2012 Printed in China...