Advertisement
Quick Links
Advertisement

Related Manuals for NZXT LEXA


Summary of Contents for NZXT LEXA
- Page 1 LEXA User’s manual NZXT. 1...
- Page 2 Dear Valued Customers, Thank you for purchasing our product. With the booming of the gaming market and computer cases, NZXT would like to differentiate ourselves from other case companies by continuously providing innovative next generation cases. With every product, we hope to break more boundaries and limits.
-
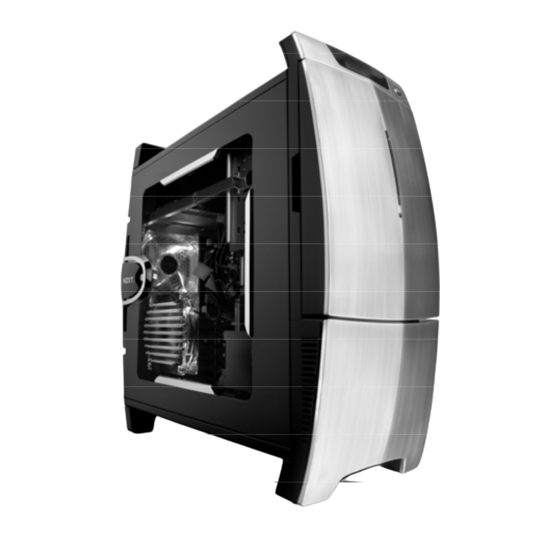
Page 3: Product Specifications
Rear, 1 X 120 mm Blue LED Fan ( Included ) Side, 1 X 120 mm Blue LED Fan ( Included ) Top, 1 X 80 mm Fan ( Included ) CHASSIS DIMENSIONS (WXDXH): 220 X 522 X 569 mm CHASSIS MATERIAL: Aluminum CHASSIS WEIGHT : 5.8 kg NZXT. 3... - Page 4 3. The case can be carried using the handle or the strap provided. Rear Cage (Cable Management) Installation 1. The Lexa case comes with a rear cage for easy cable management. 2. Insert the plastic rear cage into the slot at the bottom of the rear panel.
- Page 5 Secure the power supply by securing the four screws. Side Door Lock The Lexa provides a key and lock for the side panel for security usage. In order to open the side panel, insert the key into the lock and turn counter clock wise to open the lock. Turn the key in a clock- wise direction to lock.
-
Page 6: Motherboard Installation
Pull the handle in towards the right in order to open the side panel. Motherboard Installation The Lexa supports the following type of motherboards: ATX, MINI ATX, and MICRO ATX. The Index for the standoff holes are as follows. (Imprinted on the motherboard tray) - Page 7 SYS sensor can be attached to your VGA card or an area near the rear fan. The HDD sensor is used for the hard drive, and the CPU meter for the CPU. Please following precautions when attaching the NZXT. 7...
- Page 8 From Left to Right. CPU, Hard Drive, System Temperature Display USB, Firewire & Audio Installation USB Installation 1. The Lexa USB, Audio and Firewire connections are located at the right side of your front panel. 2. Refer to your motherboard manual and match the labels on the USB port connectors with your motherboard in order to install.
- Page 9 L-OUT Front Left Channel Audio Signal Line out_L R-OUT Front Right Channel Audio Signal Line out_R BLINE Line L-RET Rear Left Channel Audio Signal out_L BLINE Line R-RET Rear Right Channel Audio Signal out_R ASUS© Motherboard Pin Assignment NZXT. 9...
- Page 10 ( i.e. The plastic handle of an screw driver, etc ) 4. Turn the aluminum plating in a back and forward rotation until it is loose and remove it. From Left to Right. 5.25”, Hard Drive, Floppy rails NZXT. 10...
- Page 11 3.5” External Floppy Installation 1. Begin the installation process by removing the front panel and side panel. 2. Push the plastic cover out using a tool ( ie. The handle of an screw driver ) to avoid accident. NZXT. 11...
- Page 12 Pull the front panel from the opening at the bottom to remove it. 3.5” Internal Hard drive Installation 1. The Lexa case supports up to five hard drives if the accessory box is removed. 2. Begin the installing by removing the side panel.
- Page 13 Slide the hard drive into any of the five slots available. Removable Filters 1. The Lexa case comes with two removable three removable filters. The front fan filter removal is covered under Fan installation. In the following steps, the instruction will guide you on the removal of the bottom filter.
- Page 14 1. Begin the installation process by removing the side panel. 2. Unscrew the four screws from the top of the case and replace the fan. The location of the screws and fan is displayed in the next figure. NZXT. 14...
- Page 15 The top exhaust fan is located at the top of the case, remove the four screws to replace the fan. Installing PCI/AGP Cards 1. The Lexa comes with a screwless installation design for securing your peripherals during movement. 2. Begin by placing your peripheral in place.
- Page 16 You may inquire about replacement parts at this address. Thank you again for purchasing an NZXT case. If you have any more comments or questions. Please visit our website or send us an email.
Need help?
Do you have a question about the LEXA and is the answer not in the manual?
Questions and answers