Table of Contents
Advertisement
Advertisement
Table of Contents

Related Manuals for Blue YETI PRO


Summary of Contents for Blue YETI PRO
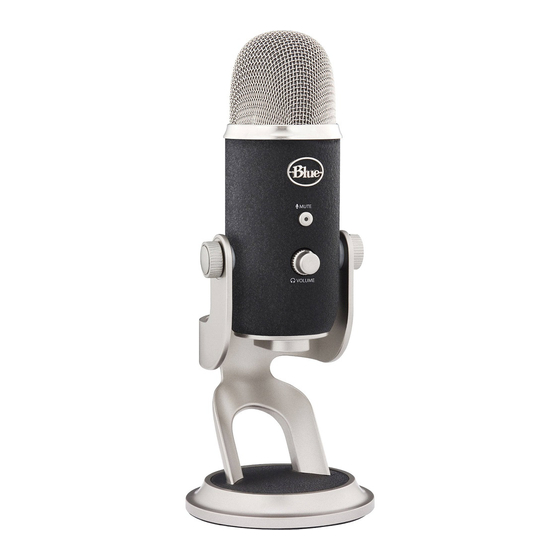
- Page 2 Simple controls for headphone volume, pattern selection, instantaneous mute, and microphone gain are located directly on the microphone so you are always in control of your recording. Yeti Pro’s next generation design provides incredibly low distortion, high fidelity, and balanced frequency response.
- Page 3 The status light will illuminate solid during normal operation to indicate proper function. When recording using the analog outputs, we recommend the microphone gain on the Yeti Pro to be turned to zero, or all the way counterclockwise. If more gain is desired you can rotate the knob clockwise to increase the microphone’s...
- Page 4 Yeti Pro to a stereo preamplifier. Yeti Pro’s included y-cable outputs stereo audio via the left and right XLR connectors when the mic is in stereo mode. When Yeti Pro is used in the other modes, the mono signal is cloned and output to...
- Page 5 1. Plug the microphone into the USB port on your computer using the provided USB cable. Connect the Yeti Pro to your computer with the supplied USB cable (avoid plugging Yeti Pro into USB hubs or multipliers — plug 2. From the Start menu, select the “Control Panel”.
- Page 6 100%. Once you’ve selected the Yeti Pro as your output device, you can control headphone volume with volume knob Yeti Pro is capable of sampling rates from 22kHz to 192kHz, allowing for more than four times the resolution of a typical CD on the front of the Yeti Pro.
- Page 7 5. From the “Sound” menu, select the “Playback” tab. 5. From the “Sound” menu, select the “Recording” tab. 6. Select the “Yeti Pro Stereo USB Microphone” from the list of output devices. 6. Select the “Yeti Pro Stereo USB Microphone” from the list of input devices.
- Page 8 Windows XP 4. Select the “Audio” tab. Plug in your Yeti Pro Microphone using the provided USB cable, then visit www.bluemic.com/yetipro to download the 5. Select “Yeti Pro Stereo Microphone” from the “Sound Playback” pull-down menu. appropriate driver for Windows Vista.
- Page 9 From this screen, you will also want to adjust the computer’s Master Volume. As a starting point, set the computer’s master volume to 100%. Once you’ve selected the Yeti Pro as your output device, you can control headphone volume with volume knob 1.
- Page 10 Pro into a phantom power-capable microphone preamplifier and record as you would a standard microphone! To use Yeti Pro in Analog Mode, you will need to plug the supplied Y-cable into the 5 pin connector at the bottom of the Yeti Pro microphone.
- Page 11 Please note that the Yeti Pro does not operate in digital and analog mode simultaneously. To ensure proper operation, connect only the analog (XLR) or digital (USB) connections at any given time. If Yeti Pro becomes unresponsive, simply unplug all connections for 10 seconds, and reconnect with your desired output connector.
- Page 12 Direction Applications to record (the “front” of the microphone is the side of the microphone with the Blue Microphones Logo). Depending on the instrument and/ conference calls field recordings events/orchestras or sound that you want to achieve, place the grill of the microphone anywhere from 2 inches to several feet in front of the sound source.
- Page 13 C a r dioi d O m ni di r e c t io n a l Description: Cardioid is the most commonly used mode and can be useful Description: Omnidirectional means that the microphone picks up in most any situation. If you are recording vocals, a podcast, or a voiceover, sound equally from all directions.
-
Page 14: Specifications
B i di r e c t io n a l Description: Bidirectional means that the microphone picks up Specifications Frequency Response: 15Hz – 22kHz sound at the front and rear of the microphone, while the sounds Signal to Noise: 114dB Microphone and performance to the sides are “rejected”, or not picked up. - Page 15 W arr an t y Blue Microphones warrants its hardware product against defects in materials and workmanship for a period of TWO (2) YEARS from the date of original retail purchase, provided the purchase was made from an authorized Blue Microphones dealer. This warranty is void if the equipment is altered, misused, mishandled, maladjusted, suffers excessive wear, or is serviced by any parties not authorized by Blue Microphones.
Need help?
Do you have a question about the YETI PRO and is the answer not in the manual?
Questions and answers