
Related Manuals for Pioneer RS-A99


Summary of Contents for Pioneer RS-A99
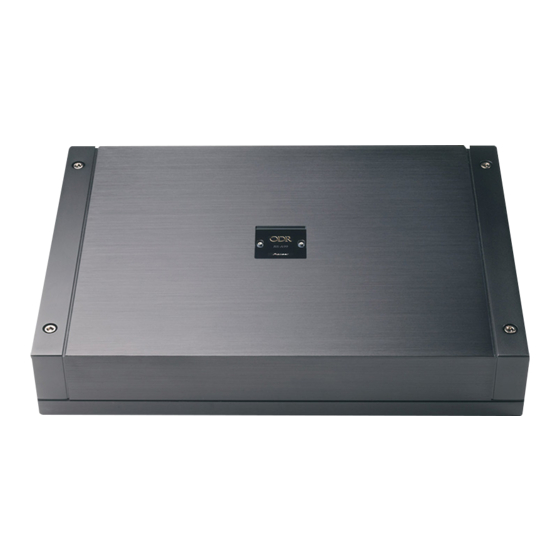
- Page 1 Optical Digital Reference System BRIDGEABLE FOUR-CHANNEL POWER AMPLIFIER RS-A99 Owner’s Manual English...
-
Page 2: Table Of Contents
Contents Thank you for purchasing this PIONEER product. To ensure proper use, please read through this manual before using this product. Please keep the manual in a safe and accessible place for future reference. Before you start In case of trouble 3... -
Page 3: Before You Start
The surfaces of the amplifier and any attached ized Pioneer Service Station. speakers may also heat up and cause minor burns. ! In the event of any abnormality, the power... - Page 4 Section Before you start CAUTION ! Always keep the volume low enough to hear outside sounds. ! Extended use of the car stereo while the en- gine is at rest or idling may exhaust the battery.
-
Page 5: Setting The Unit
Section Setting the Unit ! When connecting to a car stereo that What’s what outputs high power, if you turn up the vo- lume of the car stereo and distortion is increased, turn down the car stereo vo- lume. 3 INPUT SELECT (input select) switch Select 2CH for two-channel input and 4CH for four–channel input. - Page 6 ! Despite correct volume and level adjust- ment control settings, the unit sound still cuts out periodically. In such a case, please contact the nearest authorized Pioneer Ser- vice Station. Level adjustment control of this unit ! If the amplifier level adjustment control is...
-
Page 7: Connecting The Units
Section Connecting the units Setting example Connection diagram In this system, connect this unit to 4 channels in 1, and 3 channels in 2. In this system, connect 2 channels to each unit. 1 Special red battery wire RD-228 (sold separately) After completing all other amplifier connec- tions, finally connect the battery wire terminal of the amplifier to the positive (+) battery... -
Page 8: Before Connecting The Amplifier
! Never shorten any wires, the protection circuit channel. may malfunction. For any further enquiries, contact your local ! Never wire the speaker negative cable directly- authorized Pioneer dealer or customer service. to ground. ! Never band together multiple speaker’snega- tive cables. -
Page 9: About Suitable Specification Of Speaker
Section Connecting the units About suitable Four-channel output specification of speaker Ensure speakers conform to the following standards, otherwise there is a risk of fire, smoke or damage. Speaker impedance is 2 W to 8 W, or 4 W to 8 W for two-channel and other bridge connections. -
Page 10: Connections When Using The Rca Input Jack
Section Connecting the units ! Set the LEFT CHANNEL (left channel) and Two-channel output (Stereo) RIGHT CHANNEL (right channel) switches to the same position. 1 Speaker (Left) 2 Speaker (Right) 1 RCA input jack A 2 RCA input jack B Two-channel output (Mono) 3 Connecting wires with RCA plugs (sold sepa- rately) -
Page 11: Solderless Terminal Connections
Section Connecting the units 2 Connecting wires with RCA plugs (sold sepa- Connecting the power rately) terminal 3 From RS-P99 (sold separately) etc. (RCA out- put) WARNING ! The use of a special red battery and ground wire RD-228, available separately, is recom- mended. -
Page 12: Connecting The Speaker Output Terminals
Section Connecting the units Expose the end of the speaker wires using nippers or a cutter by about 14 mm to 16 mm. 1 14 mm to 16 mm Connect the speaker wires to the 1 Power terminal speaker output terminals. 2 System remote control terminal Fix the speaker wires securely with the term- 3 Terminal screws... -
Page 13: Installation
Section Installation Before installing the amplifier Example of installation on the floor mat or chassis WARNING Place the amplifier in the desired instal- ! Do not use unauthorized parts as this may lation location. cause malfunctions. Insert the supplied tapping screws (5 mm × ! Do not install this unit where: 25 mm) into the screw holes and push on the —... -
Page 14: Changing The Direction Of The Badge
Section Installation Attach the terminal cover to prevent short circuit. 1 Hexagonal wrench (large) 2 Terminal screws 3 terminal cover Changing the direction of the badge To remove the badge, loose screws by using a hexagonal wrench (small). Change the direction of badge, and then tighten the screws with a hexagonal wrench (small). -
Page 15: Additional Information
Appendix Additional information Specifications Power source ......14.4 V DC (10.8 V to 15.1 V allowable) Grounding system ....Negative type Current consumption .... 27 A (at continuous power, 4 W) 3 A (No signal) Average current drawn ..9 A (4 W for four channels) 9 A (4 W for two channels) Fuse .......... - Page 16 TEL: (03) 9586-6300 PIONEER ELECTRONICS OF CANADA, INC. 300 Allstate Parkway, Markham, Ontario L3R 0P2, Canada TEL: 1-877-283-5901 TEL: 905-479-4411 PIONEER ELECTRONICS DE MEXICO, S.A. de C.V. Blvd.Manuel Avila Camacho 138 10 piso Col.Lomas de Chapultepec, Mexico, D.F. 11000 TEL: 55-9178-4270 先鋒股份有限公司...