Table of Contents
Advertisement
Advertisement
Table of Contents

Related Manuals for Lynx L24DWR


Summary of Contents for Lynx L24DWR
-
Page 2: Introduction
If you do not return your Warranty Registration l, Lynx will nance of your Refrigerated Cabinet model. If you have use the date of sale as the first date of warranty for your questions that are not addressed here, call Customer new Refrigerated Cabinet. -
Page 3: Table Of Contents
TABLE OF CONTENTS INTRODUCTION…………………………………………………………………………………….…….. PLEASE RECORD YOUR MODEL’S INFORMATION…………………………………….…….…… WARRANTY REGISTRATION CARD…………………………………………………………………... TABLE OF CONTENTS……………………………………………………………………………….….. GENERAL PRECAUTIONS…………………………………………………………………...…….…… INSTALLATION INSTRUCTIONS………………………………………………………………………. FIGURE 1 SPECIFICATION DRAWING………………………………………………..……………… PREPARING THE SPACE………………………………………………………………..……………... PREPARING ELECTRICAL CONNECTIONS…………………………………………..…………….. UNPACKING AND MOVING……………………………………………………………..……………… ANTI-TIP-OVER INSTALLATION……………………………………………………………………….. INSTALLING………………………………………………………………………………..….………….. TOE PLATE INSTALLATION……………………………………………………………….…..……….. FIGURE 3 TOE PLATE INSTALLATION……………………………………………..……………….. DRAWERS…………………………………………………………………….……..…..……………….. -
Page 4: General Precautions
GENERAL PRECAUTIONS CAUTION DANGER: Use only genuine Lynx replacement parts. Imitation parts can damage the unit, and may void the warranty. Risk of child entrapment, before you throw away your old refrigerator, take off the doors and leave shelves in place so that children may not easily INSTALLATION INSTRUCTIONS climb inside. - Page 5 Figure 1 Dimensions...
-
Page 6: Preparing The Space
Secure unit to transporting device using soft, flexible strapping. Protect unit surfaces with cloth material All Lynx units come equipped with a NEMA 5-15P 90° where strapping contacts unit. plug with a minimum of 5-feet of cord extending be- yond the rear of the cabinet. -
Page 7: Anti-Tip-Over Installation
ANTI-TIP BRACKETS Figure 2. TWO-DRAWER ANTI-TIP LAYOUT A set of metal anti-tip brackets are supplied with the unit. The anti-tip brackets, when properly installed should secure the rear legs and prevent the unit from WARNING: tipping forward. Unit may tip forward when drawers are loaded and Some installation sites may require modification to provide pulled to open position. -
Page 8: Installing
INSTALLING IMPORTANT NOTE: The rear cabinet leveling legs must IMPORTANT NOTE: If installing on a concrete floor, be engaged under the anti-tip brackets. concrete fasteners are required and not included with the anti-tip kit. Shim the front of the unit so the front face is flush with surrounding cabinetry. -
Page 9: Toe Plate Installation
TOE PLATE INSTALLATION When the unit is secured in place, install the louvered CAUTION: toe plate. Secure louvered toe plate by snapping the The louvered toe plate must be removable for servicing. latch into the latch catch on the unit. The floor cannot interfere with removal. -
Page 10: Drawers
Drawers Move each extender separately. Hold the middle of one IMPORTANT NOTE: Interior louver openings and fan extender, pull the front up then move extender ½-inch to guard openings should never be obstructed to achieve the inside of unit. Pull up then pull out. Place extender at maximum performance. -
Page 11: Operation
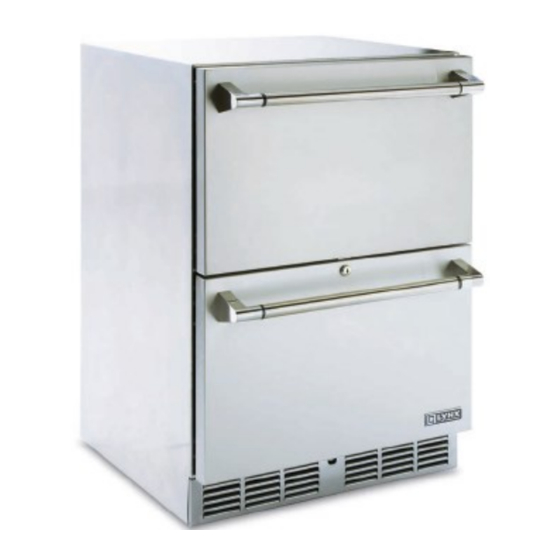
Temperature Control Panel OPERATION The Lynx L24DWR comes equipped with a state of the The controller is located inside of the unit. The display will art refrigeration system. The compressor is of a variable read OFF when unit off and will show temperature when speed variety, which automatically changes speeds unit is on. -
Page 12: Temperature Controller Adjustments
TEMPERATURE CONTROLLER... -
Page 14: Chart 1 Product Temp Set Points And Ranges
IMPORTANT NOTE: Dependent on the model and configuration, the controllers have been programmed to only allow a temperature adjustment within a specified range CHART 1. PRODUCT TEMPERATURE SET POINTS AND RANGES. Two Drawer Refrigerator/Beverage Center Refrigerator Section 38°F Range: 33°F to 43°F... -
Page 15: Checking Product Temperature
Avoid getting water on lights, controllers, fan motors, and unfinished wood wine rack faces. Your Lynx units are pre-set in order to achieve the rec- ommended temperature range when installed in a 70°F ambient temperature. Factors, which affect the internal... -
Page 16: Troubleshooting
Is the interior light ON? TROUBLESHOOTING Controller display is flashing “LA” BEFORE CALLING FOR SERVICE The internal compartment temperature has exceeded If the unit appears to be malfunctioning, read through the low temperature alarm preset value for over 30 NORMAL OPERATION first. - Page 17 Genuine Lynx parts and accessories are de- On hot days and in warm room temperatures the sys- signed to work correctly with Lynx products and offer tem will run long. superior service life. The use of non-Lynx parts can...
-
Page 18: Warranty
For one year from the date of original purchase, within the United States and Canada, when used and maintained ac- cording to instructions, Lynx Grills warranty covers all parts and labor to repair or replace any part of the product, which proves to be defective in material and workmanship. - Page 19 5895 Rickenbacker Road ● Commerce, CA 90040 ● 888-289-5969 ● Fax 323-838-1778 ● www.lynxgrills.com...
Need help?
Do you have a question about the L24DWR and is the answer not in the manual?
Questions and answers