Advertisement
Advertisement
Table of Contents

Related Manuals for Sanyo DTA-200


Summary of Contents for Sanyo DTA-200
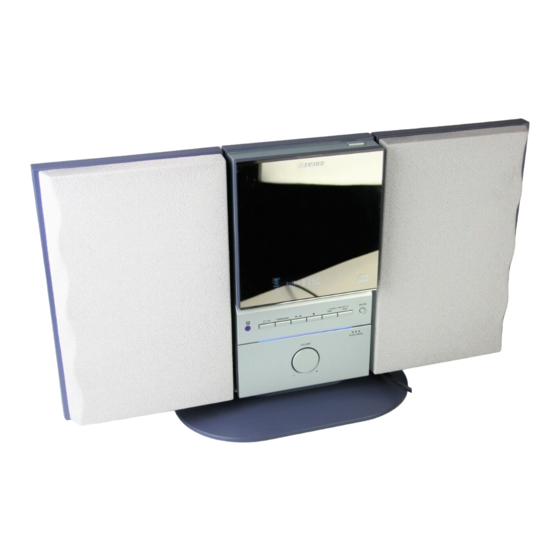
- Page 1 DTA-200 INSTRUCTIONS MANUAL Audio System...
- Page 2 PRECAUTIONS CAUTION THIS PRODUCT CONTAINS A LOW POWER LASER DEVICE. TO ENSURE CONTINUED SAFETY DO NOT REMOVE ANY COVERS OR ATTEMPT TO GAIN ACCESS TO THE INSIDE CLASS 1 LASER PRODUCT OF THE PRODUCT. LUOKAN 1 LASERLAITE KLASS 1 LASERAPPARAT SPEAKERS REFER ALL SERVICING TO QUALIFIED 3 MIN...
- Page 3 CONNECTIONS R ch speaker L ch speaker AM loop aerial Amplified Subwoofer (not supplied) SUB WOOFER SPEAKERS 3 MIN AM LOOP SUBWOOFER FM aerial PHONES Auxillary equipment To an AC outlet Note: Aerials Do not connect the mains lead to an AC outlet until all connections In areas close to a transmitter the simple indoor aerial is sufficient to have been made.
- Page 4 TO HANG THE SPEAKERS AND/OR MAIN UNIT ON A WALL 1. Place the bracket on the wall where you want to hang the speaker 3. Mount the speaker (or main unit) onto the wall bracket. (or main unit). Note: Before mount the main unit, unscrew the base first. 2.
-
Page 5: Rear Of The Unit
CONTROLS General 1. Remote sensor (IR) 2. Power button (z/ON) 3. Snooze button (SNOOZE) 4. Bass expander button (BASSXPANDER) 5. Sound preset button (SOUND PRESET) 6. Sleep button (SLEEP) 7. Timer button (TIMER) 8. Display button (DISPLAY) 9. Volume control (VOLUME) 10. -
Page 6: Remote Control
REMOTE CONTROL Controls Replacing the battery Please purchase CR2025 Lithium Battery. NOTE: Always remove the battery if the remote control is not to be used for a month or more. Battery left in the unit may leak and cause damage. Remote control range 1. -
Page 7: Before Operation
ADJUSTING THE CLOCK (Main unit only) NOTE: 5. Press the MEMORY button. When the unit is first connected to the AC power line, the clock display The minutes display blinks. blinks on the display. Example: To set “6:30” 6. Press the TIME SET + or – button to set the “minutes”. 1. -
Page 8: Mode Function
CD PLAY Use compact discs bearing the symbol shown. In Mode function additional to conventional 12 cm CDs, this sys- Press the MODE button repeatedly before or during play to select a tem can be used to play 8 cm CDs without an various play mode available. -
Page 9: Listening To The Radio
LISTENING TO THE RADIO Automatic/Manual tuning 5. Repeat the steps above to add more preset stations. 1. Press the TUNER/BAND button to select FM or AM. When presetting a new station, the previously preset station is “TUNER” appears on the display, then “TUNER” is replaced by cleared. -
Page 10: Timer Operation
TIMER OPERATION Using the timer (Main unit only) To check the timer settings Turn on the power, then press the DISPLAY button repeatedly. The timer setting are displayed in the following order. Before setting the timer, make sure that the clock is set to the Present time present time. -
Page 11: Maintenance
MAINTENANCE Cleaning the cabinet Cleaning the CD player lens Use a clean soft cloth moistened with plain lukewarm water and wrung The lens should never be touched. dry. Never use benzol, benzene or other strong chemical cleaners since If dust is on the lens, blow if off us- these could damage the finish of your unit. - Page 12 Sanyo dealer. He will be pleased to give you a quotation for the repair. Failure due to fair wear and tear of any item, such as batteries,...