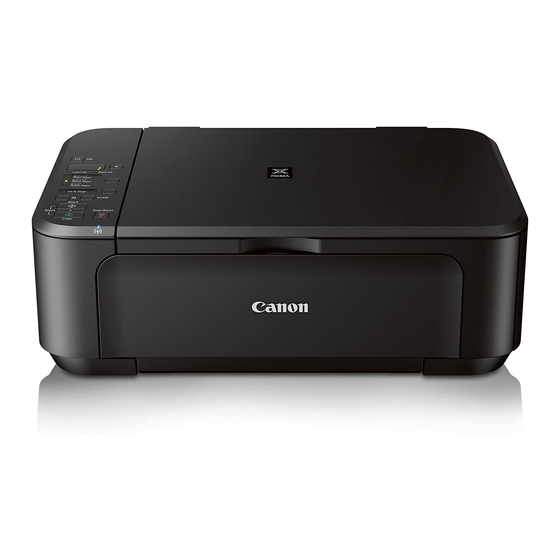
Canon PIXMA MG3220 Network Setup Manual
Getting your multifunction back on your network after a router or network change for windows os
Hide thumbs
Also See for PIXMA MG3220:
- Network setup manual (14 pages) ,
- Installation manual (7 pages) ,
- Setup manual (5 pages)
Summary of Contents for Canon PIXMA MG3220
- Page 1 Getting Your Multifunction Back On Your Network After A Router Or Network Change PIXMA MG3220 Windows OS...
-
Page 2: Connecting To The Network
Connecting to the Network If any of the following situations exist •You have replaced your Router or Access Point •You want to use a different wireless network •Router settings have been changed. Please complete the following steps to apply the new configuration settings to your multifunction. -
Page 3: Preparing To Connect Multifunction To Network
Preparing to Connect My Multifunction << Previous Next >> To My Network Network Requirements Before connecting the machine to the network, make sure that configuration of the computer and access point or router is complete, and that the computer is connected to the network. - Page 4 Preparing to Connect My Multifunction << Previous Next >> To My Network An "Ad-hoc connection," which establishes a direct wireless connection between the computer and printer without using an access point, is not supported. A router or access point is required for your printer to be used on a wireless network.
-
Page 5: Software Installation
Setup CD-ROM during restarting. The installation resumes once your computer has restarted. • If the firewall function of your security software is turned on, a warning message may appear that Canon software is attempting to access the network. If such a warning message appears, set the security software to always allow access. -
Page 6: Reconfigure To Wireless Network
<< Previous Next >> Reconfigure the PIXMA MG3220 to Your Wireless Network To re-establish communication on the network after changing the router / Access Point or when connecting to a different network, the settings on the Multifunction need to be changed. You will be following the same procedure as a first time setup *Insert the Setup CD-ROM that came with your printer into your CD-ROM drive and proceed through the easy to follow instructions. - Page 7 << Previous Next >> Reconfigure the PIXMA MG3220 to Your Wireless Network Be sure to select Wireless Connection on the Connection Method Selection screen (1-2). Continue carefully following the Printer Setup instructions (Steps 2-1 through 2-3) until the Setup Procedure Selection screen (3-1)
- Page 8 Connecting to the Network << Previous Next >> On the Setup Procedure Selection screen (3-1) screen, select Wireless Setup Using the USB Cable. This is the recommended setup method. You will need to use the supplied USB cable Continue to follow any on-screen instructions until the Software Installation List appears. This screen is shown on the next page...
- Page 9 Select the Drivers & Software << Previous Next >> On the Software Installation List select any additional* software to install and click Next. *MP Drivers is required for installation and cannot be deselected. In addition, we recommend installing My Image Garden and Quick Menu in order to take full advantage of your printer’s features.
- Page 10 Connecting to the Network << Previous Next >> The drivers and software will install. Continue to follow the on-screen instructions. Connect the supplied USB cable to the printer and computer when the Connect Cable screen appears The Connect Cable screen closes automatically after the printer is detected...
- Page 11 Connecting to the Network << Previous Next >> If the Detected Access Points List* appears, select the one you wish to connect to, enter the network key and click connect *This screen normally appears if you have multiple access points or multiple access points exist in your immediate area.
- Page 12 Connecting to the Network << Previous Next >> If the Confirm Connection Access Point* screen appears, verify the information then click Yes *This screen normally appears when you have only one access point...
- Page 13 Connecting to the Network << Previous Next >> Disconnect the USB cable when the Disconnect Cable screen appears. Click Next Setup is now complete. Follow any remaining instructions to exit the setup program.
- Page 14 Installing the Drivers & Software << Previous Installing the PIXMA MG3220 on Your Wireless Network If you can’t find your CD-ROM, you may download the MG3200 series Mini Master Setup, which includes the same step-by-step installation as the CD-ROM, by following the instructions below: Click here to access the MG3220 Drivers &...


