Hotpoint WDUD 9640 Instructions For Use Manual
Hide thumbs
Also See for WDUD 9640:
- Instructions for use manual (16 pages) ,
- Instructions for use manual (16 pages)
Table of Contents
Advertisement
Instructions for use
GB
English,1
WDUD 9640
!
This symbol reminds you to read this instruction manual.
Contents
Installation, 2-3-4-5
Connecting the electricity and water supplies
Cutting off the water or electricity supply
Troubleshooting, 13-14
Assistance, 15-16
WASHER-DRYER
1
GB
Advertisement
Table of Contents
Troubleshooting

Related Manuals for Hotpoint WDUD 9640


Summary of Contents for Hotpoint WDUD 9640
-
Page 1: Table Of Contents
How to run a wash cycle or a drying cycle, 8 Wash cycles and functions, 9 Table of wash cycles Wash functions Detergents and laundry, 10 WDUD 9640 Detergent dispenser drawer Preparing the laundry Special wash cycles Load balancing system... -
Page 2: Installation
Installation 2. If the floor is not perfectly level, compensate for any Keep this instruction manual in a safe place for future unevenness by tightening or loosening the adjustable front reference. Should the appliance be sold, transferred or feet (see figure); the angle of inclination, measured accor- moved, make sure the instruction manual accompanies the ding to the worktop, must not exceed 2°. - Page 3 Connecting the drain hose • the supply voltage is included within the values indica- ted on the Technical Data Plate fixed on the machine. Connect the drain hose, without bending it, to a • the socket is compatible with the washer-dryer’s plug. If draining duct or a wall drain this is not the case, replace the socket or the plug.
-
Page 4: The First Wash Cycle
The first wash cycle As the colours of the wires in the lead may not correspond with the coloured markings identifying the terminals in your plug, proceed as follows: Once the appliance has been installed, and before you use Connect Green & Yellow wire to terminal marked E or it for the first time, run a wash cycle with detergent and no or coloured Green or Green &... -
Page 5: Technical Data
Technical data Model WDUD 9640 width 59.5 cm Dimensions height 85 cm depth 60,5 cm from 1 to 9 kg for the wash programme Capacity from 1 to 6 kg for the drying programme Electrical please refer to the technical data plate... -
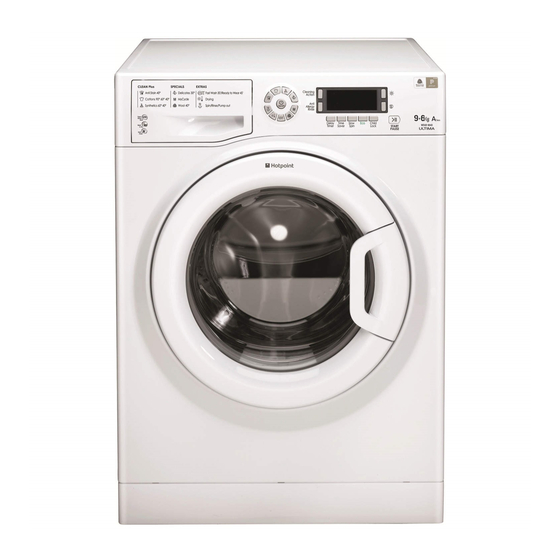
Page 6: Description Of The Washer-Dryer
Description of the washer-dryer Control panel CLEANING DRYING ON/OFF ACTION button button button DISPLAY START/PAUSE MYCYCLE button with WASH indicator light button FUNCTION CYCLE Detergent dispenser drawer buttons SELECTOR buttons DELAY TEMPERATURE TIMER button ANTI button ALLERGY CHILD LOCK RINSE button button Detergent dispenser drawer: used to dispense deter-... - Page 7 Display The display is useful when programming the machine and provides a great deal of information. The upper two strings A and B are used to display the selected wash cycle or the type of drying selected, the current wash cycle phase (the selected dryness level or drying time) and all the indications relating to the progress status of the cycle.
-
Page 8: How To Run A Wash Cycle Or A Drying Cycle
How to run a wash cycle or a drying cycle 1. SWITCH THE MACHINE ON. Press the On/Off button Set the desired wash intensity. ; the text POWER ON will appear on the display and the Option makes it possible to optimise washing based on the START/PAUSE indicator light will flash slowly in a green colour. -
Page 9: Wash Cycles And Functions
Wash cycles and functions Table of wash cycles Detergents Max. Max. Max. Cycle Description of the wash cycle temp. speed Drying load duration Fabric (°C) (rpm) (kg) Wash softener CLEAN Plus Anti Stain 40° 1400 Cottons : extremely soiled whites and resistant colours. 90°... -
Page 10: Detergents And Laundry
The degree of dryness depends on the load and fabric composition. compartment 1: Detergent for the wash cycle Wool: the wool wash cycle on this Hotpoint machine has (powder or liquid) been tested and approved by The Woolmark Company If liquid detergent is used, it is recommended that the... -
Page 11: Precautions And Tips
Precautions and tips Disposal This washer-dryer was designed and constructed in accordance with international safety regulations. The fol- • Disposing of the packaging materials: observe local regu- lowing information is provided for safety reasons and must lations so that the packaging may be re-used. therefore be read carefully. -
Page 12: Care And Maintenance
Care and maintenance Cutting off the water and electricity Caring for the door and drum of your supplies appliance • Turn off the water tap after every wash cycle. This will limit • Always leave the porthole door ajar in order to prevent wear on the hydraulic system inside the washer-dryer and unpleasant odours from forming. -
Page 13: Troubleshooting
Troubleshooting Your washer-dryer could fail to work. Before contacting the Technical Assistance Centre (see “Assistance”), make sure that the problem cannot be not solved easily using the following list. Problem: Possible causes / Solutions: • The appliance is not plugged into the socket fully, or not enough to make contact. The machine does not switch on. - Page 14 The machine vibrates a lot during • The feet have not been adjusted, enabling the machine to rock. the spin cycle. • New Installation - Either the Transit Bolts including the plastic spacers, or the Polystyrene Packaging have not been removed when installing the machine. •...
-
Page 15: Assistance
OR NON-DOMESTIC PREMISES. 5 Year Parts Guarantee Hotpoint also offers you a free 5 year parts guarantee. This additional guarantee is conditional on you registering your appliance with us and the parts being fitted by one of our authorised engineers. There will be a charge for our engineer’s time. -
Page 16: After Sales Service
Republic of Ireland: 0818 313 413 www.hotpointservice.co.uk Appliance Registration We want to give you additional benefits of Hotpoint ownership. To activate your free 5 year parts guarantee you must register your appliance with us. UK: 08448 24 24 24 Republic of Ireland: 01 230 0800 www.hotpointservice.co.uk...
Need help?
Do you have a question about the WDUD 9640 and is the answer not in the manual?
Questions and answers
Good Afternoon. Is it possible to program the machine to start at a later time to coincide with cheaper electricity costs please? Many thanks.