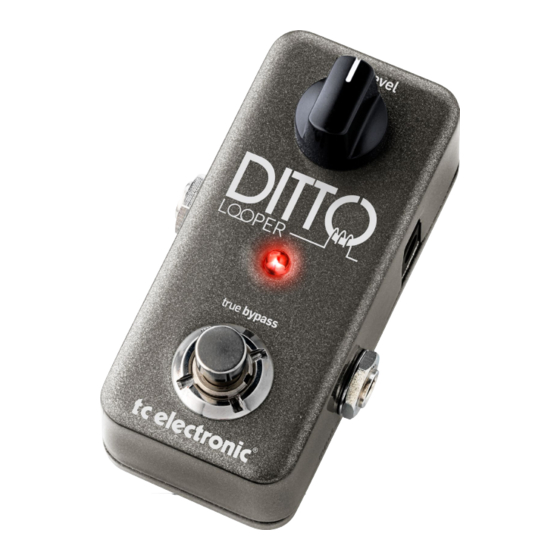
TC Electronic DITTO LOOPER User Manual
Hide thumbs
Also See for DITTO LOOPER:
- Quick start manual (2 pages) ,
- Quick start manual (5 pages) ,
- User manual
Table of Contents
Advertisement
Advertisement
Table of Contents

Related Manuals for TC Electronic DITTO LOOPER


Summary of Contents for TC Electronic DITTO LOOPER
- Page 1 DITTO LOOPER User Manual...
-
Page 2: Table Of Contents
Overdubbing EMC/EMI Undo (deleting the last take) Unpacking and setting up Redo (restoring a previously deleted take) Using Undo/Redo creatively Ditto Looper in 30 seconds Stopping loop playback/recording Operation Deleting the loop Technical Specifications Storing the loop Input, output, controls... -
Page 3: Introduction
About this manual TC Electronic’s amazing Ditto Looper! What puts Ditto Looper miles ahead of the looper pack is its This manual will provide you with a quick overview of how to get minimalist, no-nonsense approach to looping. This is not a product rocking fast as well as an in-depth look at the pedal’s more ad-... -
Page 4: Important Safety Instructions
Important safety instructions Important safety instructions – Read these instructions. Warning – Keep these instructions. To reduce the risk of fire or electrical shock, do not expose this equipment to dripping or splashing and ensure that no objects – Heed all warnings. filled with liquids, such as vases, are placed on or near the equip- –... -
Page 5: Emc/Emi
EMC / EMI Electromagnetic compatibility (EMC) For customers in Canada Electromagnetic interference (EMI) This equipment has been tested and found to comply with the This Class B digital apparatus complies with Canadian ICES-003. limits for a Class B Digital device, pursuant to part 15 of the FCC Cet appareil numérique de la classe B est conforme à... -
Page 6: Unpacking And Setting Up
– Plug the power supply into a power outlet. – 1 leaflet about TC’s guitar FX product range. Please note that Ditto Looper has no battery compartment, and you cannot connect a USB power supply to the USB port. A conventional power supply is required for operating this product. -
Page 7: Ditto Looper In 30 Seconds
Ditto Looper in 30 seconds Ditto Looper in 30 seconds If you are in a hurry, chances are you’ll find what you’re looking for on this page. Operation Technical Specifications Maximum loop length 5 minutes Power up Ditto Looper Connect a power supply. -
Page 8: Input, Output, Controls
This is a standard 5.5/2.1 mm DC plug (centre = negative). To (You didn’t see this one coming, did you?) power up Ditto Looper, connect a power supply to its power input socket. Ditto Looper requires a 9 V power supply providing 6 –... -
Page 9: Working With Loops
The LED will turn red, indicating you’re in Record mode again. The LED will light up in red, indicating Ditto Looper is in Re- cord Mode. – When you’re done, press the footswitch once more to quit Record mode. -
Page 10: Using Undo/Redo Creatively
– To stop loop playback or recording, press the footswitch twice in short succession. Storing the current loop When you power down Ditto Looper and a loop is in memory, The LED will start flashing in green to indicate that your loop is still in memory and ready for playback. -
Page 11: Setup Examples
Setup example 2: Ditto Looper and effects of high-end. Also please note that Ditto Looper lets your dry, un- Place your effects before Ditto Looper. This will allow you to cre- processed sound pass without ever converting it to digital, keeping ate and record different sounds within the same looping session. -
Page 12: Faq
“I made a mistake – how do I undo a part?” chain?” Press and hold the footswitch on Ditto Looper while it is To get the most out of your setup and the loops you’re re- playing back your recorded loop. The last part you recorded cording, place Ditto Looper at the end of your signal chain.
Need help?
Do you have a question about the DITTO LOOPER and is the answer not in the manual?
Questions and answers