
Related Manuals for Zoom Q3 Handy


Summary of Contents for Zoom Q3 Handy
- Page 1 Handy Video Recorder Quick Start Guide Safety and Operation Precautions must be read before using the unit.
-
Page 2: Set The Date And Time
Set the date and time Prepare First set the date and time on the unit. Press to open the settings menu. to select SET DATE and press to set the current date and time. Press MEMO Set the date and time accurately because they will appear as the date and time on your recorded video and audio clips. -
Page 3: Reduce Noise
Set the sound quality Prepare Set the sound quality to use when recording video or audio alone. Press to open the settings menu. to select SOUND QUALITY and press to choose the sound quality. Press MEMO PCM 96kHz cannot be selected when in video recording mode. -
Page 4: Format An Sd Card
Format an SD card Prepare If an incorrectly formatted SD card is inserted, the format confirmation screen appears. Press to format, or to not format. • Select "Yes" to start formatting. • Select "No" to not format the card and put the unit into recording standby (READY). - Page 5 (See "Set the sound quality" on p. 2.) • Use the switch on the side of the unit to set recording to video or audio only. • Use / during record- ing to zoom in and out. Press to stop recording. • The unit returns to recording standby (READY). Display when recording only...
-
Page 6: Play Recordings
Play recordings Playback recorded audio and video. During recording standby (READY), press If you want to play a different file, use to select it and press • Functions of other buttons Press to adjust the volume. Press and hold during playback to search backward/forward. Press to pause during playback and restart when paused. Erase recordings Erase recorded audio and video files. -
Page 7: Connect External Devices
Connect external devices Connect You can connect to various external devices for a variety of applications. • Connect to a computer (via USB) to edit and save files and upload them to video sharing sites With this unit's power off, connect its built-in USB connector to a computer running Windows or Macintosh. -
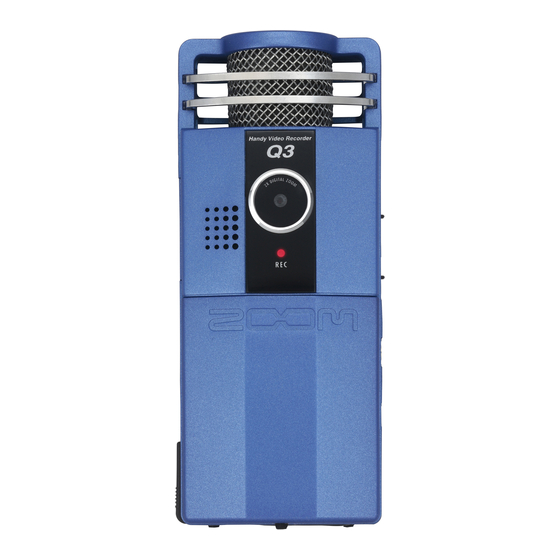
Page 8: Part Names And Functions
Part names and functions • Parts of the unit • Standard screen (READY) • Inserting batteries Open the case while pressing here and then insert the batteries. Note: Use alkaline or NiMH batteries. - Page 9 Select items and adjust the volume. buttons Confirm selections, select playback files, buttons search forward and backward, zoom in and out, etc. 19 RECORD (audio/video) button Start recording audio or video. • Standard screen Shows the current operation status. Operation status...
- Page 10 FCC regulation warning (for the U.S.A.) This equipment has been tested and found to comply with the limits for a Class B digital device, pursuant to part 15 of the FCC Rules. These limits are designed to provide reasonable protection against harmful interference in a residential installation.
- Page 11 Upgrading the firmware version Upgrade the firmware version when necessary. MEMO You can check the firmware version when the unit is starting up. • The latest version of the firmware can be downloaded from our web site (zoom.co.jp). Copy the file for upgrading the firmware to the SD card. Press the Power switch, while pressing and holding The VERSION UP menu appears. If the version upgrade shown is the one desired, select "OK" and press Version upgrading starts.
-
Page 12: Items Included With This Product
Items included with this product • Q3 unit • AV cable • 2 AA batteries (for testing the unit) Note: Use alkaline or NiMH batteries. • Windscreen • Soft Pouch • SD card (2GB) • Quick Start Guide (this document) Bundled software (on the included SD card) •... -
Page 13: Safety And Operation Precautions
• Places with frequent vibrations • Handling Do not disassemble or modify this device. Doing so could cause injury or malfunction. ZOOM Corporation will not take responsibility for malfunctions resulting from disassembly or modification Warning Do not apply excessive force to buttons and other parts. Use of excessive force, dropping, bumping and other shocks could break the unit. - Page 14 ZOOM CORPORATION 4-4-3 Surugadai, Kanda, Chiyoda-ku, Tokyo 101-0062 Japan Copying or reproduction of this document in part or in whole without permission is prohibited. Q3-5010-2...
Need help?
Do you have a question about the Q3 Handy and is the answer not in the manual?
Questions and answers