Epson WorkForce WF-3540 Instructions
Start here
Hide thumbs
Also See for WorkForce WF-3540:
- User manual (335 pages) ,
- Quick manual (44 pages) ,
- Guía de instalación (4 pages)
Advertisement
Quick Links
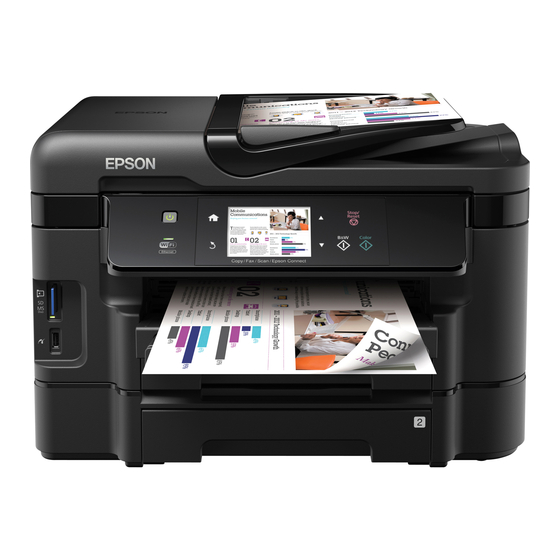
WF-3540
Start Here
Read these instructions before using your product.
Note for Spanish speakers/Nota para
obtener instrucciones de configuración en español, consulte la Guía
de instalación en www.epson.com/support/wf3540sp (requiere una
conexión a Internet).
1
Unpack
Caution: Do not open ink cartridge packages until you are ready to
install the ink. Cartridges are vacuum packed to maintain reliability.
Remove all protective materials.
2
Turn on
1
C onnect the power cord to the back of the printer and to an
electrical outlet.
C
aution: Do not connect to your computer yet.
2
P ress the
power button.
*412334000*
*412334000*
hispanohablantes: Para
Copy/
Fax/
Scan/
French control
panel stickers
(included for
Canada only)
3
Select settings
1
S elect your language and country.
T ouch the screen to select the desired option.
2
S elect Summer if Daylight Saving Time is in effect;
otherwise, select Winter.
3
S elect the date format.
4
U se the numeric keypad to set the date, then press Done.
5
S elect 12h (
/
) or 24h.
AM
PM
6
U se the numeric keypad to set the time.
7
P ress Done.
N
ote: You can change the date and time settings using the product's
control panel. For more information, see the online User's Guide.
4
Install ink cartridges
1
L ift the scanner unit.
2
O pen the cartridge cover.
3
S hake the ink cartridges gently 4 or 5 times, then
unpack them.
4
R emove only the yellow tape from each cartridge.
C
aution: Don't remove any other seals or the cartridges may
leak.
Advertisement

Related Manuals for Epson WorkForce WF-3540


Summary of Contents for Epson WorkForce WF-3540
- Page 1 Start Here S elect your language and country. T ouch the screen to select the desired option. Read these instructions before using your product. S elect Summer if Daylight Saving Time is in effect; Note for Spanish speakers/Nota para hispanohablantes: Para otherwise, select Winter. obtener instrucciones de configuración en español, consulte la Guía de instalación en www.epson.com/support/wf3540sp (requiere una S elect the date format. conexión a Internet). U se the numeric keypad to set the date, then press Done. S elect 12h ( ) or 24h. Unpack U se the numeric keypad to set the time. P ress Done. ote: You can change the date and time settings using the product’s control panel. For more information, see the online User’s Guide.
- Page 2 ote: Make sure the paper is loaded against the edge guide I nsert the cartridges in the holder for each color. Press and not sticking out from the end of the cassette. each cartridge down until it clicks. S lide the edge guides against the paper, but not too tight. Make sure the paper is under the tabs on the edge guides. C lose the cartridge cover. Press down until it clicks into place. Then lower the scanner unit. G ently insert the paper cassette. I nk priming begins. This takes about 5 minutes. ote: Your printer ships with full cartridges and part of the ink from the first cartridges is used for priming the printer. aution: Don’t turn off the printer while it is priming or you’ll waste ink. ote: The paper may slide forward slightly as you insert the cassette. This is normal. Load paper E xtend the output tray and raise the stopper as shown. You can load letter-, A4-, or legal-size paper, as well as envelopes, and various sizes of photo paper in cassette �. In various sizes of photo paper in cassette �. In photo paper in cassette �. In cassette 2, you can load only letter-, A4-, or legal-size plain paper. For instructions on loading envelopes, photo paper,...
-
Page 3: Connection Options
Connection options Install software Wireless connection Note: If your computer does not have a CD/DVD drive, you can You must install the software on every computer from which download the software from the Epson website (see “Epson technical you want to print. For the first installation, we recommend support”). using a USB cable (not included) to simplify wireless setup. Caution: Be sure to close your other programs, including any screen After the printer is connected to the network, you will be savers and virus protection programs, before beginning this software prompted to remove the cable. installation. If you’re using Mac OS X �0.6, �0.7, or �0.8, or you don’t M ake sure the printer is have a USB cable, you will need to use the control panel on NOT CONNECTED to your the printer to select wireless settings. Follow the instructions computer. on your computer screen during software installation; they will explain how to connect the printer wirelessly this way. Make sure you know your network name (SSID) and network password: Windows : If you see a Found ® • Network name New Hardware screen, click Cancel and disconnect the USB • Network password cable. You can’t install your software that way. If you don’t have this information, contact the person who set up your network. To view how-to videos on setting up your printer’s wireless connection, go to epson.com/support (U.S.) or I nsert your product CD. -
Page 4: Epson Technical Support
Color High-capacity Extra High-capacity CD or go to the Epson website, as described below. Black On-screen help with your software Cyan Select Help or ? when you’re using your software. Magenta Epson technical support Yellow Visit epson.com/support (U.S.) or epson.ca/support (Canada) where you can download drivers, view manuals, get FAQs, or EPSON Connect™ Solutions, AirPrint, e-mail Epson. and Google Cloud Print™ You may also speak with a support specialist by calling P rint and scan from anywhere. Use your smartphone (562) 276-4382 (U.S.) or (905) 709-3839 (Canada), 6 to 8 or tablet to print photos or documents while on the Pacific Time, Monday through Friday, and 7 to 4 , Pacific go. Learn more at www.epson.com/connect. Time, Saturday.
Need help?
Do you have a question about the WorkForce WF-3540 and is the answer not in the manual?
Questions and answers