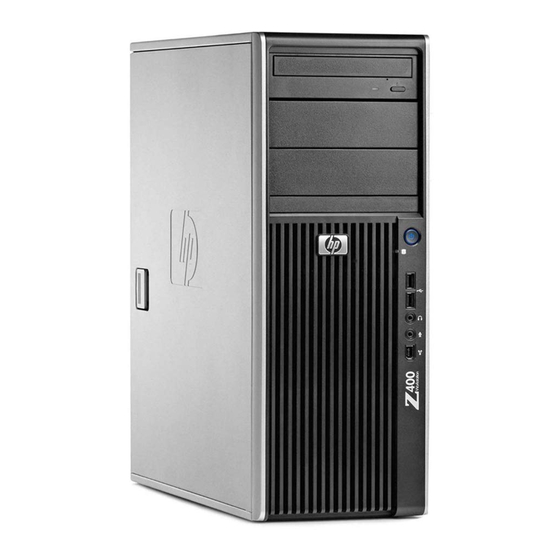
HP Z400 - Workstation Installation Manual
Removable media kit
Hide thumbs
Also See for Z400 - Workstation:
- Maintenance and service manual (254 pages) ,
- Quickspecs (63 pages) ,
- Function manual (10 pages)
Table of Contents
Advertisement
Quick Links
CRU Dataport DX115 kit installation
Introduction
This document describes how to install the CRU Dataport DX115® removable media kit in an HP
workstation. The DX115 kit enables you to install removable media in your workstation.
Kit contents
●
Warranty information
●
DX115 unit (case, drive carrier, and lock key)
●
Installation document
●
SATA or SAS cable
●
Five M3 screws
●
Five 6-32 screw
●
Tape label
Before you begin
To view QuickSpecs and determine the compatibility of this product with your HP workstation, see
http://www.hp.com/go/productbulletin.
ENWW
© 2006–2009 Hewlett-Packard Development Company, L.P. Microsoft, Windows, and
Windows Vista are U.S. registered trademarks of Microsoft Corporation. Printed in the
U.S.
Introduction
1
Advertisement
Table of Contents

Related Manuals for HP Z400 - Workstation


Summary of Contents for HP Z400 - Workstation
-
Page 1: Cru Dataport Dx115 Kit Installation
Before you begin To view QuickSpecs and determine the compatibility of this product with your HP workstation, see http://www.hp.com/go/productbulletin. © 2006–2009 Hewlett-Packard Development Company, L.P. Microsoft, Windows, and Windows Vista are U.S. registered trademarks of Microsoft Corporation. Printed in the U.S. -
Page 2: Warnings And Cautions
Warnings and cautions WARNING! Any surface or area of the equipment marked with this symbol indicates the presence of an electrical shock hazard. To reduce the risk of injury from electrical shock, do not open any enclosed area marked with this symbol. WARNING! To reduce the risk of electric shock or damage to your equipment: —... -
Page 3: Step 1-Preparing For Component Installation
Step 1—Preparing for component installation NOTE: Workstation models vary. All illustrations are examples only. Accessing the internal components of the workstation If you need help preparing the workstation for this installation, consult the removal and replacement procedures in the service guide for your workstation at http://www.hp.com/support/ workstation_manuals. - Page 4 400 Workstations and HP xw4000 Workstation series Remove the front bezel from the workstation to access the optical bays. Lift the tab Pivot the bezel to disengage the lower edge Figure 2 Removing the front bezel Install four (supplied) M3 x 5mm screws (black) in the lower four mounting holes. Install the DX115 case in the optical drive bay using the quick release system.
- Page 5 Install one (supplied) M3 x 5mm screw (black) for each DX115 unit for shipping support as shown. CAUTION: Failure to install the shipping screw might result in damage to the removable hard drive system. ENWW Step 2—Installing the DX115 case into the optical drive bay...
- Page 6 HP xw6000 Workstation series Remove the front bezel from the workstation. See Figure 2 Removing the front bezel on page Remove and discard the counter-sunk screw at the side of the DX115 case. This hole is used for the shipping screw. Install the DX115 case in the optical drive bay using the quick release system.
- Page 7 Install the DX115 case in the optical drive bay using the quick release system. Install one (supplied) M3 x 5mm screw (black) for each DX115 unit for shipping support. CAUTION: Failure to install the shipping screw might result in damage to the removable hard drive system.
- Page 8 HP xw8000 and xw9000 Workstation series Remove the front bezel from the workstation. See Figure 2 Removing the front bezel on page Install the DX115 case in the optical drive bay using the quick release system. Install one (supplied) M3 x 5mm screw (black) for each DX115 unit for shipping support. CAUTION: Failure to install the shipping screw might result in damage to the removable hard drive system.
- Page 9 Step 4—Completing the workstation assembly CAUTION: Insert or remove the carrier (with a disk drive) only when the workstation is shut down. Other procedures may result in system hangs, data loss, or even drive damage. The component supplier’s user guide describes a procedure for inserting or removing the carrier (with drive) while the workstation is booted and then powering the drive via the power switch on the enclosure.
-
Page 10: Japanese 日本語
To prepare your installed hard drive for operation, see the appropriate hard drive documentation. If shipping the unit, use the key to lock the carrier and install the shipping screw as described in the previous steps. CAUTION: Failure to lock the drive during shipment might result in damage to your removable hard drive system.
Need help?
Do you have a question about the Z400 - Workstation and is the answer not in the manual?
Questions and answers