
Related Manuals for EDMI ES-10A


Summary of Contents for EDMI ES-10A
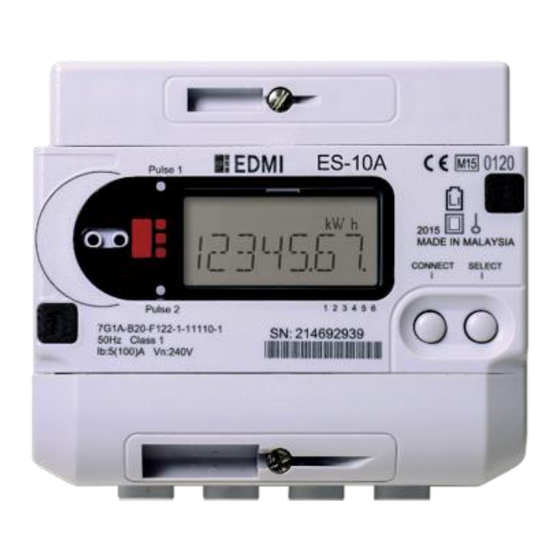
- Page 1 ES-10A 4 Terminal Residential Electricity Meter Installation and Commissioning Guide Date: 17/01/2018 Version / Status: 2.4...
-
Page 2: Confidentiality
Installation and Commissioning Guide Confidentiality The information that is contained in this document is the exclusive property of EDMI Europe Limited (“EDMI”) except as otherwise indicated. The contents of this document and any attached appendices, in whole or in part, must not be reproduced, stored, transmitted or used for design purposes without the prior written permission of EDMI Europe Limited. -
Page 3: Table Of Contents
10.4 The ESME does not default to the “Join HOLD OK” screen upon power up ... 21 11 Revision History......................22 Contact Us ..........................23 Copyright © 2018 EDMI Europe Ltd. All rights reserved Version / Status: 2.4 PAGE 3 OF 23... -
Page 4: Glossary Of Terms
Formally known as: DECC Department of Energy and Climate Change – UK Government department. Bill Of Materials – List of materials and costs that form the product Cambridge Consultants Ltd. – Company overseeing the ongoing reliability testing for EDMI’s metering equipment Conseillers en Gestion et Informatique (Company name) –... - Page 5 User Integration Testing – Part of the DCC’s testing phase to get ready for go-live Volts Alternating Current – 230VAC is standard in the UK for sockets Copyright © 2018 EDMI Europe Ltd. All rights reserved Version / Status: 2.4...
-
Page 6: Introduction
ALCS support that can be fitted with an ICHIS compliant Communications Hub. The EDMI ES-10A electricity meter and Communications Hub (if fitted) are intended for use in CAT III 300V / 4000VAC impulse rated installations. This means that they are suitable for use in all locations on conductors that have up to 300V phase to ground and can withstand transient impulses up to 4000VAC between line and neutral. -
Page 7: Identification Of Meter Parts
2A relay – the Auxiliary Load Control Switch. ICHIS cover. Remove to install a Communications Hub on the meter. Copyright © 2018 EDMI Europe Ltd. All rights reserved Version / Status: 2.4 PAGE 7 OF 23... -
Page 8: Meter Dimensions
If any problems or damage should occur during transit, installation or initial operation of the meters, please notify your ES-10A meter supplier immediately. Do not attempt to apply repairs or modifications to the meter, as doing so will be a basis for voiding all claims for warranty. - Page 9 Authorisation for return is required for all products shipped to the factory for repair, calibration, warranty, exchange or credit. To obtain authorisation, an RMA number for return of ES-10A electric meters must be issued, which can be obtained from your meter supplier. All returns should be packaged in the original boxes and pallet structure if available, in order to ensure that the product has the sufficient protection during transit.
-
Page 10: Environmental Conditions
The Communications Hub dimensions and required environmental conditions will vary according to manufacturer. For Communications Hub specifications, refer to your Communications Hub documentation. Copyright © 2018 EDMI Europe Ltd. All rights reserved Version / Status: 2.4 PAGE 10 OF 23... -
Page 11: Handling Of Meters
ES-10A 4 Terminal Residential Electricity Meter - Installation and Commissioning Guide 6 Handling of Meters To ensure the longevity of ES10A meters supplied by EDMI we ask for some steps to be followed when handling meters. Always use EDMI provided packaging EDMI packaging is supplied with every meter, this packaging is designed to protect the meter from environmental issues as well as protecting it from damage. -
Page 12: Installation
Step 7: Replace terminal cover and fit the Communications Hub. See page 16. Step 8 Step 8: Turn on the mains power supply. See page 16. Copyright © 2018 EDMI Europe Ltd. All rights reserved Version / Status: 2.4 PAGE 12 OF 23... -
Page 13: Step 1: Unpack Meter And Inspect For Damage
2. Slide off the terminal cover. Terminal cover screw ES-10A Terminal Block Uncovered Terminal Block 2 (TB2) 2A Relay ALCS Connection Terminal Block 1 (TB1) Supply Connections Copyright © 2018 EDMI Europe Ltd. All rights reserved Version / Status: 2.4 PAGE 13 OF 23 Public... -
Page 14: Step 3: Isolate Mains Power Supply
3. Insert and tighten the remaining two screws at the meter base, under the terminal cover, to hold the meter securely. Use the two inner holes for narrower installations. Copyright © 2018 EDMI Europe Ltd. All rights reserved Version / Status: 2.4... -
Page 15: Step 6: Connect Supply Wires To The Meter's Terminal Block
25mm is the recommended length. 2. Using a hand-held torque screwdriver, secure each terminal’s two screws (M6 thread) with 3 nm of force. Copyright © 2018 EDMI Europe Ltd. All rights reserved Version / Status: 2.4 PAGE 15 OF 23 Public... -
Page 16: Step 7: Replace Terminal Cover And Fit The Communications Hub
Network (HAN). The LEDs on the Communications Hub will indicate the success or failure of these initialisation steps. Refer to your Communications Hub documentation for information on how to determine what state the hub is in. Copyright © 2018 EDMI Europe Ltd. All rights reserved Version / Status: 2.4 PAGE 16 OF 23... -
Page 17: Commissioning
HAN, they must be whitelisted via the 8.11 service request. For more information about whitelisting, refer to your Communications Hub documentation and company installation procedures. After power has been applied, the LCD display screen on the ES-10A displays the following message: H O L D... - Page 18 ES-10A 4 Terminal Residential Electricity Meter - Installation and Commissioning Guide Message Description The ES-10A has finished pairing and is waiting to receive its first O M I GBCS message. The first message has been received and the meter is processing C O M I DUIS service request 8.1.1.
-
Page 19: Normal Meter Operation
Alternatively, request that the event log be read remotely by the supplier. 10 Troubleshooting 10.1 Communications Hub fails to connect to the WAN Refer to your Communications Hub documentation. Copyright © 2018 EDMI Europe Ltd. All rights reserved Version / Status: 2.4 PAGE 19 OF 23 Public... -
Page 20: Communications Hub Fails To Create Han
Attempt to join the HAN again – has terminated the key establishment. if the error persists please contact your support centre Copyright © 2018 EDMI Europe Ltd. All rights reserved Version / Status: 2.4 PAGE 20 OF 23 Public... -
Page 21: The Esme Does Not Default To The "Join Hold Ok" Screen Upon Power Up
After power has been applied to the ES-10A, the LCD display screen on the meter should display “Join HOLD OK”. If the installed ES-10A meter does not default to the “Join HOLD OK” screen upon power up of the meter, please follow the steps stated below: From Import screen, press ‘OK’... -
Page 22: Revision History
Added Section 4: Handling of meters 18/10/2017 Updated section 8 to show correct LCD behaviour whilst commissioning 04/01/2018 Updated minor details under section: 6 and 10 17/01/2018 Copyright © 2018 EDMI Europe Ltd. All rights reserved Version / Status: 2.4 PAGE 22 OF 23 Public... -
Page 23: Contact Us
If you have any further questions or would like to get in touch, please use the details below. EDMI Europe Limited Support Queries: servicedesk.europe@edmi-meters.com Website: www.edmi-meters.co.uk Copyright © 2018 EDMI Europe Ltd. All rights reserved Version / Status: 2.4 PAGE 23 OF 23 Public...
Need help?
Do you have a question about the ES-10A and is the answer not in the manual?
Questions and answers