Table of Contents
Advertisement
Quick Links
Advertisement
Table of Contents

Related Manuals for BRIO CLBL720SCBLK


Summary of Contents for BRIO CLBL720SCBLK
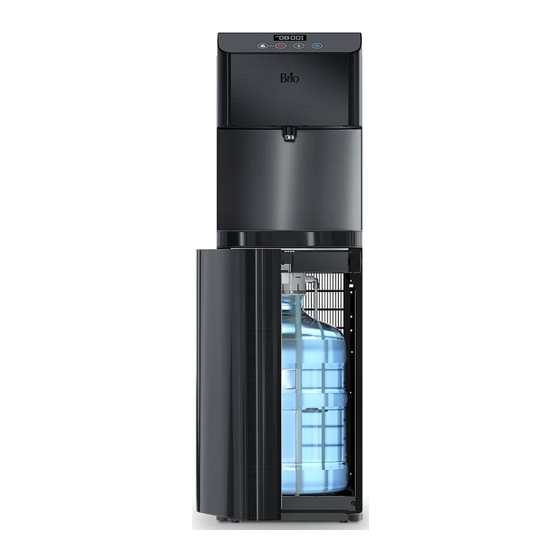
- Page 1 Bottom-Load Water Dispenser Setup Manual Model No.: CLBL720SCBLK...
-
Page 2: Table Of Contents
Table of Contents Safety Information . . . . . . . . . . . . . . . . . . . . . . . . . . . . . . . . . . . . . . . . . . . . . . . . . . . . . . . . . . . . . . . . . . . . 3 Intended Use . -
Page 3: Safety Information
Safety Information WARNING: To reduce risk of injury and property damage, you must read this entire guide before assembling, installing and operating the dispenser. WARNING: This product dispenses water at very high temperatures. Failure to use properly can cause personal injury. -
Page 4: Intended Use
Intended Use This dispenser is intended to be used in household and similar applications such as: • Staff kitchen areas, offices, and other working environments Farm houses • • Clients in hotels, motels and other residential type environments • Bed and breakfast type environments •... -
Page 5: Touch Panel Description
Touch Panel Description Up arrow button – Press to set the time on the clock and increase temperature settings. Clock/Temperature display – Shows the time and water temperature setting when setting the temperature of the hot or cold water. Also indicates when a water bottle needs to be replaced and when the dispenser is in self-cleaning mode. -
Page 6: Installation
Installation 1 . Determine Installation Location Place the dispenser upright. Locate the dispenser on a hard and level surface in a cool shaded location near a grounded wall outlet. NOTICE: Do NOT plug in the power cord until the entire installation section is completed. -
Page 7: Operation
Slide the water bottle into the dispenser cabinet and close the door. Wait 5 minutes for the water tanks to fill with water before attempting to use the dispenser. Remove air from the tanks by placing a cup under each water tap and drain at least 4 cups (1 liter) of water before initial use. -
Page 8: Set The Cold Temperature Setting
Set the Cold Temperature Setting Press and hold the down arrow button for 3 seconds until the cold water button starts to blink and the current cold water temperature appears on the display. Use the up and down arrow buttons to scroll to your desired cold water temperature. The range is 39℉ to 59℉ (4˚C to 15˚C). -
Page 9: Troubleshooting
Troubleshooting Problem Solution • It takes up to one hour after setup to dispense cold water. • Make sure the power cord is properly connected to a working outlet. The cold water is not • Make sure the back of the dispenser is at least 20 cm from a wall and there is free airflow on all 20 cm sides of the dispenser. -
Page 10: Cleaning And Maintenance
Cleaning and Maintenance Use the Self-Cleaning Ozone Feature It is highly recommended that you use the self-cleaning feature on a weekly basis to sanitize tanks and water lines. To activate the self-cleaning cycle, press in the self-cleaning switch (8), hold for 5 seconds, and release. The Ozone icon on the bottom-right corner of the display will begin blinking, indicating the cleaning process is underway. -
Page 11: Warranty
Warranty Brio (“Vendor”) warrants to the original purchaser of the Brio Water Coolers (the “Product”), and to no other person, that if the Product is assembled and operated in accordance with the printed instructions accompanying it, then for a period of one (1) year from the date of purchase, all parts in the Product shall be free from defects in material and workmanship. - Page 12 Contact Us Call: +1 844-257-4103 ©2020 DTWUSA...
Need help?
Do you have a question about the CLBL720SCBLK and is the answer not in the manual?
Questions and answers