Advertisement
Quick Links
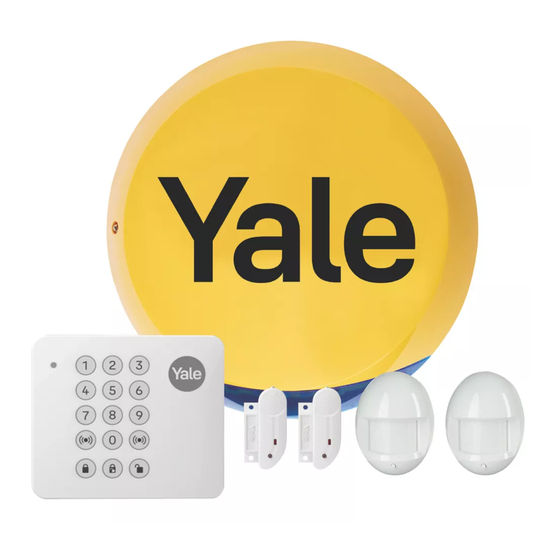
Yale 6 Piece Alarm Kit
YAK-HSA6700
User Manual
Siren x 1
Keypa
Siren x 1
Keypad & Bracket x 1
Keypad & Bracket x 1
PIR Motion
PIR Motion
Door & Window Sensor x 2
Door & Window Sensor x 2
Fixing
Keypad & Bracket x 1
Keypad & Bracket x 1
PIR Motion
PIR Motion
Door & Window Sensor x 2
Door & Window
Detector x 2
Detector x 2
Detector x 2
Detector x 2
Advertisement

Related Manuals for Yale YAK-HSA6700


Summary of Contents for Yale YAK-HSA6700
- Page 1 Yale 6 Piece Alarm Kit YAK-HSA6700 User Manual Siren x 1 Keypa Siren x 1 Keypad & Bracket x 1 Keypad & Bracket x 1 PIR Motion PIR Motion Door & Window Sensor x 2 Door & Window Sensor x 2 Fixing Keypad &...
-
Page 2: What's In The Box
What’s in the box The following items should be in your alarm kit: Door/Window Siren x 1 Keypad x 1 PIR Motion Door & Window Sensor x 2 PIR Motion Door & Window Sensor x 2 Siren x 1 Keypad & Bracket x 1 Sensor x 2 Detector x 2 Detector x 2... -
Page 3: Location Planning
1. Location Planning Work out the best places to locate the devices for maximum protection. Having chosen the locations, do not mount at this stage. Siren Plan the location of the Siren to be on an external wall, where it would be most prominent, as high as possible and out of Panic Button* reach. - Page 4 2. Overview of Alarm Components - The Siren The Siren is very loud! Take care not to activate the Siren tamper switch unnecessarily. Battery compartment screws x 4 Unscrew to open battery 4 x Siren compartment fixing to remove screws battery saver tab before first use.
- Page 5 2. Overview of Alarm Components - The Keypad Remove battery saver tab to activate batteries by unscrewing the keypad cover by the screw at the bottom of the keypad Green LED light Panic Button A Panic Button B Disarm Part Arm Ports for bracket Fixing slots x 2 for wall mounting...
- Page 6 2. Overview of Alarm Components - The Accessories Door/Window Contact PIR Motion Detector Remove battery saver tab to activate Remove battery saver tab to activate batteries. batteries. A red light will flash to indicate PIR has been initialised. Gap no more (A red light can be seen flashing through the lens.
-
Page 7: Programming The Alarm
screws x 4 Unscrew to open battery compartment fixi 3. Programming the Alarm to remove battery saver tab before first use. Ensure the Siren is powered on and that Dip Switch 1 is set to the OFF position. Entering Learn mode: Programming System is now in learning mode dip switches... - Page 8 Programming dip switches Learn button 3. Programming the Alarm Tamper switch Power switch Exiting Learn mode: • Press the to exit the learn mode Siren Learn button (The LED 2 will flash once with a single beep to indicate that normal Siren operation has been resumed.) LED 1 LED 3...
-
Page 9: Mounting Alarm Devices
4. Mounting Alarm Devices Before mounting the Keypad and Siren ensure that the system tamper is disabled as described below. Disabling the system tamper ENTER **** Before mounting it is important to disable the system tamper to avoid the Siren sounding an alarm. - Page 10 4. Mounting Alarm Devices Mounting other devices Before proceeding to mount a device physically, Find a location where the device is to be mounted, see section it is useful to check that it is not out of radio range by doing a simple range test. Please ensure the “Location Planning”...
- Page 11 4. Mounting Alarm Devices Positioning the Door/Window Contact 1 Find a location where the Door/Window Frame Contact is to be mounted. It should be mounted between the door and frame or window and frame as shown. The magnet is to go on the door/window while the sensor is to be placed on the frame.
-
Page 12: Using The System
5. Using the system Setting a unique PIN code ENTER **** 1 On your Keypad press Panic Button A, followed by the current PIN code (factory default code is 0000) (The LED will now flash continuously.) Press 2 Press panic button B. 3 Enter new 4-digit PIN code. - Page 13 5. Using the system Silencing the Siren Tamper alarm warning If any device tamper switches are disturbed a tamper Keypad: Press disarm followed by your PIN code. alarm will be activated with the Siren sounding and the strobe flashing. The alarm can be silenced as follows: PIN **** Press (The Siren will be silenced and...
- Page 14 6. Adding Accessories To provide additional protection you can add extra Door/Window Contacts, PIRs, Keypads, Remote Key Fobs & Panic Buttons. These are available from local stockists or www.yalehome.co.uk Adding devices to an already installed system The installed system will be controlled by a Keypad. Keypad 1 Enter Setting mode: Press Panic button A followed by 6 Switch ON system tamper: Press Panic button A and 3...
-
Page 15: Changing The Batteries
7. Changing the batteries Always use alkaline batteries or the correct type of coin cells as replacements because any other battery can cause problems with the operation of the system. Ensure the correct steps are taken when changing batteries in tamper protected devices. Siren 3 Unscrew the battery compartment lid and remove. - Page 16 7. Changing the batteries Door/Window Contact 4 Insert new CR2032 coin cell battery with the + side uppermost. When the battery is low the LED will flash when the door/ 5 Insert battery under window is opened. The battery is changed as follows: the two tabs with 1 Switch off tamper protection as described in section 4.
- Page 17 Notes My PIN code: (write your PIN code here so you don’t forget it)
- Page 18 Notes...
- Page 19 Notes...
- Page 20 Support For further help & advice on how to set up your device please scan the QR code below, which will take you to the relevant Product Support Page, or please visit www.yalehome.co.uk/support Alternatively, you can contact our Customer Support Team directly. For more details, visit the website below.
Need help?
Do you have a question about the YAK-HSA6700 and is the answer not in the manual?
Questions and answers