
Related Manuals for Yale IA-210


Summary of Contents for Yale IA-210
- Page 1 Intruder Alarm Kit IA-210 IA-220 IA-230 Full User Manual Quick Start Guide The smarter way to protect your home.
- Page 2 Register your product to get products news and updates. 1. Go to Yale web site www.yale.co.uk/product-registration 2.Complete product information form 3.Activate your guarantee if you need extra accessories or spare parts please visit yale.co.uk Choose your package online at www.yalestore.co.uk/installation Date Choose your Agree a Date &...
- Page 3 Index • (03) Install your system in a few easy steps. Please read through all of the steps shown below and then follow the detailed instructions in the following pages. See your box for kit content. Unpack your kit (p. 04-05) Page 4 *Each kit contains different components, see your box for kit content.
- Page 4 (purchased separately to this kit) you will need to pair these into the system separately (see page 18) See add device section on page 25. Max. Total 40 pcs. Motion Detector ~ 1.8 AC-PIR 2.1m Available with IA-210, IA-220 Kit or as accessory ~12m 110° Motion Detector Pet ~ 1.8 AC-PETPIR 2.1m...
- Page 5 (05) Keyfob AC-KF Available with IA-230 Kit or as accessory Contactless Tag AC-RFIDTAG Most of the devices are provided with either internal or external security tamper mechanism, please make sure the tamper spring is fully compressed when you install the devices.
- Page 6 (06) Plan your system: Before beginning the installation process, take some time to plan your 2.Location Planning • system, decide where you want to locate the devices. Example Location tips: 1. Panel/Keypad should be accessible from a protected entry/exit point. Ensure that the Panel/KeyPad is not visible from the outside of the premises.
- Page 7 (07) Panel set up 3.Panel Set-up • Standard PSTN phone landline socket The wall mounting holder should be always inserted because the panel has got a tamper switch.
- Page 8 (08) Panel Set Up 3.Panel set-up • Welcome to your Yale Intruder System please follow the on screen setup guide. Wecome to your Press to start setup. Yale Alarm System Press to select right setting. Press to confirm and move to next step.
- Page 9 (10) 4.Device Installation • Device Installation: Test device signal Activate the devices by removing the battery strips. All devices in the kit are pre linked, If you have purchased extra accessories in addition to the kit, you’ll need to pair them to the system, following the instructions on page 18 page 25.
- Page 10 Test your planned location of devices and check the signal strength on the panel screen. 5.Device Installation: Testing Device Signal Strength • Press button and enter your PIN code to access the main menu Scroll down using button and select “Test”...
- Page 11 (11) 6.Device Installation: Install the devices in the desired location Device installation: Install the device in the desired location • ~1.8m 2.1m Ø 5mm...
- Page 12 (12) 6.Device Installation Device installation: Install the device in the desired location • max 10mm Clean the mounting surface before application with a suitable degreasing agent...
- Page 13 (13) Device installation: Install the device in the desired location Ø 5mm...
- Page 14 (14) 6.Device Installation Device installation: Install the device in the desired location • Ø 5mm...
-
Page 15: Using The System
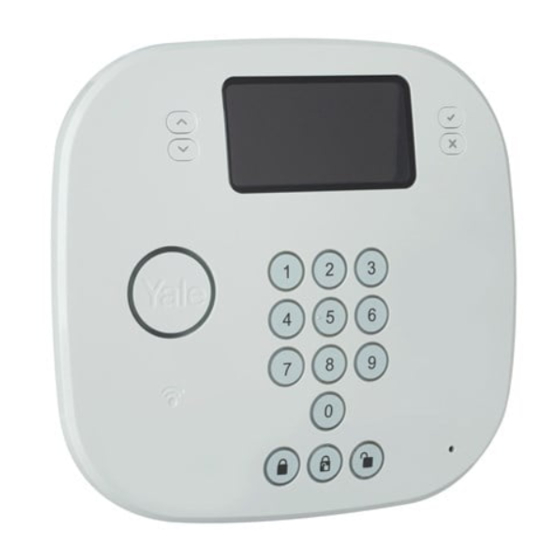
(15) Using the system 7.Using the system • Using the system Selection Keys: to navigate Confirmation Keys: to confirm the menu options. or undo the menu options. Status LED: displays different LED colors to notify you of the system status. Contactless Tag reader: tap your contactless tag to disarm the system... -
Page 16: System Test
7. Control Panel Menu System in Detail • System Test Entering Programming Mode When System Test is selected, you will be given 4 The programming mode is for you to configure different options: Sensor Test, External Siren (test), the system, and make any changes to the pre-set Panel Siren (test) and Phone alert. - Page 17 The following devices have a fixed emergency zone If you press any test/learn button on any learnt-in type: sensor (confirm by pressing 3), these sensors will be · Smoke Detector excluded during the Home Arm mode. · Key Fob (+Button) ·...
- Page 18 • A 24 Hour Door/Window Contact is active all will be shown. of the time and does not have to be armed or disarmed, if triggered a burglar alarm will be 1. Use st keys to select the device you wish to activated immediately.
-
Page 19: Pin Code
· Siren Delay · Warning Beep The alarm log memorises the last 30 system events · Time including: · Date · All alarm events with device names and type · Supervision · All fault warning events · Final Door · All arming and disarming events •... -
Page 20: Door Chime
Alarm Length premises before the system arms. Times can be set from 00 seconds (no delay) up to 70 seconds in 10 The Siren (both external and built-in) will sound when second increments. an alarm is activated. The length of the alarm can be •... -
Page 21: Test Report
feature to be switched on and off. pressing 3. Press “Up arrow” key for * key (insert • Warning on is the factory default. 3 seconds time gap, useful for switchboard) and “Down arrow” key for the # key. Time •... -
Page 22: Away Arm
8. Using the system • Arm and disarm the system and practice using it. Trigger the alarm by arming the system and opening protected door/windows and walking past PIRs. Now is the time to show the rest of the family how simple it is to use. Disarm The PIR Motion Detectors have a built-in sleep Disarming the System... - Page 23 • Home Omit and away entry sensors will be dial the preset phone numbers. ignored. • If the system is in Home mode or Disarmed mode • If other sensors not set to Home Omit, Entry when an audible alarm is initiated, the Control or Away Entry are triggered, the alarm will be Panel will wait for 15 seconds before dialling the activated immediately.
- Page 24 Disabling the system tamper Before mounting it is important to disable the External Siren and system tamper to avoid the External Siren sounding an alarm. 1. Press the Menu key and enter a user PIN code followed by 3. 2. The Control Panel is now in programming mode, Select Devices, then Program Siren and Siren Tamp.
- Page 25 9. Adding and using accessories • To provide additional protection you can add extra Door/Window Contacts, PIR Motion Detectors, Key Fobs, Key Pads, Panic Buttons and Smoke Detectors. These are available separately from your local stockist. Adding accessories to your Key Pad system Key Pad initialisation...
- Page 26 Adding accessories to your Key Pad system Key Pad initialisation If you purchase a Key Pad as an accessory, you 1. From the programming menu of the Control will need to initialise it prior to use with the Control Panel, select the Set up, then Devices and press Panel.
- Page 27 10. Changing the batteries • Always use alkaline batteries or the correct type of coin cell batteries as replacements because any other battery can cause problems with the operation of the system. Ensure the correct steps are taken when changing batteries in tamper protected devices. Control Panel Low Battery PIR Motion Detector Battery Change When the battery is low the LED will flash when any...
- Page 28 Key Fob Battery Change Key Pad Battery Change When the battery is low the LED will glow dimly When the battery is low the LED will flash when any when any key is pressed. The battery is changed as key is pressed. The battery is changed as follows: follows: 1.
-
Page 29: External Siren
11. Troubleshooting • External Siren PIR Motion Detector gives false alarms • Check pets have no access to protected area. • Check that the PIR Motion Detector is not pointed Siren does not respond to Arming or Disarming at sources of heat or moving objects, e.g. fluttering curtains. - Page 30 Voice - Dialler not responding to alarm _____________________________________________ • Check the telephone line is connected and Complete Reset Procedure that the correct telephone numbers have been programmed. Reset to factory default setting _____________________________________________ The Control Panel can clear all programmed LED illuminates and warning parameters by the following sequence: beeps (every 30 seconds if...
- Page 31 Troubleshooting • Jamming/Interference Detection User can enable Jamming/Interference Detection should they feel it is a risk. Detection via Control Panel From the panel’s menu system, select: Adv. Setting -> Jamming Det, Enable. Detection via External Siren Open up the Siren (Disable tamper first, see page 19) and switch the Dip Switch 2 to On position.
- Page 32 YaleUK YaleSecurity YaleSecurityUK PACKAGING THE YALE BRAND, with its unparalleled global reach and range of products, reassures more people in more countries than any other consumer locking solution. THE ASSA ABLOY GROUP is the world´s leading manufacturer and supplier of locking solutions, dedicated to satisfying end-user needs for security, safety and convenience.
Need help?
Do you have a question about the IA-210 and is the answer not in the manual?
Questions and answers