Advertisement
Main characteristics
- FRS Transceiver (No license required)
- Channel spacing: 12.5 KHz
- VOX (voice activated transmit)
- Channel monitor (on channel 16)
- English prompt language
- 2pin Kenwood accessory jack
- 50 CTCSS tones and 210 DCS codes
- TOT (Time out timer)
- Output power: Max 2W
- Channel Scan, Scan mode: Time, Carrier, and Search
- Battery save
- Ten (10) levels of Squelch adjustment
- Ultra clear voice
- PC programmable
- Li-lon 1500mAh battery pack
- Ultra long runtime of up to 18 hours (90% Standby, 5% talk, 5% listen)
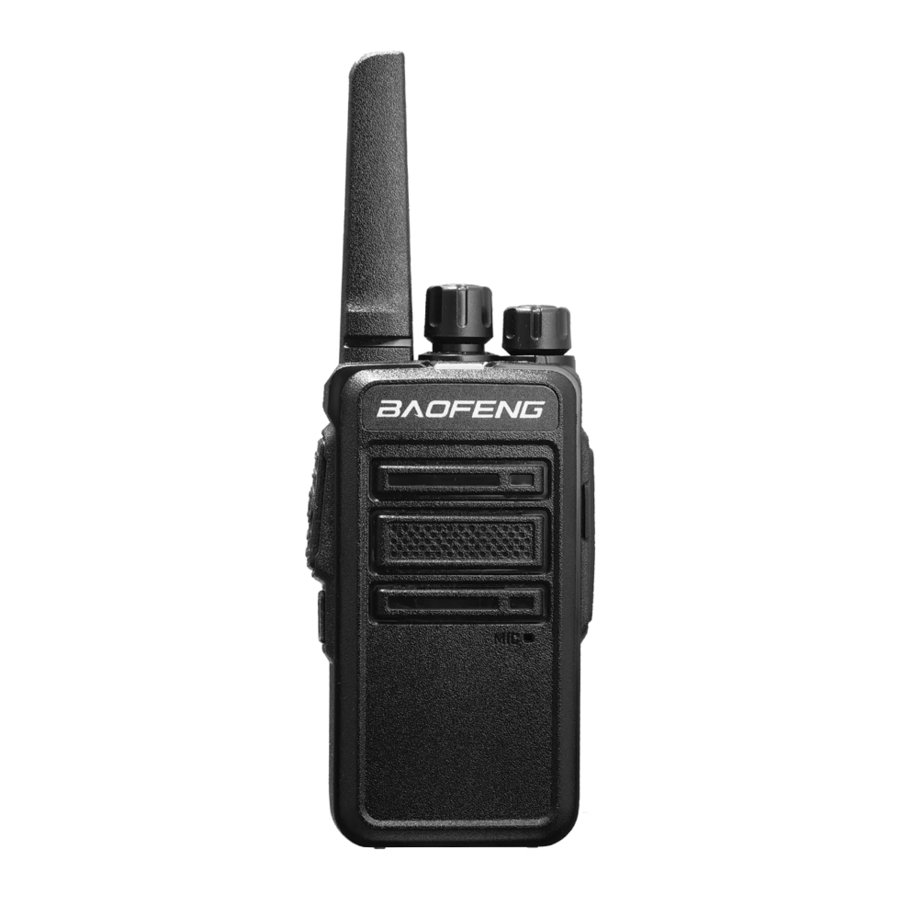
Main controls and parts of the unit

- Antenna
- Encoder: rotate clockwise or counter-clockwise to select the desired channel
- Power/volume knob-turn clockwise to power on and increase the volume level.
Turn counter-clockwise to decrease the volume level and power off. - Speaker
- Built-in microphone
- Led indicator: RED:TX; GREEN: RX.
- PTT: push this button to transmit, release it to receive.
- Side key 1: hold down this button to activate the Monitor function.
- External Speaker/Mic Jack- allows the connection with external devices such as headsets, microphones.
Installation of Accessories
External Speaker/Microphone Jack
Each radio can be used with an optional external speaker/microphone or headset, freeing your hands for other tasks. To use an optional speaker / microphone or headset:
- Open the rubber cap on the side of the radio.
- Insert the plug(s) into the SPK/MlC jacks.
- Place the ear bud into your ear, and adjust the Microphone into your desired position.
Using a Headset
You can use a headset (#480 5R) for more private communications. To use a headset, lift the rubber cover from over the headset jack, and then plug in the headset.

Your radio is not submersible or waterproof when using a headset jack. When you remove the headset, be sure to fully press the jack cover into place to restore its waterproof capability.
Charging the Battery
Charging the Device
Two radios can be charged directly by using the supplied charging cradle. A single radio can charge using the Mini USB port to connect to a USB power source. For fastest charging, turn off the radio before charging.

To avoid the risk of personal injury or property damage from fire or electrical shock, only use the accessories specifically designated for this product. Using the USB Port
- Connect the included AC adapter with USB connector cable to the radio's USB port. Connect the other end to an outlet that provides USB charging power (NOT to a USB hub).
- Charge the batteries for 6 hours until the battery indicator either stops flashing.
Using the Charging Cradle
- Connect the included AC adapter with USB connector cable to the charging cradle's Mini USB port. Connect the other end to a standard AC wall outlet.
- Set the charging cradle on the desk or tabletop, and place the radio in the charging cradle with the keypad facing forward.
- Charge the batteries for 6 hours.
Note:
- Use only the supplied batteries, charger, and AC adapter or approved accessories.
- Charge time may vary depending on the battery life remaining.
- The batteries must be installed for the unit to operate, even if the unit is also connected to external power.
- If battery power is low, you cannot operate the radio even using external power. Allow the batteries to charge before using.
*If you try to transmit while power is low, the radio will automatically

Do not charge alkaline batteries. The radio will not be used for a long time, please take out and keep the battery properly.
Operations
Power on/off and volume adjustment
Rotate the Power/Volume knob clockwise to turn the radio on. Rotate the control clockwise/counter-clockwise to adjust the volume level as you prefer. To turn the radio off, rotate the control counter-clockwise till hearing a mechanical "click".
Transmission
To communicate, all radios in your group must be set to the same channel. Briefly press the Side key 1 to enable the Monitor feature in order to make sure that the frequency is not busy, and then press the PTT key. Release the PTT key to receive. Only one user at a time can talk during radio communications. Therefore, it is important not to transmit when you are receiving a communication and use the transmission mode sparingly to allow other users to talk. Transmission consumes a significant amount of energy and should therefore be used sparingly to prolong the battery life. If you are unable to contact a station that you have no problems in receiving, the station may be using CTCSS tones or DCS codes.
Monitor
The Monitor feature is for excluding (opening) the Squelch, in order to listen to signals that are too weak to keep the Squelch permanently opened. Hold down the Side key 1 to enable such function.
Scan
This function can be activated only by means of the optional programming software. To enable the Scan function, all 16 channels must be programmed. If you turn on the radio on channel 16, the scanning will automatically start. Whenever any signal is detected, the scanning will stop on a busy channel. If the PTT is pressed, you will transmit on the latest busy channel. Channel 16 is the priority channel; therefore if you don't pick up any signal when you press PTT, the radio will transmit on channel 16.
Squelch
The Squelch function suppresses noises on free channels and allows receiving even weak signals. GT68 has 10 different Squelch levels that can be set by programming software: 0 means that the Squelch is turned off; from level 1 to level 9 you will have different levels of noise reduction. The higher is the level, the louder will be the Squelch. By default, the Squelch level of GT68 is set on level 4. Make sure you do not set an excessively high squelch level because in this case you may not be able to receive weaker signals. On the other hand an excessively low Squelch value could enable the Squelch even when no signals are present. Squelch must always be adjusted when no signals are present. The Time Out timer is settable from 30 sec to 270 sec. only through the programming software. This feature is disabled by default.
CTCSS/DCStones
CTCSS and DCS tones are similar to access codes and enable the radio to communicate only with the users that are tuned on the same channel and have set the same code. For each channel, you can set up to 50 CTCSS tones and 210 DCS codes. The CTCSS/DCS tones are a sort of "access codes" and enable the radio to communicate only with the other users set on the same frequency and on the same CTCSS/DCS tone. Undesired signals coming from other stations set on the same frequency but with different CTCSS/DCS tones won't be received.
Prompt voice switch settings
The encoder is selected to the 10th channel. Press and hold the PTT and Side Key 1 to turn on the radio, and turn the prompt voice on or off.
Turn on the prompt voice function, and there will be voice prompts when the encoder is turned on or operated. If you turn off the prompt voice function, there is only a "beep" prompt when you turn on or operate the encoder.
Emergency alert function
If necessary, you can pre-program the Side Key 1 into the Alarm function via CPS programming software. Turn on the radio, short press the Side Key 1 to turn on the alarm function. Press the Side Key 1 again to release the emergency alarm status.
CPS programming path: Edit> Function Setting> Side Key> Alarm
VOX
The VOX feature enables hands free conversations without using PTT:just speak in the direction of the microphone and the communication will be automatically activated. The VOX sensitivity can be adjusted in 5 different levels (1...5) through the programming software:
Level 2 is set by default and has the lowest VOX sensitivity, 5 is the lowest one.
With the programming software you can enable/disable the VOX feature and select the sensitivity levels.
CPS programming path: Edit> VOX >Vox Gain
Quick operation
Without CPS programming software, you can perform the following quick operations through the combination of PTT + Side Key 1:
- On channels 1-5, press and hold the PTT + Side Key 1 key to turn on the radio and turn the VOX function on or off. The VOX sensitivity is level 1-5, the level 1 sensitivity is the highest, and the level 5 sensitivity is the lowest. Accompanied by a voice prompt VOX ON or VOX OFF.
- On the 10th channel, press and hold the PTT + Side Key 1 to turn on the radio and turn on or off the prompt voice function.
- On the 15th channel, press and hold the PTT + Side Key 1 to turn on the radio and switch the prompt language between Chinese and English.
Channels and Frequencies
| CH.No | CH.Freq. | CH.No | CH.Freq. |
| 1 | 462.5625 | 9 | 462.7125 |
| 2 | 462.5875 | 10 | 462.5500 |
| 3 | 462.6125 | 11 | 462.5750 |
| 4 | 462.6375 | 12 | 462.6000 |
| 5 | 462.6625 | 13 | 462.6500 |
| 6 | 462.6250 | 14 | 462.6750 |
| 7 | 462.7250 | 15 | 462.7000 |
| 8 | 462.6875 | 16 | 462.7250 |
Trouble shooting guide
| Phenomena | Analysis | Solution |
You cannot turn on the unit | The battery may be installed improperly | Remove and reattach the battery |
| The battery power may run out. | Recharge or replace the battery | |
| The battery may suffer from poor contact caused by dirty or damaged battery contacts. | Clean the battery contacts or replace the battery. | |
During receiving the voice is weak or intermittent | The battery voltage may be low. | Recharge or replace the battery. |
| The volume level may be low. | Increase the volume. | |
| The antenna maybe loose or may be installed incorrectly. | Turn off the radio, and then remove and reattach the antenna. | |
| The speaker maybe blocked. | Clean the surface of the speaker. | |
You cannot communicate with other group members | The frequency or signaling type maybe inconsistent with that of other members. | Verify that your TX/RX frequency and signaling type are correct. |
| You may be too far away from other members. | Move towards other members. | |
You hear unknown voices or noise | You may be interrupted by radios using the same frequency. | Changethe frequency, or adjust the squelch level. |
| The radio in analog mode maybe set with no signaling. | Request your dealer to set signaling for the current channel to avoid interference | |
| You are unable to hear anyone because of too much noise and hiss | You may be too far away from other members. | Move towards other members. |
| You may be in an unfavorable position. For example, your communication may be blocked by high buildings or blocked in an underground area. | Move to an open and flat area, restart the radio, and try again. | |
| It may be the result of external disturbance (such as electromagnetic interference). | Stay away from equipment that may cause interference. | |
The unit keeps transmitting | VOX may be turned on or the headset is not installed in place | Turn off the VOX function. Check that the headphones are in place. |
NOTE: If the above solutions cannot fix your problems, or you may have some other queries, please contact your dealer for more technical support.
Technical Specifications
| General Part | |
| Frequency Range | FRS |
| Working temperature | -20°C to +50°C |
| Operation Voltage | DC 3.7V ±10% |
| Operation Mode | Simplex |
| Dimensions | 145mm x 54mm x 32mm (with Antenna) |
| Weight | 142g (Battery pack included) |
| Antenna Impedance | 50 ohm |
| Duty cycle | 5/5/90% |
| Transmitter Part | |
| RF Output Power | 2W (Max) |
| FM Modulation | 11K0F3E@12.5KHz |
| Adjacent Channel Power | 60dB @ 12.5 KHz |
| Transmission current | ≤1000mA |
| Receiver Part | |
| Receive Sensitivity | 0.25μv (12dB SINAD) |
| Adjacent Channel Selectivity | ≥55dB@12.5KHz |
| Inter Modulation and Rejection | ≥55dB@12.5KHz |
| Conducted Spurious Emission | ≤-57dB@12.5KHz |
| Rated Audio Power Output | 750mW @8 ohms |
| Rated Audio Distortion | ≤5% |
NOTE: All specifications may be modified without prior notice or liability.
Precautions for Portable Terminals
Operating Prohibitions
To protect you against any property loss, bodily injury or even death, be sure to observe the following safety instructions:
- Do not operate the product in a location containing fuels, chemicals, explosive atmospheres and other flammable or explosive materials. In such location, only an approved Ex-protection model is allowed for use, but any attempt to assemble or disassemble it is strictly prohibited.
- Do not operate the product near or in any blasting area.
- Do not operate the product near any medical or electronic equipment that is vulnerable to RF signals.
- Do not hold the product while driving.
- Do not operate the product in any area where use of wireless communication equipment is completely prohibited.
Important Tips
- Do not use any unauthorized or damaged accessory.
- Keep the product at least 2.5 centimeters away from your body during transmission.
- Do not keep the product receiving at high volume for a long time.
- For vehicles with an air bag, do not place the product in the area over the air bag or in the air bag deployment area.
- Keep the product and its accessories out of reach of children and pets.
- Please operate the product within the specified temperature range.
- Continuous transmission for a long time may lead to heat accumulation within the product. In this case, please keep it at a proper location for cooling
- Handle the product with care.
- Do not disassemble, modify or repair the product and its accessories without authorization.
Hazardous Environments
 Do not operate the radio in hazardous environments. Explosion or fire may result. Do not operate the radio near unshielded electrical blasting caps.
Under certain conditions, radios can interfere with blasting operations and may cause an explosion. Turn your radio OFF to prevent accidental transmission when in a blasting area or in areas posted: "Turn off two-way radio." Construction crews often use remote control RF devices to set off explosives.
Precautions for Batteries
Charging Prohibitions
To protect you against any property loss, bodily injury or even death, be sure to observe the following safety instructions:
- Do not charge or replace your battery in a location containing fuels, chemicals, explosive atmospheres and other flammable or explosive materials.
- Do not charge your battery that is wet. Please dry it with a soft and clean cloth prior to charge.
- Do not charge your battery suffering deformation, leakage and overheat.
- Do not charge your battery with an unauthorized charger.
- Do not charge your battery in a location where strong radiation is present.
- Overcharge shall always be prohibited for it may shorten the life of your battery.
Maintenance Instructions
To help your battery work normally or prolong its life, be sure to observe the following instructions:
- Accumulated dust on charging connector may affect normal charging. Please use a clean and dry cloth to wipe it on a regular basis.
- It is recommended to charge the battery under 5°С~40°C. Violation of the said limit may cause battery life reduction or even battery leakage.
- To charge a battery attached to the product, turn it off to ensure a full charge.
- Do not remove the battery or unplug the power cord during charging to ensure a smooth charging process.
- Do not dispose of the battery in fire.
- Do not expose the battery to direct sunlight for a long time nor place it close to other heating sources.
- Do not squeeze and penetrate the battery, nor remove its housing.
Transportation Instructions
- Damaged batteries must not be transported.
- To avoid short circuit, separate the battery from metal pars or from each other if two or more batteries are transported in one packaging.
- The radio must be switched off and secured against switch-on, if the battery is attached.
The content of the shipment must be declared in the shipping documents and by a Battery Shipping Label on the packaging. Contact your hauler for the local regulations and further information.
PO FUNG ELECTRONIC(HK) INTERNATIOANL GROUP COMPANY
Address: 3/F FULOK BLDG 131-133 WING LOK ST SHEUNG WAN, Hong Kong
https://www.baofengradio.com/
Documents / Resources
References
Download manual
Here you can download full pdf version of manual, it may contain additional safety instructions, warranty information, FCC rules, etc.
Advertisement


Need help?
Do you have a question about the GT-68 and is the answer not in the manual?
Questions and answers