Advertisement
Advertisement
Table of Contents

Subscribe to Our Youtube Channel
Related Manuals for Yamaha YHT-494


Summary of Contents for Yamaha YHT-494
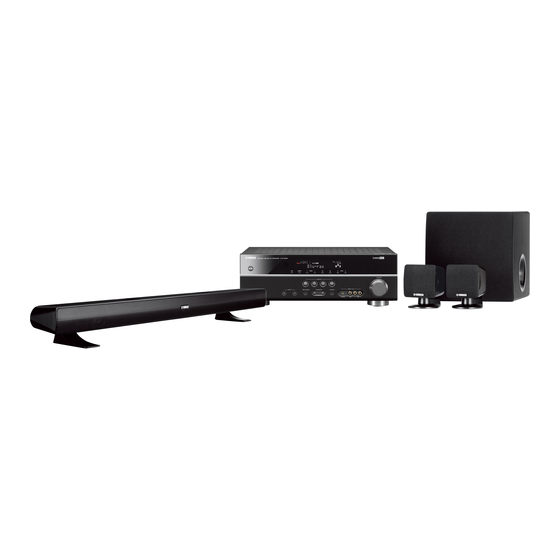
- Page 1 Home Theater Package Pack Numérique Home Cinéma YHT-494 (HTR-3063 + NS-BR300 + NS-B285 + NS-SW280) Owner’s Manual Mode d’emploi...
- Page 2 This product, when installed as indicated in the instructions contained in this manual, meets FCC requirements. Modifications not expressly approved by Yamaha may void your authority, granted by the FCC, to use the product. 2 IMPORTANT: When connecting this product to accessories and/or another product use only high quality shielded cables.
- Page 3 Please read the following operating precautions before use. Yamaha will not be held responsible for any damage and/or injury caused by not following the cautions below. 1. To assure the finest performance, please read this manual carefully. Keep it in a safe place for future reference.
- Page 4 – and, most importantly, without affecting your sensitive hearing. Since hearing damage from loud sounds is often undetectable until it is too late, Yamaha and the Electronic Industries Association’s Consumer Electronics Group recommend you to avoid prolonged exposure from...
-
Page 5: Table Of Contents
Thank you for choosing the Yamaha YHT-494 Home Theater Package. The Yamaha YHT-494 Home Theater Package includes everything you need to add great sound to your home theater. By following the instructions in this manual, you’ll have your home theater set up in no time and be enjoying music and movies like never before. -
Page 6: Connecting The Speakers And Antennas
Connecting the speakers and antennas Preparing the cables and speakers Once you’ve positioned the speakers, you’ll need to cut the 25- meter (82 ft.) speaker cable to make three cables for connecting the front/center speaker and two cables for the surround speakers. -
Page 7: Connecting The Subwoofer
Caution: Disconnect all components from AC outlets before proceeding. Connecting the front/center speaker (NS-BR300) AV Receiver ANTENNA HDMI OUT (BD/DVD) HDMI 1 HDMI 2 HDMI 3 HDMI 4 GND AM COMPONENT VIDEO SPEAKERS FRONT SURROUND CENTER MONITOR OUT COMPONENT VIDEO MONITOR OUT VIDEO OPTICAL... -
Page 8: Connecting Av Components
Connecting AV components Caution: Disconnect all components from AC outlets before proceeding. Connecting HDMI-capable components If your TV and DVD player or satellite/cable set-top box have HDMI jacks, you can connect them via the AV Receiver. Using HDMI cables (not included), connect the AV Receiver’s HDMI OUT jack to an HDMI input on your TV, and connect your DVD player and satellite/cable set-top box to the AV Receiver’s HDMI 1(BD/DVD) and HDMI 2 jacks,... - Page 9 • The optimum crossover frequency setting on the AV Receiver is 160 Hz. • See the relevant owner’s manuals for full operating instructions. COAXIAL Time to enjoy your Yamaha Home Theater Package! Now, relax and enjoy the great sound of your Yamaha Home Theater Package. Connecting AV components...
-
Page 10: Using The Subwoofer
Rear panel a Power indicator Lights up when the POWER switch is set to ON; goes off when the POWER switch is set to OFF. b INPUT jack Input jack for connecting the line-level subwoofer output on your amplifier. c VOLUME control Adjusts the volume of the subwoofer. -
Page 11: Wall-Mounting The Speakers
If your foot or hand accidentally gets caught on a loose speaker cable, the speaker may fall, causing damage or injury. • After installing each speaker, check that it’s fixed securely. Yamaha accepts no responsibility whatsoever for accidents due to improper installation. -
Page 12: Troubleshooting
If this product doesn’t work as expected, look for a possible cause below. If the issue you are experiencing is not listed, or you cannot resolve it after reading through these instructions, disconnect the power cable and contact an authorized Yamaha dealer or service center.
Need help?
Do you have a question about the YHT-494 and is the answer not in the manual?
Questions and answers