Advertisement
Quick Links
Tools Required
NOTE: The 12" lockers MUST
be anchored and/or ganged
together.
WARNING! Appropriate
screws/bolts must be used to
attach locker (A) to wall. Due
to various wall constructions,
fasteners are not provided.
12"
18" OR 24"
(H1)
#10-32 x 3/4" Screw
(H2)
(H3)
#10 Flat Washer
#10 Hex Nut
SHELF BRACKETS (C) INSTALLATION/REMOVAL
1
CUSTOMER SERVICE PHONE: 1-800-426-8562
1/4"
#2
Drill
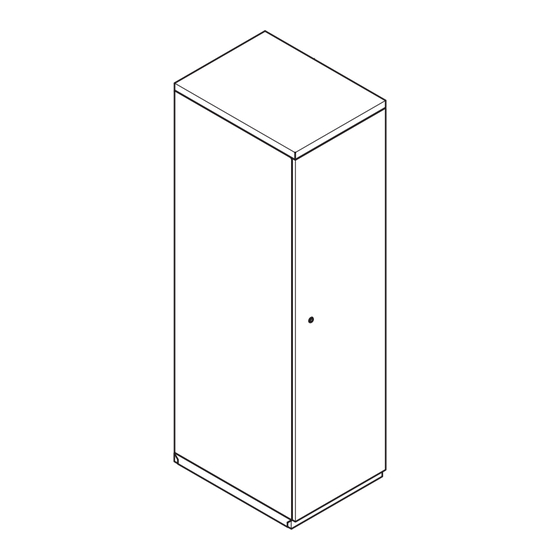
Workstation Locker
A
18"
C
2
E.C.O. No:
350-108
XSERIES®
Workstation Locker
Installation Instructions
LEVEL LOCKER (A)
A
SHELF (D) INSTALLATION/REMOVAL
1
1 of 2
Page:
1/4"
1/4"
A
B
2
D
7029-9893
Part No:
1-1/2" MAX.
Rev:
1
Advertisement

Related Manuals for Haworth XSERIES


Summary of Contents for Haworth XSERIES
- Page 1 XSERIES® Workstation Locker Installation Instructions Tools Required 1/4" 1/4" 1/4" Drill NOTE: The 12” lockers MUST LEVEL LOCKER (A) Workstation Locker be anchored and/or ganged together. WARNING! Appropriate screws/bolts must be used to attach locker (A) to wall. Due 18”...
- Page 2 FOR 12” LOCKERS ONLY: ANCHOR & GANGING DOOR PUSH LATCH (E) ADJUSTMENT 1/4" 1-1/4” to 4” Drill NOTE: Use the hardware provided in locker. NOTE: Use drop cloth to catch metal shavings when drilling. NOTE: Anchoring may be done through the side or back of file. Anchoring should be done as close to the corners of the file as posible.
Need help?
Do you have a question about the XSERIES and is the answer not in the manual?
Questions and answers