Advertisement
- 1 WINDOWS SHORTCUTS
- 2 LIGHT EFFECTS
- 3 MACOS SHORTCUTS
- 4 FUNCTION KEY COMBINATIONS
- 5 PAIRING BLUETOOTH
- 6 PAIRING WIRELESS 2.4GHZ
- 7 WIRED MODE
- 8 TOGGLE THE NUMBER ROW BETWEEN MULTI-MEDIA MODE AND F1-F12 KEYS
- 9 ENTER LCD SCREEN DISPLAY MENU
- 10 SPECS
- 11 REPLACING KEYCAPS AND SWITCHES
- 12 TECHNICAL ASSISTANCE
- 13 COMMUNITY FORUMS
- 14 Documents / Resources
WINDOWS SHORTCUTS
| FN + 1! | Screen Brightness - |
| FN + 2@ | Screen Brightness + |
| FN + 3# | Task |
| FN + 4$ | Search |
| FN + 5% | |
| FN + 6^ | Browser |
| FN + 7& | Previous Track |
| FN + 8* | Play/Pause |
| FN + 9( | Next Track |
| FN + 0) | Mute |
| FN + -_ | Volume - |
| FN + =+ | Volume + |
| FN + ESC (Short press) | ' |
| FN + SHIFT + ESC | ~ |
| FN + WIN | Lock/Unlock Win Key |
| FN + INS | PrtSc |
LIGHT EFFECTS
| FN + DEL | Turn On/Off Backlights |
| FN + \| | Toggle RGB Effects |
| FN + ↓ | Backlights Brightness - |
| FN + ↑ | Backlights Brightness + |
MACOS SHORTCUTS
| FN + 1! | Screen Brightness - |
| FN + 2@ | Screen Brightness + |
| FN + 3# | Task |
| FN + 4$ | Search |
| FN + 5% | |
| FN + 6^ | |
| FN + 7& | Previous Track |
| FN + 8* | Play/Pause |
| FN + 9( | Next Track |
| FN + 0) | Mute |
| FN + -_ | Volume - |
| FN + =+ | Volume + |
| FN + ESC (Short press) | ' |
| FN + SHIFT + ESC | ~ |
FUNCTION KEY COMBINATIONS
| FN + ESC (Hold 3s) | Reset the Keyboard |
| FN + Q | Long Press to Pair Device BT1 |
| FN + W | Long Press to Pair Device BT2 |
| FN + E | Long Press to Pair Device BT3 |
| FN + R | Long Press to Pair 2.4G Device |
| FN + Z/X/C | Toggle Layer 1/2/3 |
| FN + PGDN | Toggle Screen Display |
| FN + L_CTRL | Toggle number rows and F1-F12 keys |
| FN + MENU + ENTER | Enter the Display Menu |
| FN + MENU + ← / → | Choose among the Display menus |
PAIRING BLUETOOTH
Toggle the knob to Bluetooth mode (2, 3, 4 o'clock direction), and then:
- Hold Fn+Q/W/E for 3-5 seconds till the indicator flashes fast in red/green/blue, the keyboard is ready to pair.
- Turn on your Bluetooth device and find "Shadow-X BT5.0" or "Shadow-X BT3.0", then connect. When the keyboard is connected to the Bluetooth device, the indicator stops flashing and the connection is done.
PAIRING WIRELESS 2.4GHZ
Toggle the knob to 2.4G mode (1 o'clock direction), and then:
Insert the 2.4G dongle to your device. When the display shows that the keyboard is under 2.4G mode and the connection is done.
WIRED MODE
Toggle the knob to wired mode (12 o'clock direction).
TOGGLE THE NUMBER ROW BETWEEN MULTI-MEDIA MODE AND F1-F12 KEYS
Press Fn+L_Ctrl, the combinations from Fn+1 to Fn+= will toggle between Multi-media functions and F1-F12 keys; for example, when Fn+1= Brightness -, it means that the number row is under the Multi-media Mode; if you need to type F1-F12 keys, press Fn+L_Ctrl, the number row will be changed to F keys mode.
ENTER LCD SCREEN DISPLAY MENU
Step 1. Press Fn + Menu + Enter to enter the menu on the screen. Press Fn + Menu + ← or → to choose the menu among the Backlight Effects, Backlight Color, Backlight Speed, and Backlight Brightness.
Step 2. Press Fn + Menu + Enter to enter the second menu.
*Step 3. Press Fn + Menu + ← or → to choose to choose among the options, press Fn + Menu + Enter again to confirm and go back to the menu.
*Note: if the knob is not pressed or rotated in 5 seconds in Step 3, the display will go back to the main display. Press Fn + Menu + ← or → again to continue Step 3.
SPECS
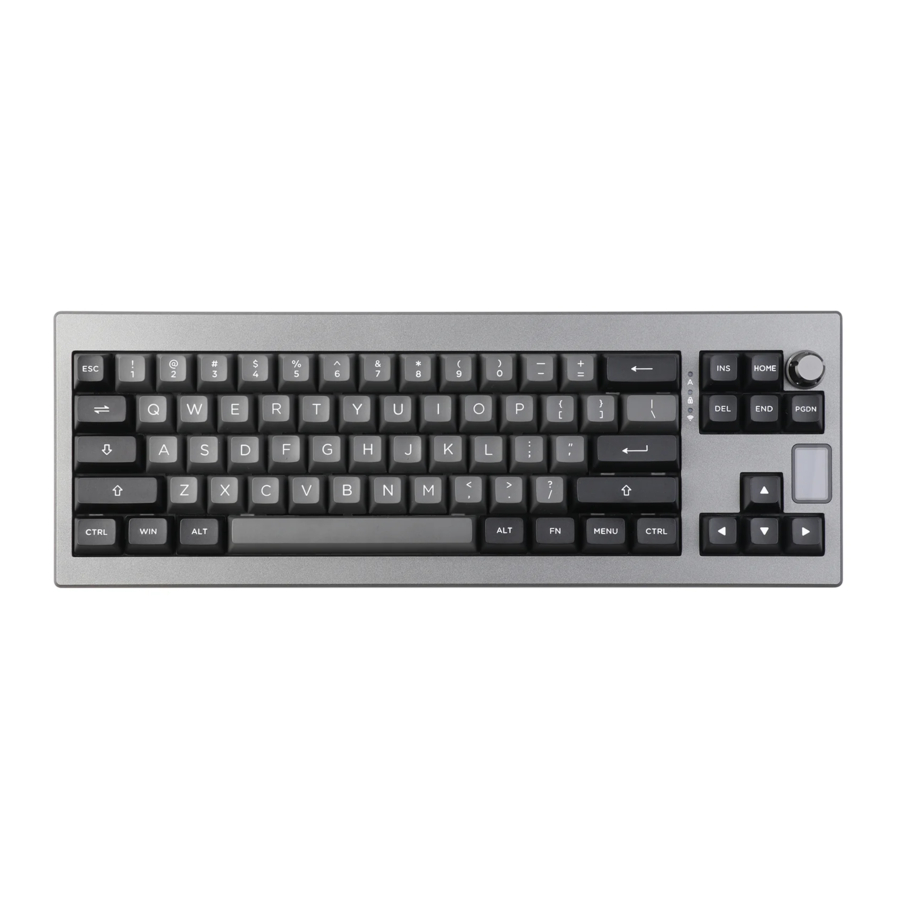
| MODEL: | EPOMAKER Shadow-X |
| KEYS AMOUNT: | 70 Keys |
| STRUCTURE: | Gasket-like mount |
| STABILIZER TYPE: | Plate-mounted |
| PCB TYPE: | 3/5-pin Hotswap PCB |
| BATTERY CAPACITY: | 3000mAh |
| CONNECTIVITY: | Type-C Wired, 2.4 & Bluetooth Wireless |
| ANTI-GHOST KEY: | NKRO in all modes |
| POLLING RATE: | 1000hz in Type-C Wired & 2.4G modes |
| COMPATIBILITY: | WINDOWS/MAC |
| DIMENSION: | 370.4*129.8*47.8mm |
| WEIGHT: | Around 0.8kg |
REPLACING KEYCAPS AND SWITCHES
For a full guide on how to remove keycaps and switches scan the QR Code or type in your browser:
https://epomaker.com/blogs/guides/diy-guide-how-to-remove-and-replace-your-mechanical-keyboard-switches


Remove Switches
- Grab your Switch Removal Tool and align the gripping teeth vertically (on the Y-Axis) at the center of the switch, as shown in the example graphic above.
- Grab the switch with the Switch Puller and apply pressure until the switch releases itself from the plate.
- Using firm but gentle force pull the switch away from the keyboard using a vertical motion.
Install Switches
- Check that all the switch metallic pins are perfectly straight and clean.
- Align the switch vertically to have the Gateron logo facing north. The pins should align themselves to the keyboard PBC.
- Press the switch down until you hear a click. This means your switch clips have attached themselves to the keyboard plate.
- Inspect the switch to ensure it's properly attached to your keyboard, and test it.
 Note: If the key doesn't work its possible you may have bent one of the switches while installing it. Pull the switch out and repeat the process.
Pins may be damaged beyond repair and need replacement if this process is not done correctly. Never apply excessive force when replacing keycaps or switches. If you cannot remove or install keycaps or switches please contact customer service as soon as possible to avoid damage to the keyboard due to operating errors.
TECHNICAL ASSISTANCE
For technical assistance, please email to support@epomaker.com with your purchase order number and a detailed description of your issue.
We normally respond to enquiries within 24 hours. If you purchased your keyboard from a distributor or not from any official store of Epomaker, please contact them directly for any additional help.
COMMUNITY FORUMS
Join our community and learn together with other keyboard enthusiasts.


https://www.reddit.com/r/Epomaker/

Documents / Resources
References
![epomaker.com]() https://epomaker.com/blogs/guides/diy-guide-how-to-remove-and-replace-your-mechanical-keyboard-switches
https://epomaker.com/blogs/guides/diy-guide-how-to-remove-and-replace-your-mechanical-keyboard-switchesEpomaker
![www.reddit.com]() Reddit - Dive into anything
Reddit - Dive into anything
Download manual
Here you can download full pdf version of manual, it may contain additional safety instructions, warranty information, FCC rules, etc.
Advertisement


Need help?
Do you have a question about the Shadow-X and is the answer not in the manual?
Questions and answers