Advertisement
Quick Links
Advertisement

Summary of Contents for Elegoo MARS 3
- Page 1 More to explore on ELEGOO Amazon Brand Store...
- Page 2 Thank you for purchasing ELEGOO Mars 3 3D printer. This user manual applies to Mars 3 and Mars 3 Pro. We take Mars 3 as an example in this manual. Please unbox and inspect the printer upon receiving it. lf you have any questions regarding the printer. Please contact us at 3dp@elegoo.com, facebook, or Instagram.
- Page 3 If you need technical support please contact us at 3dp@elegoo.com. Please keep the Mars 3 3D printer and its accessories out of the reach of children. When you use the printer for the first time, you would need to adjust it before printing (Unbox and Test).
-
Page 4: Packing List
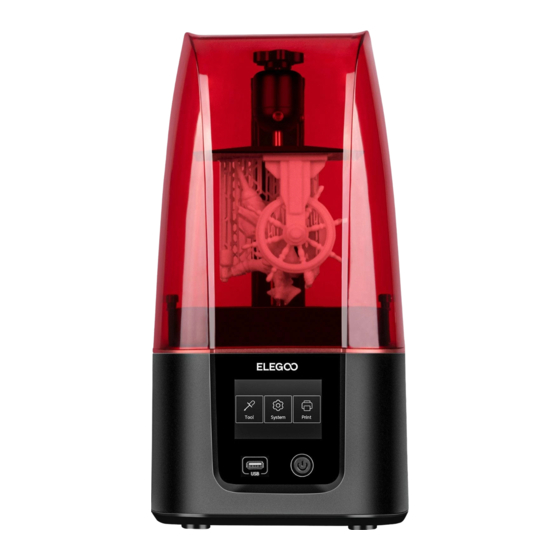
Packing List Build Platform Resin Tank U Disk Mask Gloves Scrapper User Manual Funnel Backup Screws MARS 3 3D Printer Adapter Tool Kits... - Page 5 The Rotary Knob Z Axis Build Platform Resin Tank Touchscreen Power Switch Anti-UV Cover DC Input...
- Page 6 Mars 3 Tech Specs System: EL3D-3.0.1 Operation: 3.5 Inch Touch Screen Printing Parameter Slicer Software: CHITUBOX Connectivity: USB Technology: UV Photocuring Light Source: UV Integrated LED (warelength 405nm) XY Resolution: 0.035mm (4098*2560) Z Axis Accuracy: 0.00125mm Printing Specification Layer Thickness: 0.01-0.2mm Printing Time: 1.5-3s per layer (30-50mm/H)
- Page 7 Leveling 1.Take out the printer carefully and take off the plastic film. 2.Turn on the printer. 3.Please insert the build platform, fasten the rotary knob and loose the screws (see picture (picture 1) 4.Remove the resin tank and put an A4 paper between the build platform and 4K LCD screen and click “Move Z axis to zero”...
- Page 8 5.Since tightening the screws of the build plate it will be tighter when pulling out the Please fasten the A4 paper,at that time, you need to calibrate screw first then the screw. the height of the Z axis slightly again. If there is no resistance or only a few resistance when pulling out the A4 paper, click to descend the Z axis at the distance...
- Page 9 Put the resin tank back and fasten the screws (Picture 7) 8.Test the lights by pressing “Tool” -” Exposure” -” Next” (See picture 7). If the 4K screen can display a complete “ELEGOO TECHNOLOGY www.elegoo.com” then the UV lights work perfectly.
-
Page 10: Print Test
Print Test 1 Model Printing (Cover the machine with the anti-UV cover.) Please put on a face mask and gloves first (to avoid direct contact with the skin), then slowly add resin to the max line of the tank and the resin should not exceed the max line, cover it with an anti-UV cover to protect it from UV light and make sure the printer is level and does not wobble, plug the USB into the printer, select the model file "Rock.ctb"... - Page 11 (See picture 9) (Picture 9) 1 Install ChiTu Box ELEGOO ChiTu Box is saved in the U Disk. Choose the right version and install it on your computer or you can download the latest version from www.elegoo.com/download if you prefer.
- Page 12 2)Scroll the mouse wheel to zoom in or zoom out the model. 3)Long press the right click to see different perspectives of the model. 3 ChiTu Box Setting 3.1 Click “Parameter Settings” and choose ELEGOO Mars 3 as your default printer.(See picture 10) (Picture 10) (Picture 10)...
- Page 13 3.3 Resin Parameter (See picture 11) Resin Density: 1.1g/ml Resin Cost: You can input the cost of resin and after slicing you will see how much it costs for your model. (Picture 11) 3.4 Parameters (See picture 11) Layer Height: The recommended height is 0.05mm but you can set it from 0.01-0.2mm.
- Page 14 4 Save Model After setting up all the parameters, click “slice” and once it’ s done, click “export sliced files to U Disk or SD Card” then plug the U disk to your printer, start printing. (See picture 12) (Picture 12)...
- Page 15 Release liner film is very loose due to long-time usage and need to be changed. Build platform or resin tank is not fastened. 3. Mars 3 can' t work We offer a full one-year warranty on the printer and 6-month warranty for the screen.
- Page 16 5 Maintenance 1.If Z axis keeps making friction noises, please adds some lubricant to it. 2.Please do not use sharp or pointy objects to scrape the release liner film in case of damages. 3.Be careful when you remove the build platform in case you may damage the 4K LCD screen. 4.Remember to pour the rest of the resin from the tank back into the resin bottle and seal it well if you don’...
-
Page 17: Warranty Service
Warranty Service 1. ELEGOO provides a 1-year warranty for equipment damaged by non-human factors, except for filament, LCD screen, and FEP release film. 2. The LCD screen comes with a 6-month non-artificial damage warranty. 3. No warranty is provided for personal modification or disassembly of equipment.


Need help?
Do you have a question about the MARS 3 and is the answer not in the manual?
Questions and answers