Table of Contents
Advertisement
Available languages
Available languages
Owner's Manual
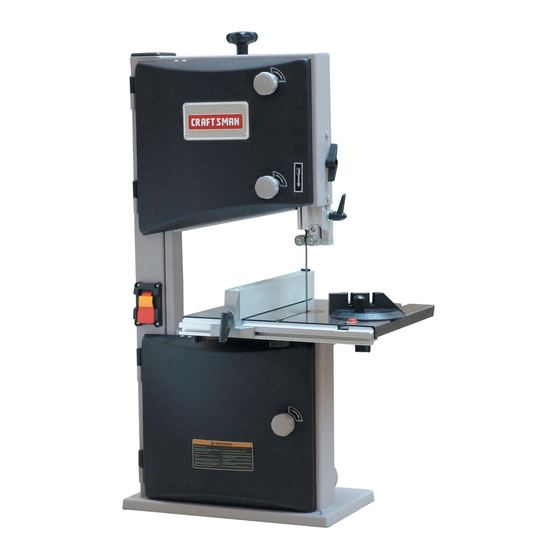
10-in. BANDSAW
1/3 HP MOTOR
Model 119.214000
CAUTION:
Before using this
product,
read this manual and
follow all its Safety Rules
and Operating
Instructions.
• Table of Contents
• Full One Year Warranty
• Safety Instructions
• Assembly
• Getting to Know Your Bandsaw
• Adjustment
• Operation
• Maintenance
• Troubleshooting
• Electrical
Schematic
• Parts List
• EspaSol, p. 12
Sears, Roebuck
and Co., Hoffman
Estates,
IL 60179, U.S.A.
www.craftsman.com
Advertisement
Table of Contents

Related Manuals for Craftsman 119.214


Summary of Contents for Craftsman 119.214
- Page 1 Safety Rules and Operating Instructions. Sears, Roebuck and Co., Hoffman www.craftsman.com • Table of Contents • Full One Year Warranty • Safety Instructions • Assembly • Getting to Know Your Bandsaw • Adjustment •...
- Page 2 Parts list ... Esparlol ..:... If this Craftsman tool fails due to a defect in material or workmanship within one year from the date of purchase, CALL 1-800-4-MY-HOME® TO ARRANGE FOR FREE REPAIR. If this tool is used for commercial or rental purposes, this warranty will apply for only ninety days from the date of purchase.
- Page 3 2. Always keep hands and fingers away from the blade. 3. Never attempt to saw stock that does not have a flat surface, unless a suitable support is used. 4. Always hold material firmly and feed it into the blade at a moderate speed.
- Page 4 Assemble the upper table trunnion to the lower table trunion with Carriage Bolt, Glide Piece, Washer and Wing Nut. Place the table on to the upper table trunnion, taking care when passing the saw blade through the slot of the table (See Fig. 1).
- Page 5 U se thehexsocket head capscrew, washer andwing nutforcorrecting theworking t able flatness. (See Fig.2) c. Lay the rip fence onto the guide rail. Adjust the rip fence parallel to the saw blade. Tighten rip fence handle by pressing downward. (See Fig. 3) Look d.Place t heblade tension k nob ontotheblade tensioner (See...
- Page 6 Place the wrench on the hex. bolt and adjust until the table square to the saw blade.(See Fig.8) c. Tighten the hex. nut and recheck the saw blade and the table for squareness. d. Lock the table into position and check that the indicator reads zero degree on the side of lower table trunnion.
- Page 7 Do not set the roller guides too close as this will adversely affect the life of the saw blade. c. Adjust the rear roller guide to be just clear of the back of the saw blade by unlocking the guide adjusting screw (B) Fig. 15 BLADE d.
- Page 8 Keep the inside (near the saw blade, etc.) clean to prevent accumulation e. To prolong the life of the saw blade, when the bandsaw is not in use for extended periods, release the saw blade tension. Before reusing the bandsaw ensure that the blade is re-tensioned and tracking is checked.
- Page 9 The machine does not work when switched on. The saw blade does not move with the motor running. The saw blade does not cut in a straight line. The saw blade does not cut, or cuts very slowly. Sawdust builds up inside the machine, Sawdust inside the motor housing.
- Page 11 Hex. Socket Set Screw M6xlO Drive Belt Ball Bearing 12ram Retaining Ring 28 138 ' Lower Wheel Tire Retaining Ring 12 Saw Blade Upper Wheel Upper Bearing Bolt Wheel Carrier Bracket Hex. Nut M14 Star Lock Mount Shaft Blade Tensioner...
- Page 12 Tebla d econtenidos Tede e lalecon garantia ... Instruceienes deseguridad Ensamblaje Conocer tusierra d ecinta ..Aiustacien OperaciSn Mantenimiente SoluciSn deProblemas Esquema el_ctdco Lista departes ... EspaSol En esta herramienta de artesano falla debido al defecto en material o habilidad dentro de un afro desde la fecha de compra, Ilamar al 1-800-4-MY-HOME®...
- Page 13 ft_l[dl=lni[e];_J Siempre poner le ropa aproplada. Nunca no poner la rope o joyerias que puede agarrar en partes movidas. Caueho-exclusivo de ealzado estd recornendado _"yl;,i=1 m[e']z{e] Tambien utilizar la m_.scara de care o de poLvo sila operacibn de sorts est& empolvado. Slempre uUlizar las gafas...
- Page 14 1. Herramienta requerido para el ensamblaje Item Descripci6n Destornillador mediano ... 1 Llave ajustable ... Cuadrado ... 2. Desemblaje y chequeao de los contenidos Modelo 119.214000 10" Cinta de sierra est& embarcado en una caja a. Separar todas las partes del cart6n y chequear eada item con "posible T de los Contenidos Carton"...
- Page 15 b. Ajusiar el guia de carril con dos botones de rosca de comienzo y arandear al tablero. Utilizer el bot6n hex puntando balancear para corregir el tablero de trabajo. c. Coloeer el rasg6n acerca sobre el guia de carriL Ajustar el rasg6n acerca el pararelo ala cinta de sierra.
- Page 16 1. CENTRALIZAR EL TABLERO a. Soltar !os cuatro botones hex mantado en el tablero para el mufi6n de tablero superior. (Ver Fig 7) b. Mover el tablero de lugar como requerido, corre atraves del centre del inserci6n de tablero. c. Si el ajustaci6n de "b"...
- Page 17 a. Remover la perisca, el caril guiada, el tuerca balanceada desde el tablero. b. Abrir las puertas superiors e inferiores puertas. c. Soltar la tensi6n de file per giro del bot6n de tensi6n de file del ruedecillos superiores con la direciSn de aguja de reloj haste el sierra de file esta fiojo (vet desde arriba) (Ver Fig.
- Page 18 31equear 9. CAMBIO DE CORREA a. Aflojar ta tension de sierra de filo presionando s_erra sobre el parte superior de sierra de filo en sentido reloj. b. Utilizar una Ilave hex M6. "L" (no suministrado) de Ilave de encaje sobre el reberde de motor. (Ver Fig.17) ADVERTENCIA: Antes de comenzar de chequear si alguna parte de su...
- Page 19 Problema La m&quina no trabaja cuando enciende. Sierra de cinta no ser_. removido cuando el motor est& corriendo. Sierra de cinta no corta en Ifnea recta. Sierra de cinta no corta, o corta demasiado lento. Polvo visto dsntro de la m&quina Po}vo visto dentro del motor de alojamiento.
- Page 20 Get it fixed, at your home or ours! For repair-in your home-of lawn and garden equipment, or heating and cooling systems, no matter who made it, no matter who sold it! For the replacement owner's manuals that you need to do-it-yourself. For Sears professional and items like garage door openers and water heaters.