Advertisement
- 1 SPECIFICATIONS
- 2 LIST OF PARTS
- 3 DESIGNATION AND PROPERTIES
- 4 CONDITIONS OF SAFE USAGE
- 5 INSTALLATION AND START-UP
- 6 ADJUSTMENT AND DISCONNECTION OF FILTER HOSE VALVES
- 7 CLEANING OF FILTER MEDIA
- 8 CLEANING OF THE ROTOR CHAMBER AND MAINTENANCE OF THE UNIT COVER SEAL
- 9 DISASSEMBLY AND DISPOSAL
- 10 WARRANTY CONDITIONS
- 11 Documents / Resources
SPECIFICATIONS
| ULTRAFILTER | 900 | 1200 | 1400 | |
| Voltage | V | 220-240 | ||
| Frequency | Hz | 50 | ||
| Maximum water lift | cm | 160 | 160 | 170 |
| Wattage | W | 12,9 | 13,9 | 14,8 |
| Maximum performance | l/h | 1000 | 1200 | 1400 |
| Number of 1.9-litre baskets | pcs | 3 | 4 | 5 |
| Recommended tank capacity | l | 50-200 | 150-300 | 250-500 |
| Hose diameters | mm | 16/22 | ||
LIST OF PARTS


| a) | housing of the ULTRAFILTER filter together with the cover, filter baskets, and a set of filter media |
| b) | connecting hose – 2 x 1.5 m |
| c) | set of connecting tubes 2 pcs |
| d) | set of suction cups – 4 pcs |
| e) | deflector |
| f) | intake strainer |
| g) | connector tube |
| h) | elbow piece |
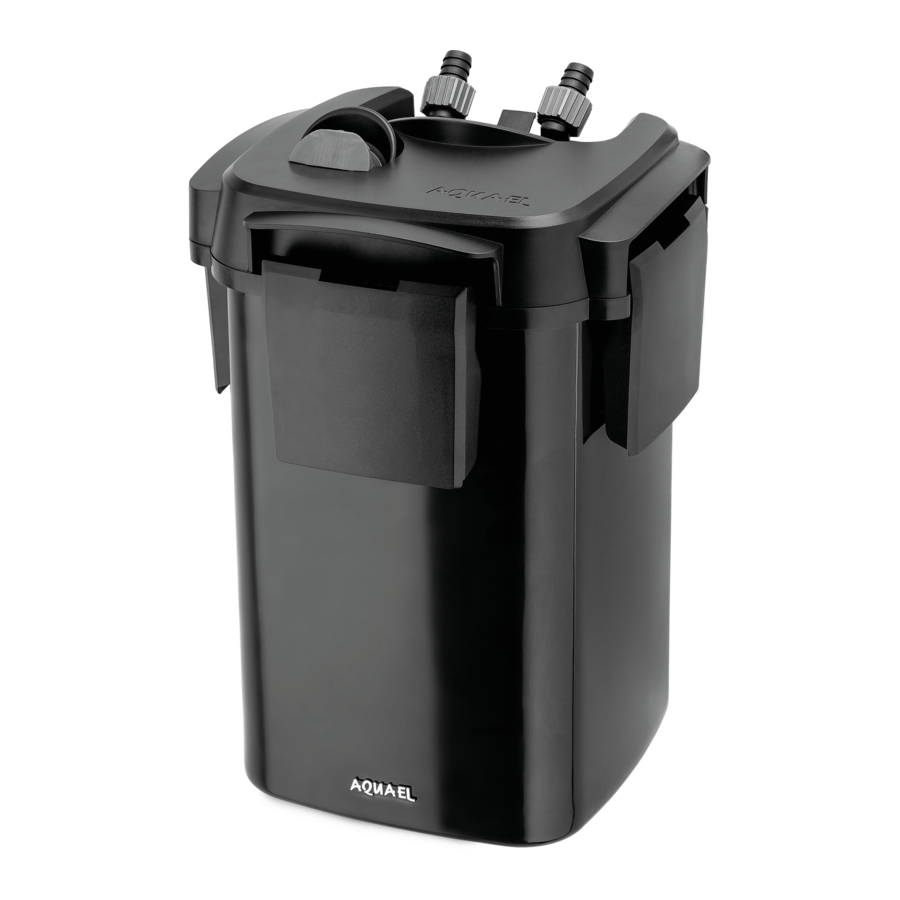
DESIGNATION AND PROPERTIES
ULTRAFILTER are modern aquarium filters designed for medium and large fish tanks. The integrated hose shut-off valve ensures convenient operation and cleaning. Effective self-priming mechanism guarantees easy and convenient start-up of the filter. High capacity of cartridges allows to create perfect conditions for breeding aquarium animals and plants. The filter can be used with any type of filter cartridges (biological, mechanical and chemical). Performance adjustment allows easy adjustment of the flow rate to the needs of each aquarium. Modern energy-saving motor ensures stable water flow through filtration media and lower electricity bills. The ceramic rotor axis makes the filter virtually inaudible. The ULTRAFILTER line includes three models (ULTRAFILTER 900, 1200, 1400) with the efficiency ranging from 1000 to 1400 l/h.
CONDITIONS OF SAFE USAGE
The devide you purchased was manufactured in conformity with all safety standards currently in force on the area of European Union. For long lasting and safe usage please read the safety conditions below:
- Before the installation and every starting of the device, carefully read this installation and maintenance manual.
![]()
- The device is designed for usage only indoors and accordingly to its destination.
![]()
- The device can be powered from a power grid of voltage stated on the device.
- The power cord is non-detachable and cannot be replaced. If the cord is damaged, the device must be discarded.

![]()
Before performing any maintenance works, unplug or turn off all the devices in the tank

- This device can be operated by children who are at least eight years of age, by persons with reduced physical or mental capabilities or persons with no prior experience with the device only under supervision or following aninstruction on the safe operation of the device to ensure that the person is aware of any associated risks. The device is not a child's toy! Do not let children to clean or perform maintenance on the device without supervision.
![]()


INSTALLATION AND START-UP
The ULTRAFILTER filter must ALWAYS be placed below the water level in the aquarium. For aesthetic reasons, it is recommended to place it in a specialist aquarium cabinet located under the tank. Insert the filter valve body into the cover opening beforehand. In the new filter the valve body is placed in a box together with hoses. In order to connect the filter for the first time, assemble the b-h components. Push the lower ends of the hoses onto the inlet connectors of the filter as far as they will go and secure them with clamp nuts (i). To ensure that tightness, hose ends should be pushed as far as they will go onto the connectors. Before start-up, remove the filter cover by opening the four brackets (j) that hold the filter cover (k). Then pull the filter cover (k) out of the filter container (l). Remove the filter baskets (m) together with filter cartridges from the inside of the filter. We recommend soaking sponges and filter wool in water. Remove the ceramic cartridges from the plastic packaging directly into the baskets and rinse thoroughly to remove any dust (otherwise this dust may cause temporary water cloudiness). In order to speed up the initiation of biological filtration, it is recommended to sprinkle sponges and ceramic cartridges with a biostarter with live cultures of nitrifying bacteria (e.g. AQUAEL ACTIBACTOL). Next, place filter baskets and cartridges inside the filter in the following order (starting from the bottom): black sponge (low-density), blue sponge (high-densit), filter wool, ceramics, container sieve (n), and install the filter cover (k) by locking four brackets (j) that hold the filter cover. NOTE: cartridges may be inserted in different order in a newly-purchased filter. The above recommended order of cartridges guarantees optimum water filtration performance.
To fill the assembled filter with water, before connecting it to the mains and with the filter hose valves open, pull out the lever, located in the filter cover, used for priming the filter (o) as far as it will go and push it back in. The vacuum generated in this way inside the filter will automatically fill it with water from the aquarium. Then replenish the loss of water in the tank. After filling the filter with water, simply connect it to the mains. NOTE: during the initial period after start-up the device may operate slightly noisier and through large amounts of air bubbles through the outflow hose. This is due to the automatic venting of the filter interior. NOTE: if the filter priming lever (o) is blocked, insert the screwdriver into the opening at the front of the lever and pull it out.
ADJUSTMENT AND DISCONNECTION OF FILTER HOSE VALVES
The ULTRAFILTER filter is equipped with two valves, placed in one body, which are used to adjust the flow of water and to disconnect the hoses supplying water to the filter and extracting water from it back to the aquarium. These valves are used to regulate the performance of the device (flow rate of water through the filter). To reduce or increase the filter performance, move the valve body lever as shown in figures 4a and 4b. The valves are also used to stop the supply of water to the filter and to disconnect the hoses. For this purpose, move the valve lever to the SERVICE position - at this point the valve body slightly lifts in the filter cover. Then pull the valve body upwards to disconnect it from the filter cover. In order to reconnect the valve body to the cover, you should carry out the above activities in reverse order.
CLEANING OF FILTER MEDIA
Clean the filter cartridges located inside the filter only in drained aquarium water (not in tap water!). It is recommended to carry out the first cleaning after observing a visible decrease in the device performance. For optimal operation of the filter, it is recommended to clean or replace the filter cartridges with new ones at least once every 12 months. In order to clean the filter cartridges located inside the filter, it is required to: close the valves on the hoses, disconnect the device from the mains, disconnect the valve body of filter hoses and then remove the device from the aquarium cabinet. To remove the filter cover, unlock the four brackets (i) holding the prefilter cover and lift the filter cover (k). As some dirty water may spill out of the filter when removing the filter cover, it is advisable to place the unit in a bath or shower base beforehand. Then remove the filter baskets (m) located inside the unit and replace the filter cartridges or carry out their maintenance in accordance with the above instructions. Next, reassemble the unit by re-inserting the filter baskets (m), placing the filter cover (k) on the container (l), locking the brackets (j) holding the filter cover (k), connecting the valve body of filter hoses, opening the hose valves and finally connecting the unit to the mains.
If necessary, hoses, tubes and filter housing can be cleaned of algae or scale and dust using a soft cloth or sponge.
CLEANING OF THE ROTOR CHAMBER AND MAINTENANCE OF THE UNIT COVER SEAL
In order to ensure trouble-free operation of the filter, the rotor and the chamber in which it operates must be cleaned at the same time. For this purpose, turn the filter cover upside down, remove the clamping cover of the rotor chamber (p) by turning it counterclockwise, pull out the rotor cover (r), remove the rotor (s) and wash it thoroughly under running water. The inside of the rotor chamber (t) should be cleaned with a soft brush. Then reassemble the unit by carrying out the above activities in reverse order.

When cleaning the filter, carefully remove the seal (u) located under the filter cover, wash it thoroughly in warm water, dry it with a paper towel and lubricate it with silicone grease. It is also necessary to clean the groove where the seal is located with a soft sponge or cloth in order to remove scale and other mechanical impurities. Next, place the seal back in the groove under the filter cover. Such a procedure guarantees long-lasting use of the seal without the need to replace it more frequently than once every 4-5 years. If the seal breaks or is damaged, replace it with a new one.
DISASSEMBLY AND DISPOSAL

It is forbidden to dispose of used electric and electrical equipment in a trash bin. Segregating and proper utilization of this kind of waste leads to conserving the resources of natural environment. The user is responsible for delivering the used product to a specialized collection point where it will be accepted free of charge. You can obtain information about such a facility at the local authorities at the product seller.
WARRANTY CONDITIONS
The manufacturer grants a 24 month guarantee beginning on the date of purchase. The guarantee covers defects arising from manufacturer fault i.e. defective materials or assembly errors. It does not cover damage due to user's fault caused by improper handling of the device or using the device for purposes discordant its destination. Attention: any modification or disassembly attempt exceeding normal usage and maintenance cause the guarantee void. In case of noticing improper operation of the device send it with filled out warranty card to the distributor address. The conformity of the production date stamped on the product and written in the guarantee card is a prerequisite for accepting the guarantee. The following warranty conditions do not exclude, limit or suspend user's rights derived from discrepancy of the merchandise with the agreement. The guarantee is limited to repair or replacement of the unit only and does not cover consequential loss or damage to animate or inanimate objects.
AQUAEL Sp. z o. o.
Dubowo Drugie 35, 16-400 Suwałki, Poland
www.aquael.com , e-mail: service@aquael.com

Documents / Resources
References
Download manual
Here you can download full pdf version of manual, it may contain additional safety instructions, warranty information, FCC rules, etc.
Advertisement


Need help?
Do you have a question about the ULTRA FILTER and is the answer not in the manual?
Questions and answers