Table of Contents
Advertisement
Quick Links
1
SERVICE MANUAL
Level 1&2
RH-109
Transceiver characteristics
Band:
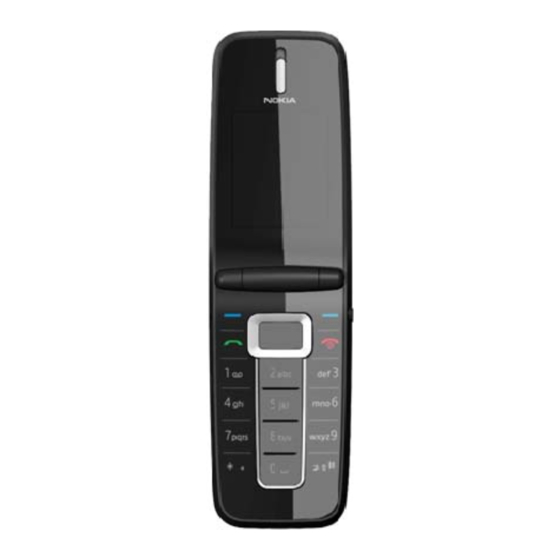
RH-109 : CDMA200 1XRTT tri-band Cell, PCS, AWS
Display:
Main display: 1.77" 128x160 pixel, 262k true color
internal display
Secondary/hidden display: 0.97" 96x32 pixel,
white monochrome external display
Operating System:
L4
Connections:
Micro USB port for charging and data transfer (USB
2.0+)
Transceiver with BL-4B battery pack
Talk time
Up to 3.5 hours
Confidential
Copyright @ 2008 NOKIA. All rights reserved
1606 fold RH-109
Service Manual Level 1&2
Standby
Note
10 days
Depend
network
parameters
and phone
setting
ISSUE 1
Advertisement
Table of Contents

Related Manuals for Nokia 1606 FOLD


Summary of Contents for Nokia 1606 FOLD
- Page 1 Micro USB port for charging and data transfer (USB 2.0+) Transceiver with BL-4B battery pack Talk time Standby Note Up to 3.5 hours 10 days Depend network parameters and phone setting ISSUE 1 Confidential Copyright @ 2008 NOKIA. All rights reserved...
-
Page 2: Table Of Contents
Warnings and cautions ..............................5 Warnings .................................5 Cautions ...................................5 ESD protection ................................6 Care and maintenance ...............................7 Battery information..............................8 Exploded view ................................9 Service devices…………………………………………………………………………………………………………………….…..….…..10 SW-update…………………………………………………………………………………………………………………………………...…..11 10. Disassembly instruction……………………………………………………………………………………………………….…………12 11. Assembly hints…………………………………………………………………………………………..........18 12. Solder components………………………………………………………………………………………………………..……….………22 ISSUE 1 Confidential Copyright @ 2008 NOKIA. All rights reserved... -
Page 3: Change History
The purpose of this document is to help NOKIA service levels 1 and 2 workshop technicians to carry out service to NOKIA products. This Service Manual is to be used only by authorized NOKIA service suppliers, and the content of it is confidential. Please note that NOKIA provides also other guidance documents (e.g. -
Page 4: Copyright
Under no circumstances shall Nokia be responsible for any loss of data or income or any special, incidental, consequential or indirect damages howsoever caused. The contents of this document are provided “as is”. Except as required by applicable law,... -
Page 5: Warnings And Cautions
3. Use only approved components as specified in the parts list. 4. Ensure all components, modules screws and insulators are correctly re–fitted after servicing and alignment. 5. Ensure all cables and wires are repositioned correctly ISSUE 1 Confidential Copyright @ 2008 NOKIA. All rights reserved... -
Page 6: Esd Protection
ESD protection. ESD protected spare part packages MUST NOT be opened/closed out of an ESD Protected Area. For more information and local requirements about ESD protection and ESD Protected Area, contact your local Nokia After Market Services representative. ISSUE 1 Confidential... -
Page 7: Care And Maintenance
All of the above suggestions apply equally to the product, battery, charger or any accessory. ISSUE 1 Confidential Copyright @ 2008 NOKIA. All rights reserved... -
Page 8: Battery Information
Batteries’ performance is particularly limited in temperatures well below freezing. Do not dispose batteries in a fire! Dispose of batteries according to local regulations (e.g. recycling). Do not dispose as household waste. ISSUE 1 Confidential Copyright @ 2008 NOKIA. All rights reserved... -
Page 9: Exploded View
1606 fold RH-109 Service Manual Level 1&2 7. EXPLODED VIEW See corresponding ITEM/CIRCUIT REF in the Spare Parts Service Bulletins on NOL. 1606 FOLD RH-109 EXPLODED VIEW ISSUE 1 Confidential Copyright @ 2008 NOKIA. All rights reserved... -
Page 10: Service Devices
For more information, refer to the Service Bulletin (SB-011) on NOKIA Online. Supplier or manufacturer contacts for tool re-order can be SS-124 Domesheet Alignment found in “Recommended service CA-101 Service Cable equipment” document on NOKIA ISSUE 1 Confidential Copyright @ 2008 NOKIA. All rights reserved... -
Page 11: Sw-Update
1606 fold RH-109 Service Manual Level 1&2 9. SW-UPDATE POS (Point of Sale) flash concept ISSUE 1 Confidential Copyright @ 2008 NOKIA. All rights reserved... -
Page 12: Disassembly Instruction
Service Manual Level 1&2 10. DISASSEMBLY INSTRUCTION 1. Nokia 1606 ARTE disassembly. 2. You need the Nokia Standard Toolkit version 2. 3. Push release and lift to remove battery cover. 4. Lift and remove battery. 6. Insert the opening tool to lift up 5. - Page 13 11. Remove the FPC sponge. 12. Remove the shielding case. 13. Open the FPC BTB connector. 14. Lift up the MB. 15. Tear off the mylar. 16. Open the shielding case. ISSUE 1 Confidential Copyright @ 2008 NOKIA. All rights reserved...
- Page 14 20. Metal dome removed. 21. Use the tweezers to remove the hinge spring. 22. Push open the hinge cam by tweezers to separate Housing. 23. Remove FPC. 24. Remove ring. ISSUE 1 Confidential Copyright @ 2008 NOKIA. All rights reserved...
- Page 15 28. Take and remove housing tabs - 2. to separate housing tabs - 1. 29. Disassemble A-Cover and B-Cover. 30 .Remove the SB . 31. Remove receiver. 32. Remove FPC mylar. ISSUE 1 Confidential Copyright @ 2008 NOKIA. All rights reserved...
- Page 16 36. Push out the hinge. 37. Remove the hinge. 38. Disassemble the BTB Connector of sub LCM - 1. 39. Take and remove sub LCM - 2. 40. Disassemble main LCM - 1. ISSUE 1 Confidential Copyright @ 2008 NOKIA. All rights reserved...
- Page 17 1606 fold RH-109 Service Manual Level 1&2 41. Separate the SUB PCB and Main LCM - 2. 42. Disassembly complete. ISSUE 1 Confidential Copyright @ 2008 NOKIA. All rights reserved...
-
Page 18: Assembly Hints
1606 fold RH-109 Service Manual Level 1&2 11. ASSEMBLY HITS 1. Nokia 1606 ARTE assembly. 2. You need the Nokia Standard Toolkit version 2. 3. Put receiver down. 4. Insert FPC. 5. Insert FPC through B-Cover – 1. 6. Insert FPC through B-Cover – 2. - Page 19 11. Assemble sub LCM BTB connector. 12. Assemble SB and A-Cover. 13. Assemble A-Cover and B-Cover. 14. A-Cover and B-Cover assembly completed. 15. Insert FPC through C-Cover. 16. Push the hinge cam to housing ISSUE 1 Confidential Copyright @ 2008 NOKIA. All rights reserved...
- Page 20 17. Assemble B-Cover and C-Cover completed. 18. Assemble antenna. 19. Antenna assembly completed. 20. Assemble MB in C-Cover. 21. Assemble FPC BTB. 22. Assemble shielding case on MB. 23. MB assembly completed. 24. Insert vibrator. ISSUE 1 Confidential Copyright @ 2008 NOKIA. All rights reserved...
- Page 21 29. Reserve USB rubber hold for USB rubber inserts. 30. Use a torque driver for tightening the screws. (Screw torsion 1.0 ±0.1 Kgf-cm) 31. Stick key pad. 32. Assembly completed. 12. SOLDER COMPONENTS 1606 fold RH-109 Components overview ISSUE 1 Confidential Copyright @ 2008 NOKIA. All rights reserved...
-
Page 22: Solder Components
1606 fold RH-109 Service Manual Level 1&2 Solder components only for Level 2 ISSUE 1 Confidential Copyright @ 2008 NOKIA. All rights reserved...