Gtech HyLite2 SCV300 - Small Cordless Vacuum Cleaner Manual
- Operating manual (21 pages) ,
- Operating manual (53 pages)
Advertisement
- 1 What's in the box
- 2 Assembly
- 3 Operation
- 4 AirLOC
- 5 Removing the handle
- 6 Hand-held operation
- 7 Brush-bar eject system
- 8 Brush-bar removal
- 9 Brush-bar hair removal
- 10 Battery removal
- 11 Recharging the battery
- 12 Battery state-of-charge indicator
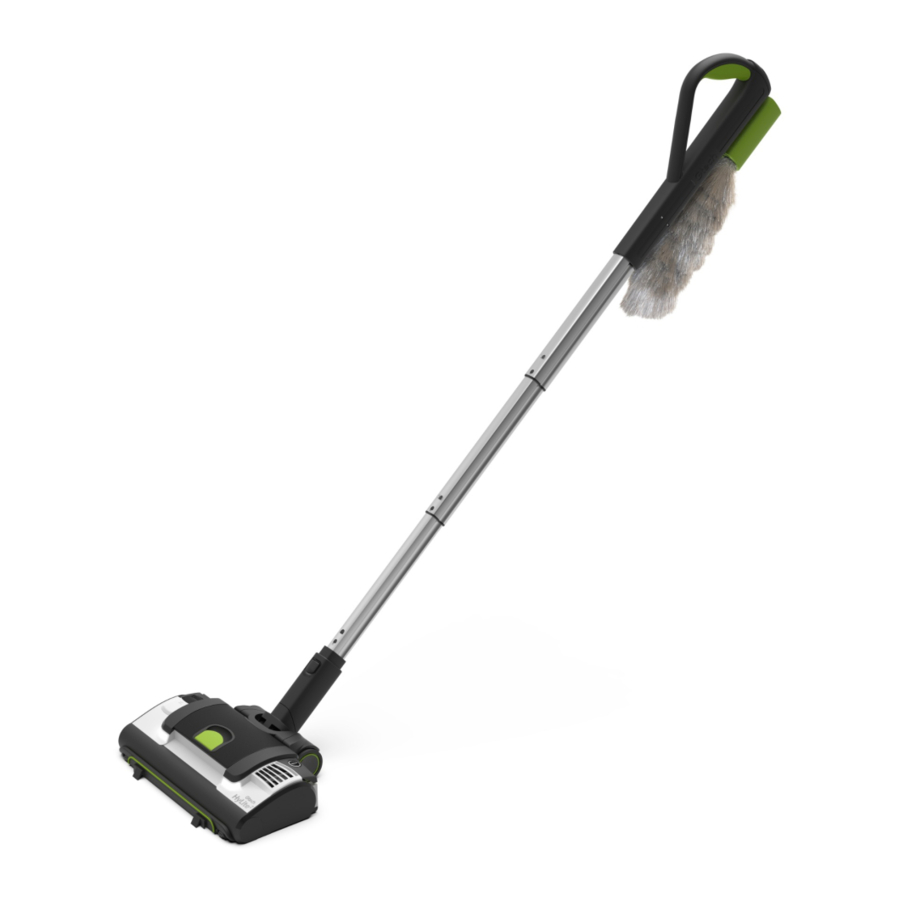
- 13 Using the duster
- 14 Removing the bag
- 15 Replacing the bag
- 16 Product care
- 17 Troubleshooting
- 18 Product support
- 19 TECHNICAL SPECIFICATION
- 20 Documents / Resources
What's in the box

- Main unit (with 1 x bag fitted)
- Battery (fitted)
- Steering module
- Handle
- Duster
- 3 x replacement bags
- Charger
- Hair removal tool
Assembly

To fit the steering module to the handle simply push the end of the handle into the neck of the steering module until it clicks into place.

To attach the handle to the main unit there is no need to lift the vacuum from the floor. Just push the hook on the steering module into the latch at the back.

Press the green button and pull the handle upwards to extend.

When the handle is fully extended, you'll hear a 'click'.

To compress the handle, simply press and hold the green button while pushing downwards, releasing the green button towards the bottom. The handle will lock into place.
Operation

Place your foot on the left side of the unit and recline the handle.

Press the power button to turn it on. You can also do this with your hand when it is in hand-held mode - be careful of the rotating brush-bar.
AirLOC

A forward motion will pick up larger pieces of debris.

Pulling the vacuum back towards you activates the AirLOC and picks up finer particles.
Removing the handle

To remove the handle, hold the main unit down with your foot and pull upwards on the handle.

To remove the steering module press the button and pull the handle out.

You can also remove the handle while the steering module is still attached to the main unit to use the handle with the duster.
Hand-held operation

When cleaning surfaces such as carpets and upholstery, hold the vacuum and slide it back and forth. Please be aware of the constantly rotating brush-bar while using this product in its hand-held mode.

For use on stairs, grip and move the vacuum over each step. Extra care should be taken when vacuuming stairs.
Brush-bar eject system

In the case of a jam, the brush-bar will automatically eject itself to allow you to remove any obstructions and prevent damages. Once the brush-bar ejects, turn the unit off.

You will then need to reset the eject system by pushing the button back into place.
Brush-bar removal

Remove the battery before maintaining any part of your product. Rotate the latch from the 'locked' position to the 'unlocked' position.

Pull the latch out to remove the brush-bar.

Remove battery before carrying out any form of assembly.

To remove hair from the brush-bar, run the blade of the hair removal tool between the brushes to cut the strands.
Brush-bar hair removal

You can then use the comb end of the hair removal tool to pull the hair from the brush-bar. Never operate the product without the brush-bar in place.

When replacing the brush-bar, ensure that it locates onto the steel pin at the other end of the head, then turn the latch to the 'locked' position.
Battery removal

Press the latch on the top of the battery and slide it out of the battery-housing.

To refit the battery, line it up and slide it into the battery housing. The battery will click into place when correctly fitted.
Recharging the battery

Plug the charger into the mains and connect it to the battery. Switch the power on at the mains.

The battery can be charged on or off the main vacuum unit.
 For optimum battery performance, we recommend turning the plug socket off once the battery is fully charged.
Battery state-of-charge indicator

The battery indicator shows how much charge remains in the battery.

Whilst charging, the 'G' on the battery will pulsate green. When fully charged, it will show a solid green colour.
Using the duster

The duster can be stowed on the handle.

To remove the duster simply slide it upwards and off the handle.

Attach the duster to the end of the handle, clicking the latch into place

This allows you to clean low, or with the handle extended, up high.
Removing the bag

Remove the battery before removing the bag. Open the bag-chamber by lifting the latch on top of the lid.

Lift and remove the bag-chamber lid.

Turn the product onto its back, unhook the end of the bag and disconnect the collar from the inlet. You can then remove the bag.

Dispose of the bag safely and replace with a new one.
(You can get more bags at www.gtech.co.uk)
Do not reuse bags as this could damage and reduce the performance of the Product.
Replacing the bag

Put the new bag in the bag-chamber, fitting the collar over the inlet.

To expand the bag, pull the hoop at the end of the bag over the hook at the edge of the chamber.

Place the lid back onto the chamber and press down. It will click into place once it is secure.
Product care
Your product doesn't need much maintenance: replace bags when full, keep the brush-bar tangle-free and charge the battery. Wipe it with a dry cloth if it gets dirty. Before maintaining any part of the product, remove the battery.
Troubleshooting
| Reduced suction |
|
| Unexpectedly short battery life |
|
| Battery will not charge |
|
| My vacuum won't switch on |
|
| Brush-bar has ejected |
|
| 'G' on battery shows amber for 5 seconds | The brush-bar is jammed:
The unit has over-heated:
|
| 'G' on battery shows red | Contact Gtech. |
Product support
If these initial tips don't solve your problem, we have various other ways to help.
Visit: www.gtech.co.uk/support

Online

Live chat support


How-to videos
TECHNICAL SPECIFICATION
| Battery model | 165A0005 | |
| Battery | 14.4V 2000mAh Li-Ion | |
| Charging period | 2 hours | |
| Battery charger output | 17.3V DC 1.0A | |
| Product weight | 1.5KG | |
The ![]() symbol indicates that this product is covered by legislation for waste electrical and electronic products (EN2002/96/EC)
symbol indicates that this product is covered by legislation for waste electrical and electronic products (EN2002/96/EC)
When the vacuum has reached the end of its life, it and the Li-ion battery it contains should not be disposed of with general household waste. The battery should be removed from the vacuum and both should be disposed of properly at a recognised recycling facility.
Call your local council, civic amenity site, or recycling centre for information on the disposal and recycling of electrical products.
Alternatively, visit www.recycle-more.co.uk for advice on recycling and to find your nearest recycling facilities.

FOR HOUSEHOLD USE ONLY

Documents / Resources
References
![www.gtech.co.uk]() Gtech UK Official: Vacuum Cleaners, Home & Gardening
Gtech UK Official: Vacuum Cleaners, Home & Gardening![www.gtech.co.uk]() Support and Customer Service | Gtech
Support and Customer Service | Gtech![www.recycle-more.co.uk]() Everything you need to know to Recycle More
Everything you need to know to Recycle More
Download manual
Here you can download full pdf version of manual, it may contain additional safety instructions, warranty information, FCC rules, etc.
Download Gtech HyLite2 SCV300 - Small Cordless Vacuum Cleaner Manual
Advertisement


Need help?
Do you have a question about the HyLite2 and is the answer not in the manual?
Questions and answers