Advertisement
Caring For Your SYNCO Product
- Please keep the product in a dry, clean, dust-free environment.
- Keep corrosive chemicals, liquids and heat source away from the product to prevent mechanics damage.
- Use only a soft and dry cloth for cleaning the product.
- Malfunction may be caused by dropping, impact of external force.
- Do not attempt to disassemble the product. Doing so voids warranty.
- Please have the product checked or repaired by authorized technicians if any malfunctions happened.
- Failure to follow all the instructions may result in mechanics damage.
- Warranty does not apply to human errors.
Package List
 - Package List")
Product Instruction
TX Transmitter
 - Product Instruction - TX Transmitter")
- External Mic Input
- USB-C Port
- Power(MUTE)
- Reset(Help with Eject Pin)
- Low Cut
- Pairing
- Built-in Mic
- Display Screen
- Pocket Clip
RX Receiver
 - Product Instruction - RX Receiver")
- USB-C Port
- Power (MUTE)
- Reset(Help with Eject Pin)
- Gain Control
- Pairing
- 3.5mm Audio Output
- 3.5mm Monitoring Jack
- Display Screen
- Pocket Clip
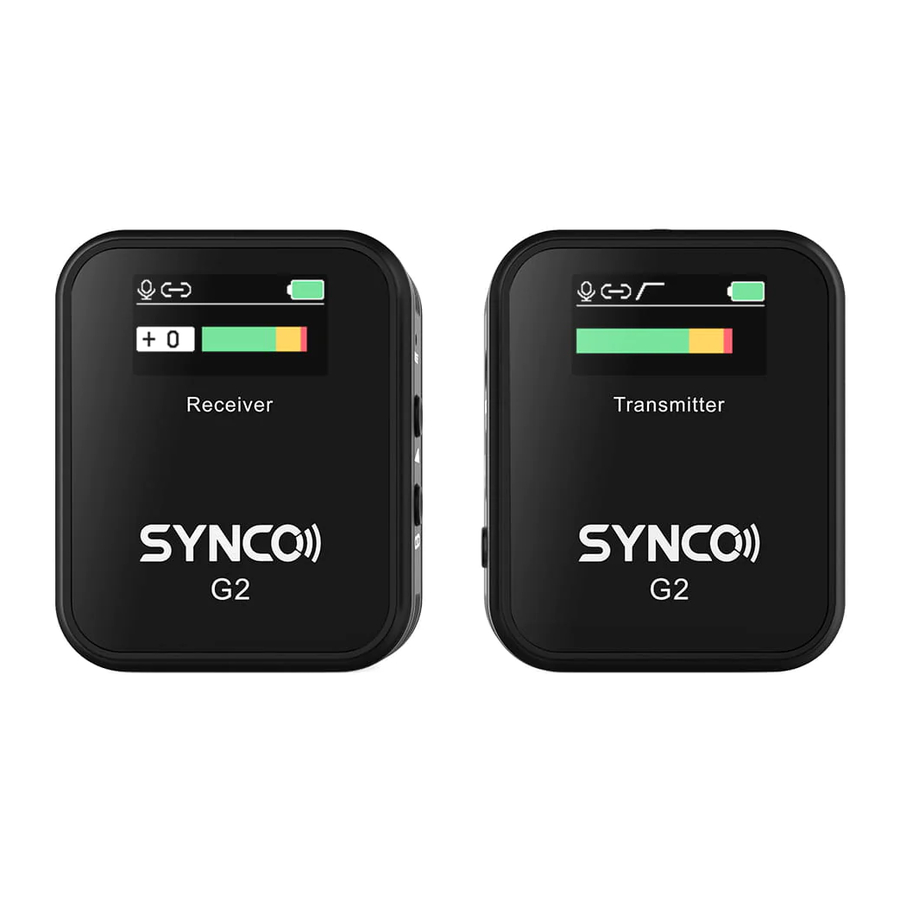
Display Screen
 - Product Instruction - Display Screen")
Operations
TX


Power/ Mute
Long Press 2s: turn on/off the system
Short Press: mute/unmute the microphone

Charging
5V/2A;with USB-C Charging Cable
Please fully charge the product before use.

External Mic Input
TRS Mic Only
(Note: When using a external mic, please insert it into the mic input properly.)

Mic Windshield & Device Installation
 - Mic Windshield & Device Installation")
Reset
 - TX Reset operation")
Low Cut
Short Press: 150Hz Low Cut On
Short Press again: Low Cut Off
 - Low Cut Operation")
Pairing
Long press for 3s at the same time
 - TX Pairing")
The system will pair automatically after power on.
Manual pairing: long press the pairing button on the RX and TX for 3 seconds at the same time
 - TX Pairing indication")
RX


Power/ Mute
Long Press 2s: turn on/off the system
Short Press: mute/unmute the microphone

Charging
5V/2A;with USB-C Charging Cable
Please fully charge the product before use.

Reset
 - RX Reset Operation")
Gain Control
0-5 Level(0 → 3 → 6 → 9 → 12 → 15 → 0)
Each press increases gain by one level.

Pairing
Long press for 3s at the same time
 - RX Pairing")
The system will pair automatically after power on.
Manual pairing: long press the pairing button on the RX and TX for 3 seconds at the same time
 - RX Pairing indication")
Audio Monitoring & Output Connection
 - Audio Monitoring & Output Connection")
Setting The Recording Level Correctly
Camera devices generally have poor-quality, noisy preamps. In order to get the cleanest signals possible, it is highly recommended that you set the recording level on your camera quite low, 1/2 or 1/3 of it. G2 provides variable gain control, allowing you to tailor your levels to just about environment and recording device.
Adjust the recording level of inbuilt mics for SONY Camera (Take A7S Ⅱ for example)
 - Adjusting the recording level of mics for SONY")
Adjust the recording level of inbuilt mics for Canon Camera (Take EOS 5D Mark Ⅳ for example)
 - Adjusting the recording level of mics for Canon")
Adjust the recording level of inbuilt mics for Panasonic Camera (Take LUMIX GH5 for example)
 - Adjust the recording level of mics for Panasonic")
Specifications
TX Transmitter
| Wireless Transmission | Digital 2.4GHz |
| RF Frequency Band | 2400-2483.5MHz |
| Working Distance | 492ft/150m(LOS area), 164ft/50m(NLOS area) |
| Mounting | Pocket Clip |
| Audio Input | 1/8" / 3.5mm TRS Mic Input |
| Audio Input Level | 1V (0dBV) |
| RF Output Power | |
| Power Requirements | 3.3V-4.7V |
| Battery Type | Built-in Lithium Battery, 400mAh |
| Battery Charging Time | 1.5H |
| Battery Life | 8H |
| Display | TFT Screen |
| Dimensions | 52×42×17mm |
| Material | Plastic |
| Weight | 39g |
RX Receiver
| Wireless Transmission | Digital 2.4GHz |
| RF Frequency Band | 2400-2483.5MHz |
| Approximate RF Sensitivity | -81dBm |
| Working Distance | 492ft/150m(LOS area), 164ft/50m(NLOS area) |
| Mounting | Pocket Clip |
| Number of Audio Channels | 1 |
| Audio Output | 1/8" / 3.5mm TRS Mic Output 1/8" / 3.5mm TRS Headphone Output |
| Gain | 0-5 Level |
| Audio Output Level | Line Out: 1V; Monitoring: 25-30mW |
| Power Requirements | 3.3V-4.7V |
| Battery Type | Built-in Lithium Battery, 400mAh |
| Battery Charging Time | 1.5H |
| Battery Life | 8H |
| Display | TFT Screen |
| Dimensions | 52×42×17mm |
| Material | Plastic |
| Weight | 39g |
Microphone
| Form Factor | Built-in/External Mic |
| Sound Field | Mono |
| Polar Pattern | Omnidirectional |
| Frequency Range | 50Hz-20KHz |
| Sensitivity | -40dB (±3 dB, re 1V/Pa at 1KHz) |
| Maximum SPL | 135dB SPL (at 1KHz) |
Warranty
- Customers are entitled to free replacement or repair service in case of quality defect(s) found in the product under normal use within 30 days upon receipt of the product.
- Original SYNCO products are entitled to 12-month limited warranty service. The warranty period begins on the date of purchase of brand new, unused products by the first end-user.
- If failure or any problem occurs to your product after purchase, please contact a local agent for assistance, or you can always contact SYNCO's customer service through email at support@syncoaudio.com.
- Please retain your sales receipt and warranty certificate as proof of purchase. If any of these documents is missing, only sales return or chargeable service will be provided.
Guangzhou Zhiying Technology Co., Ltd
 Block 15th, No.200 Fangcun Avenue East, Liwan District, Guangzhou, China, 510000
 support@syncoaudio.com
 www.syncoaudio.com
 https://www.facebook.com/syncomicrophones

VideosSynco G2 (A1) Review
Documents / Resources
References
Download manual
Here you can download full pdf version of manual, it may contain additional safety instructions, warranty information, FCC rules, etc.
Advertisement


Need help?
Do you have a question about the G2 (A1) and is the answer not in the manual?
Questions and answers