
Related Manuals for Olympus Stylus 150


Summary of Contents for Olympus Stylus 150
- Page 1 CS1374000000– A1103 INSTRUCTIONS MODE D’EMPLOI INSTRUCCIONES INSTRUÇÕES...
-
Page 2: Table Of Contents
HIGH-VOLTAGE CIRCUIT. IF THE INTERNAL PARTS OF THE CAMERA ARE EXPOSED DUE TO DROPPING OR DAMAGE, REMOVE THE BATTERY IMMEDIATELY TO PREVENT FURTHER USAGE. IN CASE OF MALFUNCTION, CONSULT YOUR NEAREST OLYMPUS DEALER OR OLYMPUS SERVICE CENTER. Symbols used in this manual:... -
Page 3: Names Of Parts
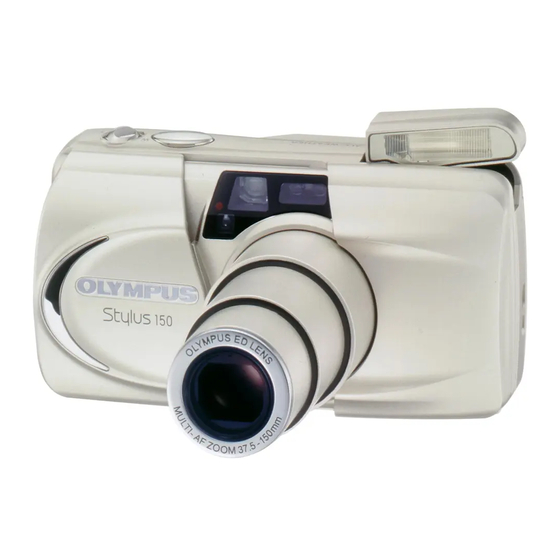
NAMES OF PARTS — Camera Body Selftimer indicator/remote Viewfinder control indicator Autofocus window Light sensor Shutter release button Flash Zoom lever Strap eyelet Lens Remote control sensor Battery compartment cover Lens barrier Always try to keep this clean. Dirt and stains can result in pictures that are unclear and out-of-focus. -
Page 4: Using The Strap/Diopter Adjustment
USING THE STRAP Attach the strap as shown. DIOPTER ADJUSTMENT Turn the diopter adjustment dial until the autofocus marks are clear. If you are nearsighted, turn the dial up. If you are farsighted, turn it down. 2756 Q50N_EN LOADING AND CHECKING THE BATTERY Use one 3 V lithium battery (CR123A or DL123A). -
Page 5: Loading The Film
LOADING THE FILM 1. Slide the back cover release upward to open the back cover. Do not touch the inside of the camera, especially the lens. 2. Insert the film cartridge until it clicks into position. ISO400 film is recommended. If you are going to use non-DX-coded film, use ISO100 film. -
Page 6: Unloading The Film
Working Distance Shoot your subject from a distance of 0.6 m to infinity at wide angle (37.5 mm) or 0.8 m at telephoto (150 mm). If the green indicator blinks, the shutter cannot be released. Although the shutter will release when a subject is extremely close to the camera, the subject will be out of focus. -
Page 7: Auto Flash
FLASH PHOTOGRAPHY Auto Flash 1. Press the shutter release button to 2. Press the shutter release make sure the orange lamp lights. button all the way to take the picture. Flash working range (with color negative film) Wide angle (W) Telephoto (T) 0.6 to 5.4 m (2.0 to 17.7 ft) 0.8 to 2.1 m (2.6 to 6.9 ft) -
Page 8: Night Scene Flash
FLASH PHOTOGRAPHY Night Scene Flash Use this mode to clearly shoot a subject in the foreground and a night scene in the background. Closing the lens barrier restores the Auto Flash mode. Since a slow shutter speed (as low as 4 seconds) is selected in the Night Scene Flash mode, use a tripod to prevent camera shake. -
Page 9: Selftimer/Remote Control/Camera Shake Indicator Selftimer
SELFTIMER/REMOTE CONTROL/ CAMERA SHAKE INDICATOR How to select the mode Press the selftimer/remote control button ( ). The mode switches in the order shown below. The selected mode is displayed on the LCD panel. Mode display Mode No display ——————— Selftimer Remote Control Camera Shake Indicator... -
Page 10: Rc-300C (Optional)
RC-300C (Optional) If the selftimer/remote control indicator doesn’t blink even when you press the button, replace the battery with a new one (CR2025). How to replace the battery of the remote control (RC-300C) 1. Turn the screw on the bottom of the remote control counterclockwise to loosen. -
Page 11: Printing The Date/Time (Quartzdate Models Only)
PRINTING THE DATE/TIME (Quartzdate models only) First select the date/time mode you want to print. Press the MODE button. As you press it, the mode will switch in the order shown below. Keep the mode you want to print displayed. None Year-month-day Month-day-year... -
Page 12: Specifications
SPECIFICATIONS Type: Fully automatic 35 mm autofocus lens-shutter camera with built-in 37.5 ~ 150 mm zoom lens. Film format: 35 mm standard DX-coded film (24 x 36 mm). Lens: Olympus lens, 37.5 ~ 150 mm, F5.1 ~ 13.3, 8 elements in 7 groups. - Page 13 2756 Q50N_EN 03.6.3, 10:13 AM...
Need help?
Do you have a question about the Stylus 150 and is the answer not in the manual?
Questions and answers