Advertisement
Flashlight Operation

Before disassembling any part of the 7070R LED flashlight, ensure that the flashlight has not been operating for five (5) minutes. During operation, the LED module can become extremely hot and may cause injury if touched.
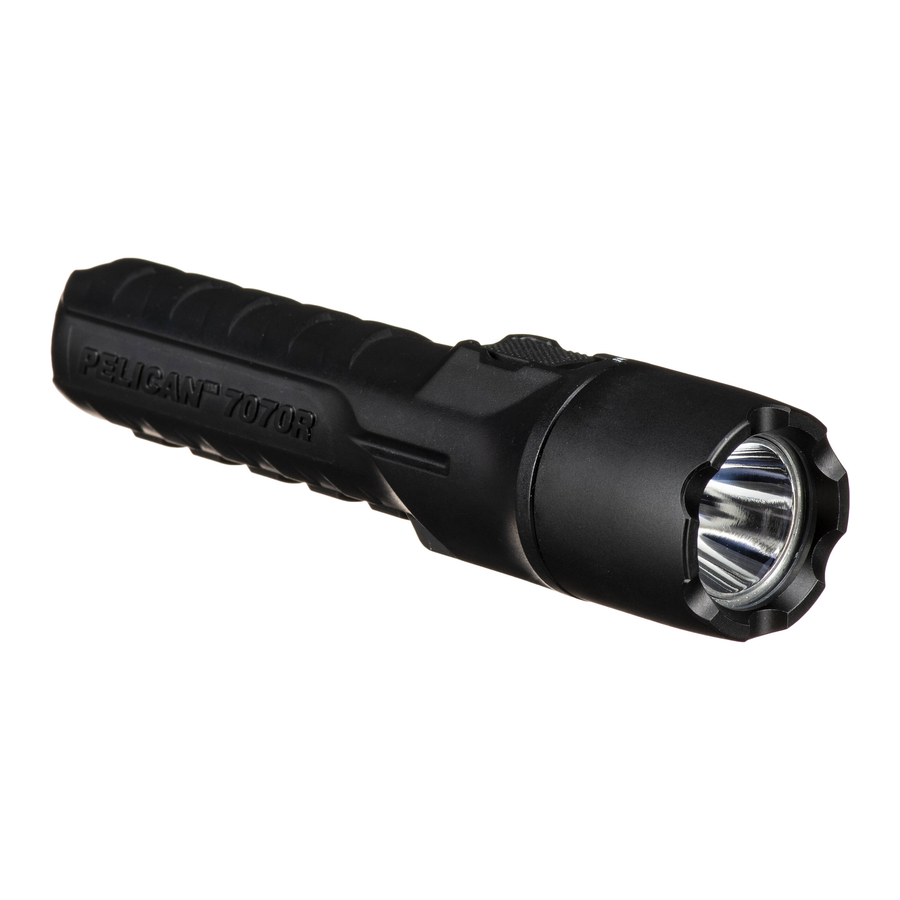
The 7070R LED is a high performance flashlight for use by professionals. This flashlight comes equipped with dual switches and includes a high output pre-focused LED lamp that emits a strong light beam of white light. There is no need to focus the 7070R LED.
DO NOT SHINE THIS FLASHLIGHT DIRECTLY INTO ANY PERSON'S EYES: THIS MAY RESULT IN INJURY.
Your 7070R battery pack comes to you partially charged and needs to be fully charged prior to use (see charging instructions below).
Momentary Activation – Partially depress either switch for momentary operation. Constant Activation – Fully depress either switch (click), to lock in the selected mode.
Bluetooth App Programming
Download the "Pelican Flashlight" app from either the Apple or Android stores.


- Activate the Pelican Flashlight app from your smartphone. See Image #1
![]()
- Turn on the flashlight
- Select "Scan Pelican Products" from the menu on your smartphone and select your 7070R via the identified serial number. Your flashlight will now show connected.
- Once connected you can select up to 5 different modes and the sequence of those modes as numbered in the app. Each selected mode allows for varied light output and/or varied strobe speed. See Image #2


Manual Programming
To select a program using the manual input, select one of the five pre-set program options. Note, the 7070R is pre-programmed with Program #1. To change program, partially depress either switch( momentary press, do not click) the number of times as indicated in the table below and hold the last press until you see the coordinating number of confirmation flashes. Each press needs to be within.5 seconds of each other.
| Momentary presses | Confirmation flashes | ||
| Program 1 (default) | High > Strobe > Medium > Low | 8 | * |
| Program 2 | High Only | 10 | ** |
| Program 3 | High > Medium > Low > | 12 | *** |
| Program 4 | Low > Medium > High > | 14 | **** |
| Program 5 | High >Low > | 16 | ***** |
Mode Selection – Partially depress either switch within.5 second increments to select the desired mode. Each press with provide the mode in its programmed sequence. Fully depress the switch to lock in the desired mode.
Light Off – Fully depress either switch (click), to turn off the light from any activated mode.
Charging:
- Attach the USB Charge Cord to the bottom of the Charger Base. See Image #3

- Plug the USB end into a USB power outlet (1A output minimum). The charge status LED will illuminate solid red once connected to power. See Image #4

- Slide the light into the charger base aligning the two indicating lines. See Image #5

- The 7070R incorporates wireless charging and does not utilize direct contacts. Once aligned properly the charge indicator will provide a flashing red LED. Once charge is completed the flashing red LED will change to solid green. There is also a "Fault Mode" provided that indicates an error, such as attempting to charge with disposable CR123 batteries installed.
- If a secure attachment is required, push the light body back into the charger base and the light will lock into place.


Charger Mounting:

The charger base can be attached to any surface with (2) size 8 or size 10 screws (not included) through the mounting holes located in the back of the charger base. See Image #6. The charger base back will need to be pulled away from the charging cradle to gain access to the mounting holes.
There is no need to fully discharge the 7070R before charging the battery. Charging can occur whenever required and the 7070R can be left indefinitely in the charger housing without fear of over-charging.
Battery Level Indicator:
The forward switch boot houses a built in battery level indicator LED. The indicator is illuminated whenever the light is activated. The battery level information is represented as follows:See Image #7

Green = 100% - 75%
Yellow = 75% - 50%
Red = 50% - 25%
Flashing Red = 25% - 0%
Note: The main LED "blinks" every 5 minutes once the battery level drops below 25%.
Battery Replacement
When the rechargeable LI-ION battery requires replacement, unscrew the shroud and pull the lamp module/battery tray from the light body to access the battery. Remove the used battery. Replace the used battery with a new battery.
Replacement batteries are available wherever
Pelican flashlights are sold or directly from Pelican Products Customer Service.
The 7070R is able to use (2) disposable CR123 lithium batteries with the included battery tube if recharging is not available. Note: CR123 batteries are not able to be charged.
NOTE: Please act responsibly when disposing of the LI-ION Battery Stick. This part is recyclable and should not be disposed of in the municipal waste system. Please check with your local waste disposal authority for information.
O-ring Maintenance
Check closely for cuts, scratches, or otherwise damaged O-ring or mating lens lip surface. Remove any dirt or foreign matter from O-ring sealing surfaces. Keep threads, O-ring groove and inside lip of lens lubricated with silicone grease.
Battery Safety Information
HANDLE AND STORE BATTERIES PROPERLY TO AVOID INJURY OR DAMAGE BATTERIES CAN BE DANGEROUS!
Most battery issues arise from improper handling of batteries, and particularly from the use of damaged or counterfeit batteries. Please review the information below to avoid serious injury and/or damage to your property.
Rechargeable Batteries
- Hazardous location safety approvals for explosive environments are only valid for the Pelican battery pack that is supplied with the light.
- For replacement battery packs only use the approved Pelican battery pack for the model of the light that you are using. The use of other battery packs will invalidate the safety approval.
- Lights should only be charged in a non-hazardous location.
- Lights should only be charged using the Pelican charger base that is supplied with the light.
- Lights should be charged and operated between the temperatures shown: Charge Temperature: -20°C to 50°C (-4°F to 122°F)
Operating Temperature: -20°C to 50°C (-4°F to 122°F). - Do not charge with alkaline batteries installed in the light. Attempting this can cause internal gas or heat generation resulting in venting, explosion or possibly fire.
- Deep discharge of the rechargeable battery may cause batteries to vent potentially dangerous gasses and electrolytes.
Always dispose of all batteries properly at an approved battery recycling center.

Documents / Resources
References
Download manual
Here you can download full pdf version of manual, it may contain additional safety instructions, warranty information, FCC rules, etc.
Advertisement


Need help?
Do you have a question about the 7070R and is the answer not in the manual?
Questions and answers