Advertisement
Quick Links
Advertisement

Related Manuals for VORON 2.4


Summary of Contents for VORON 2.4
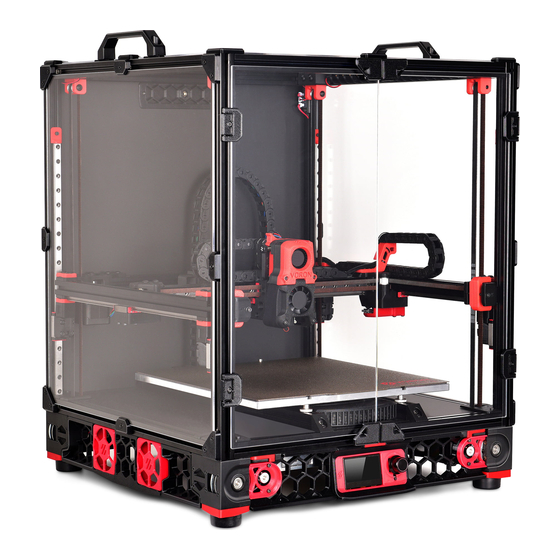
- Page 1 VORON 2.4 KIT 3 ∙Z DRIVE...
- Page 2 Please do not become the first VORON fatality. There is no special Reddit flair for that. Please, read the entire manual before you start assembly. As you begin wrenching, please check our Discord channels for any tips and questions that may halt your progress.
- Page 3 Make sure you have the proper inserts (check the hardware reference for a close up picture and the BOM for dimensions). If you’ve never worked with heat set inserts before we recommend you watch the linked guide. Heat Set Insert https://voron.link/m5ybt4d...
-
Page 4: Belt Drive Assembly
BELT DRIVE ASSEMBLY WWW.VORONDESIGN.COM SET SCREWS aka the root of all issues Insert both set screws and use thread locker on all set screws. Use a high quality hex driver to prevent the hex profile from stripping. Ball-end drivers are not recommended. GT2 20T 9mm wide Pulley Loose set screws account for the majority of issues that our users report. - Page 5 BELT DRIVE ASSEMBLY WWW.VORONDESIGN.COM GT2 80 Tooth Pulley M5 Shim 625 Bearing 625 Bearing 625 Bearing CHECK YOUR WORK Compare your assembled parts to the graphics shown here. APPLY THREAD LOCKER Make sure to use thread locker on the set screws.
- Page 6 Z DRIVE WWW.VORONDESIGN.COM GT2 188mm Belt Loop...
- Page 7 Z DRIVE WWW.VORONDESIGN.COM CHECK SHAFT POSITION Compare your assembled parts to the graphics shown here.
- Page 8 Z DRIVE WWW.VORONDESIGN.COM M3x40 SHCS...
- Page 9 Z DRIVE WWW.VORONDESIGN.COM M3x8 SHCS M5 Nut WHERE’S THAT PRINTED PART? Look for Voron heart next to the part. It indicates that this is an accent part. CHECK FOR BELT Make sure the closed belt loop is in the part.
- Page 10 Z DRIVE WWW.VORONDESIGN.COM NEMA17 Stepper Motor https://voron.link/fx10m8e APPLY THREAD LOCKER Make sure to use thread locker on the set screws. GT2 16 Tooth Pulley 16 TOOTH PULLEYS PULLEY POSITION The Z drive motors are the only Depending on your motors,...
- Page 11 Z DRIVE WWW.VORONDESIGN.COM M3x8 SHCS MOTOR ORIENTATION Pay attention to the orientation of the cable exit.
- Page 12 ORIENTATION WWW.VORONDESIGN.COM PICTURE FOR ORIENTATION The Z0 drive is the first Z drive that will be added to the printer. The fully assembled Z Drive is highlighted in blue.
- Page 13 Z DRIVE WWW.VORONDESIGN.COM M5 T-Nut M5 T-Nut M5x40 SHCS WHICH CORNER IS THIS? We highlighted the corner with a circle. UPSIDE DOWN ASSEMBLY For ease of assembly we recommend flipping the printer on its head for the next steps.
- Page 14 Z DRIVE WWW.VORONDESIGN.COM M5x10 BHCS SLIDE INTO PLACE DON’T TIGHTEN Insert at an angle and slide into place. Leave the bolt loose for the next step.
- Page 15 Z DRIVE WWW.VORONDESIGN.COM M5x10 BHCS DON’T TIGHTEN Leave the bolt loose for the next step.
- Page 16 Z DRIVE WWW.VORONDESIGN.COM CLOSE THE BELT TENSIONER Flip the belt tensioner latch closed.
-
Page 17: Tighten Bolts
Z DRIVE WWW.VORONDESIGN.COM M5x16 BHCS Rubber Foot TIGHTEN BOLTS After closing the tensioner the M5 bolts can be properly fastened. - Page 18 Z DRIVE WWW.VORONDESIGN.COM CHECK POSITION Ensure that closing the belt tensioner did not cause the Z Drive to move/shift. If it did undo the bolts and realign.
- Page 19 OTHER Z DRIVES WWW.VORONDESIGN.COM REPEAT INSTRUCTIONS FOR OPPOSING CORNER REPEAT INSTRUCTIONS FOR THE MIRRORED DRIVES Build another Z drives, following the same instructions. Build two more Z drive following the instructions that came before. The printed parts are mirrored.
- Page 20 Z IDLER WWW.VORONDESIGN.COM M3 Nut M5x30 BHCS M3x16 SHCS GT2 20 Tooth Idler 9mm wide...
- Page 21 Z IDLER WWW.VORONDESIGN.COM IDLER ORIENTATION Mind the idler orientation. The idler must face in the same orientation as the pulley in the drive below it. SEAT IN CORNER Ensure idler is pressed firmly into corner before M5 T-Nut tightening. M5x30 BHCS...
- Page 22 OTHER Z IDLERS WWW.VORONDESIGN.COM REPEAT INSTRUCTIONS FOR OPPOSING CORNER REPEAT INSTRUCTIONS FOR THE MIRRORED DRIVES Build another Z idler following the same instructions. Build two more Z idlers following the instructions that came before. The printed parts are mirrored.
Need help?
Do you have a question about the 2.4 and is the answer not in the manual?
Questions and answers