Advertisement
- 1 What's in the box
- 2 What you'll need
- 3 Need some help?
- 4 Step 1. Out with the old!
- 5 Step 2. Mark screw locations
- 6 Step 3. In with the new!
- 7 Mounting Template
- 8 Step 4. Connect your wires
- 9 Step 5. Create an account
- 10 Step 6. Connect to Wi-Fi
- 11 Step 7. Complete setup on the app
- 12 Manual Controls
- 13 Videos
- 14 Documents / Resources

What's in the box

Magnetic Faceplate

Smart Sprinkler Controller

3 Screws with Anchors

Power Adapter
What you'll need

Wi-Fi Access (2.4 or 5 GHz)

Smartphone or Tablet

Phillips Screwdriver

Hammer (Drywall Installs)

Drill and Drill Bit (Drywall Installs)
The Rachio 3 Sprinkler Controller is designed for indoor installation. If outdoor installation is required, you'll need our weather-resistant enclosure.
Learn more at rachio.com/outdoors.
Need some help?

Check out our Help Center
support.rachio.com

Give us a call.
1 (833) 722 4463
Not sure what to do with your old controller? We'll recycle it for free! Visit rachio.com/recycle.
Step 1. Out with the old!
Test your old system to ensure everything works properly. Photograph the wiring inside your existing controller to reference during installation. Remove your old controller from the wall.

Test Sprinklers

Photograph Wiring

Remove Controller
Step 2. Mark screw locations
Use the Mounting Template at the end of this guide to mark where you want to install your Rachio 3.For Drywall Installation:
Drill holes at marked locations for the anchors. Use a 3/16 inch bit to drill through the drywall, then use a hammer to gently tap each anchor into place.


Step 3. In with the new!
Remove the Rachio 3's magnetic faceplate. Mount your new controller by screwing it onto the wall using the provided screws.

Mounting Template
Make sure your wires have enough slack to reach the drill icon above!

Step 4. Connect your wires
While referencing the photo of your previous wiring, insert the wires into the appropriate terminals. Things not matching up? Visit rachio.com/wiring for tips on advanced wiring.Common Wires

Common wires are often labeled "C" or "Com." You can insert them into any of the white "C" terminals.
Zone Wires

Zone wires correspond to your landscape's zones. Insert them into the blue, numbered terminals.

Master Valve

Not all systems have a master valve. Master valve wires are often labeled "M," "MV," or "Pump." If you have a master valve, wire it into the dark gray "M" terminal.
Sensor Wires (Optional)

You are able to connect up to two rain or flow sensors to your controller using the "S1," "S2," and 24VAC sensor power terminals. For more information, visit rachio.com/sensors.
Insert the power connector upward into the power jack located at the bottom right of the wiring bay. Then, plug the power adapter into the outlet.

Step 5. Create an account
Find the Rachio app on the Apple App Store, on Google Play or by visiting rachio.com/download.
Once the app is installed, create your account.


Step 6. Connect to Wi-Fi
Open the Rachio app and select "Add Controller." The app will guide you through this process.
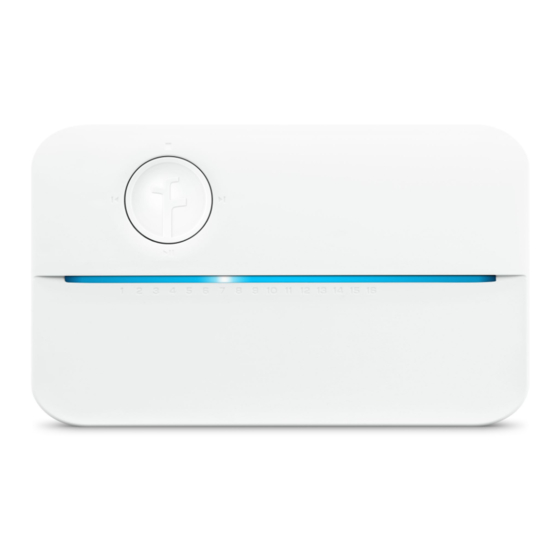
Once your controller is online, the light bar will pulse blue. You can now replace the magnetic faceplate.

Step 7. Complete setup on the app
Now that the controller is online, use the Rachio app to customize your zones and create a schedule.

Congrats, you did it!
Want to learn more about what you can do with your new Rachio 3?

Control your system remotely.

Integrate your smart home.

Optimize your waterings.
Visit rachio.com/more.
Manual Controls
Zones can be run directly from the controller, if needed. Use the forward and back buttons to select a zone on the light bar, then select play.


VideosRachio 3 Smart Sprinkler System - Full setup & Walkthrough Video
Rachio 3 Smart Sprinkler Controller - 1 Year Review Video
Documents / Resources
References
![rachio.com]() How do I install a Rachio Controller outdoors? Weatherproof Outdoor Enclosure
How do I install a Rachio Controller outdoors? Weatherproof Outdoor Enclosure![support.rachio.com]() Rachio Support
Rachio Support![rachio.com]() Recycling your controller
Recycling your controller![rachio.com]() How to wire your controller - Basic and Advanced Wiring
How to wire your controller - Basic and Advanced Wiring![rachio.com]() How do I install a wired sensor or wired flow meter with Rachio 3?
How do I install a wired sensor or wired flow meter with Rachio 3?![rachio.com]() Where can I download the app?
Where can I download the app?
Download manual
Here you can download full pdf version of manual, it may contain additional safety instructions, warranty information, FCC rules, etc.
Advertisement


Need help?
Do you have a question about the 3 and is the answer not in the manual?
Questions and answers