
Related Manuals for UREVO UR9TM0010


Summary of Contents for UREVO UR9TM0010
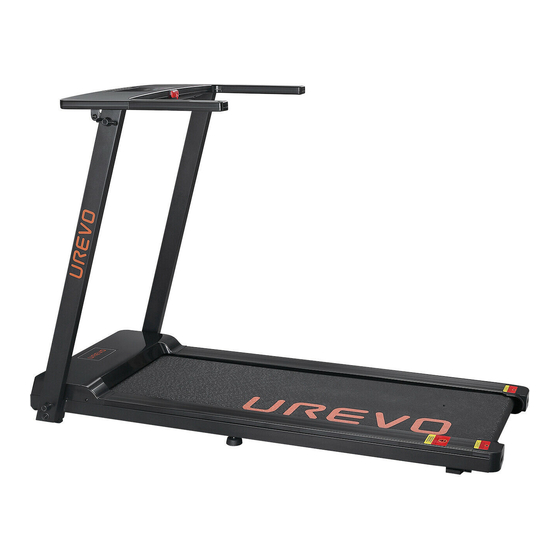
- Page 1 FOLDING TREADMILL M A K I N G F I T N E S S F U N U S E R M A N U A L Model: UR9TM0010...
- Page 2 English...
- Page 3 SERVICE IMPORTANT: FOR UREVO ONLY For damaged or defective product, questions, replacement parts or any other service support, please contact our customer service department by the below methods: For The Best Service, Email us with order ID at: US: Services@urevosports.com EU: service_eu@urevosports.com...
-
Page 4: Important Safety Guidelines
IMPORTANT SAFETY GUIDELINES Please carefully read this manual before use to ensure your safety and avoid accidents. 1. Wear suitable sports shoes and do not run barefoot for exercise. We do not assume any responsibility for abnormalities and injuries caused by failure to wear shoes since they have nothing to do with product quality. -
Page 5: Power Supply Precautions
POWER SUPPLY PRECAUTIONS 1. Use 220~240VAC 50Hz power supply. 2. The power plug must be reliably grounded, and the socket must be equipped with a dedicated circuit to avoid sharing a circuit with other electrical equipment. 3. Directly plug the power cord firmly into the socket. 4. -
Page 6: Precautions For Installation
PRECAUTIONS FOR INSTALLATION 1. Read the instructions carefully before installation. 2. Take out all parts from the package and separately place them on the clean ground for your overall check and easy installation. 3. Check whether all parts are complete according to the packing list. 4. -
Page 7: Package List
PACKAGE LIST PARTS LIST Speed/Function ×1 Safety lock × 1 Manual & Warranty card × 1 TOOL PACK 6mm L-shaped hexagon wrench (1 pc) Long knob (2 pcs) Short knob (2 pcs) Lubricating oil (1 bottle) Multi-function open spanner (1 pc) Plastic gasket (4 pcs) -
Page 8: Product Structure
PRODUCT STRUCTURE Display Safety lock Column Motor cover Running belt Knob Edge strip Adjusting foot pad Rear shield (R) Rear shield (L) Power... - Page 9 ASSEMBLY Step 1: Lift the machine out of the package and place it on the ground. Hold the column tube and stand it up. Apply gasket F to the knob B and then fix it at the bottom connection of the treadmill and tighten the knobs well. Similarly, use knob C with gasket F to fix both ends of the dashboard on the treadmill column and tighten the knobs.
- Page 10 ASSEMBLY The treadmill will only work if the safety lock is properly placed on the slot of the dashboard. Clip the safety lock to your clothes. In the unlikely event of an accident, pull off the safety lock to immediately shut down the motor. If you want to continue using the treadmill, put the safety lock back.
- Page 11 STORAGE Step: Folding the treadmill Turn off the power before folding. Loosen the upper and lower aluminum knobs of the column counterclockwise, and then fold the column and the dashboard (as shown below). NOTE: Make sure the power is turned off and the power plug is removed from the socket.
-
Page 12: Dashboard Operation
DASHBOARD OPERATION 1. Display interface 2. Window TIME DISTANCE CAUTIION CAUTIION keep children away from the Read the owner’s manual treadmill during operation. carefully before using the To avoid injury,stand on product. the side rails before starting the unit. Remove the safety key when the unit is not in use. - Page 13 DASHBOARD OPERATION 5. Description of programs 5-1: A manual program, including normal mode (manual mode), time countdown, distance countdown, and calorie countdown. 5-2: 12-speed program: P1, P2, P3, P4, P5, P6...P11, P12. 5-3: Entering the manual mode: a: Turn on the power switch to directly enter the normal mode (manual mode). b: In stop mode, press this key to enter the normal mode (manual mode).
- Page 14 DASHBOARD OPERATION 8. Value display Initial value Set initial value Setting range Display 0:00 30:00 5:00-99:00 0:00-99:59 Time(00:00) 1-12 Speed(km/h) 0.00 1.00 1.0-999.9 0.0-999.9 Distance(km) 20-999 0-999 Calorie(kcal) Appendix 1 Exercise in P1-P12 programs Time Setting time(16 segments) program Speed Speed Speed Speed...
- Page 15 DASHBOARD OPERATION 10. Common failures of control system and troubleshooting The following present error codes displayed on the electronic meter and their solutions: ERROR CODE DESCRIPTION ERROR HANDLING Abnormal communication: Check the cable connection between The communication between the control panel and holder to ensure the holder and control panel that is fully plugged in.
- Page 16 ADJUSTMENT OF RUNNING BELT The following two situations need to adjust the running belt Situations 1:The running belt has been adjusted before shipment, but it would be stretched and its center position would deviate from the original position after use causing damage to the foot edge strips and rear cover due to rubbing.
- Page 17 ADJUSTMENT OF RUNNING BELT Adjust the tightness of the running belt: 1.Insert the 6mm hexagon wrench A into the adjusting screw on the left side of the running belt, and rotate the wrench by 1/4 turn clockwise to adjust the rear roller to tighten the running belt.
- Page 18 LUBRICATING & MAINTENANCE The treadmill has been lubricated before shipment. However, frequent check of lubricity of the treadmill helps keep it in the best condition. The treadmill must be lubricated after one year of use or 100 hours of running. Each time when the treadmill is used for 30 hours or 30 days, pull up the running belt at the side and reach out your hand to touch the surface of the treadmill as far as possible.
-
Page 19: Troubleshooting
TROUBLESHOOTING Failures and solutions This product is reliably designed and easy to use. In case of a problem, carefully read the solutions to the failures as described below. Failure: No information is displayed on the screen. Solution: Check whether the power cord is plugged in properly, whether the plug is loose, and whether the power switch is turned on.
Need help?
Do you have a question about the UR9TM0010 and is the answer not in the manual?
Questions and answers