Table of Contents
Advertisement
I600 Series 7
OPERATING INSTRUCTIONS
Serial Number of Heater: _____________________ Model: ___________________
H
C
EAT
Revised: 29/10/2020
C600 Series 8
600 SERIES
INSTALLATION
&
HARM WOODHEATERS ARE AUSTRALIAN OWNED AND
MANUFACTURED BY
SHAMIC SHEETMETAL
SHAMIC SHEETMETAL
SHAMIC SHEETMETAL
SHAMIC SHEETMETAL
PO BOX 8, KILSYTH, VIC. 3136
PH: 03 9737 5300
https://shamic.com
HeatCharm Freestanding C600
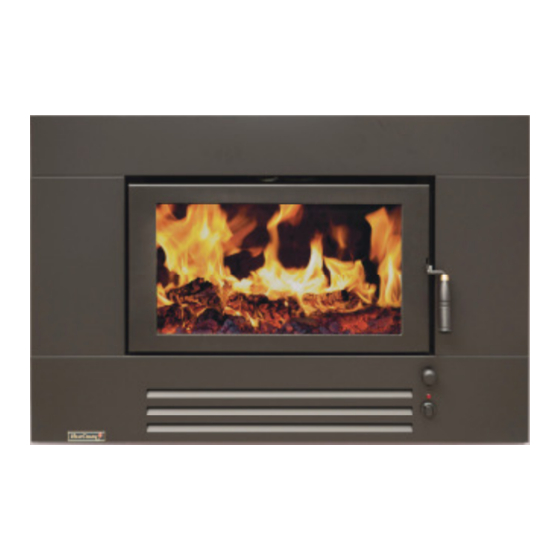
HeatCharm Inbuilt I600
(AUST.) PTY. LTD.
1
Series 5, 8
Series 5, 7 & 8
I600 Series 8
Printed: 13/11/2020
Advertisement
Table of Contents

Related Manuals for Heat Charm 600 Series

Summary of Contents for Heat Charm 600 Series
- Page 1 Series 5, 8 HeatCharm Inbuilt I600 Series 5, 7 & 8 C600 Series 8 I600 Series 7 I600 Series 8 600 SERIES INSTALLATION & OPERATING INSTRUCTIONS Serial Number of Heater: _____________________ Model: ___________________ HARM WOODHEATERS ARE AUSTRALIAN OWNED AND MANUFACTURED BY...
- Page 2 IMPORTANT INFORMATION BEFORE STARTING Have your heater installed by a registered or licensed installer and advise your insurers for inclusion in your household contents policy. In some states the installer is required to issue a certificate of compliance on the installation; - ensure you obtain this if applicable! The heater should be checked for scratches/dents prior to installation.
- Page 3 INSTALLATION INSTRUCTIONS (FREESTANDING MODEL ONLY) Select the position of your heater carefully, taking into consideration all combustible materials in the roof; eg. ceiling joists, roof trusses, etc. Determine flue location through the ceiling: Position the hearth correctly, then place the heater on the hearth so that the flue spigot on the heater is correctly aligned with the flue location from the ceiling.
- Page 4 INSTALLATION OF FIREPLACE INSERT MODELS ONLY The heater must only be installed in either a sound concrete or masonry fireplace, connected to a chimney, both of which must be inspected for soundness and thoroughly cleaned before Shamic Shamic Shamic Shamic the heater is installed, or the tested and approved Zero Clearance Box in conjunction with a triple skin flue system.
- Page 5 Installation using the Shamic Zero Clearance Box Revised: 29/10/2020 Printed: 13/11/2020...
- Page 6 Firebox Internal Set Up Step 1. Install the top baffle plate - place both hands underneath the plate lift either the right-hand or left-hand side of the plate up so it is on an angle. Lift up over the locating tab on the side of the firebox then lift up the other side and push the plate to the back of the firebox.
-
Page 7: First Fire
FIRST FIRE YOUR HEATER HAS BEEN SPRAYED WITH HIGH TEMPERATURE PAINT. TO ENSURE THAT THE PAINT IS PROPERLY “CURED IN”, PLEASE FOLLOW THESE STEPS WHEN LIGHTING THE FIRST FIRE IN THE HEATER: • ENSURE THE AIR CONTROL SLIDE IS FULLY OPEN. •... -
Page 8: Operating Information
Operating Information Fuel Ignition: A supply of firelighters or newspapers. Kindling: 10 mm – 20 mm diameter light, split, pieces of dry wood. Start up wood: 30 mm – 75 mm diameter medium size, split pieces of dry wood. “BURN ONLY HARDWOOD” Starting a fire Fully open the air slide, lift the door handle upward and open the door slowly. - Page 9 Use of the fan Heatcharm heaters are fitted with a 3-speed fan for efficient distribution of warmth. Operating the fan in your wood heater is critical at all stages of use except at startup, where the follow steps apply: • When the fire has been underway for 30 minutes turn the fan on to low •...
-
Page 10: Replacement Parts
Preparing for a low (overnight) burn For an extended low burn ensure a maximum fuel load is placed into the heater, following the reloading procedure outlined previously. The greater the fuel load the longer the burn. After reloading close the door and leave the air inlet fully open (high) until the load is alight. The air inlet should then be turned down to the low setting. -
Page 11: Door Glass
Maintenance Paint surfaces After the curing process has taken place, little maintenance is required other than dusting off with a cotton cloth. Most marks can be buffed out with a cotton cloth without the need for retouching. NOTE: Do not use abrasive cleaners or harsh solvents (such as methylated spirits). Should you experience scuffing or scratching, or discolouration due to incomplete curing, the high temperature paint can be touched up and matching spray cans may be purchased from your Heatcharm dealer. -
Page 12: Door Adjustment
Door Adjustment The door is unlikely to become misaligned unless it is knocked and attempts at adjustment may cause rather than solve a problem. Always consult your Heatcharm dealer before attempting any adjustment to the door. 1. Remove door by opening fully and lifting door up off the hinge. (Freestanding models require top panel to be propped up prior to lifting door). - Page 13 At the end of the heater season you should clean and vacuum the fan and fan tray. Dust and hair can accumulate, especially if you have a pet. Turn the mains power off and disconnect the power lead from the wall socket. Console Models Series 5 1.
-
Page 14: Baffle Plate Removal
Baffle plate removal The baffle plate is held in place with four locating tabs – 2 either side, front and rear of the firebox. WARNING: ALLOW THE HEATER TO COOL IF HOT BEFORE ATTEMPTING BAFFLE PLATE REMOVAL. Cast Iron Baffles Removal of firebricks may be necessary if fitted. - Page 15 TABLE 1: FIREWOOD SPECIES AND THEIR PROPERTIES Firewood Forest Type Heat Density Splitting Ignitability Coals Sparks Avail. Species Avail. (Dry Air) Per Unit Ib/ft3/ Volume Kg/m3 Mallee Roots Mallee Difficult Poor Excellent Good Belah, Buloke Mallee 70 / Good Poor Excellent Limited Box-Ironbark...
-
Page 16: How To Make A Warranty Claim
How to Make a Warranty Claim Coonara, Heatcharm and Arrow Heaters. The full Warranty Statement for your heater is contained in the Installation and Operating Instructions booklet that was provided with the product. 1. Check the details of the warranty statement 2. - Page 17 HEATCHARM WOODHEATERS WARRANTY – CONSOLE & INBUILT MODELS DESIGNATION OF WARRANTOR. This warranty is extended by Shamic Sheetmetal (Aust) Pty. Ltd with respect to Heatcharm Wooheaters PRODUCT. This Heatcharm heater is comprised of the heater proper (including components and firebox), fan assembly, speed control switch, electrical components, firebricks, seals and moving parts.
Need help?
Do you have a question about the 600 Series and is the answer not in the manual?
Questions and answers