Table of Contents
Advertisement
Quick Links
Advertisement
Table of Contents

Related Manuals for DeWalt DWE575-XE


Summary of Contents for DeWalt DWE575-XE
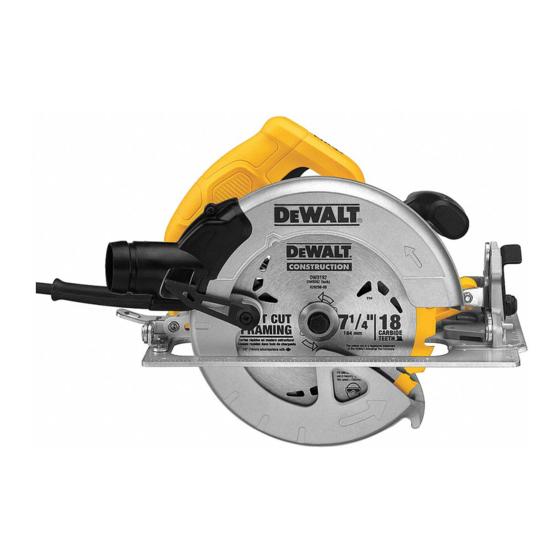
- Page 1 INSTRUCTION MANUAL DWE575-XE 184 mm (7-1/4") CIRCULAR SAW...
-
Page 3: Definitions: Safety Guidelines
CALL US AT: 1800 444 224 (Aust) or 0800 339 258 (NZ). Technical Data Identify additional safety measures to protect the operator from the effects of vibration such as: maintain the tool and the accessories, keep the hands warm, DWE575-XE organisation of work patterns. Voltage SAFETY INSTRUCTIONS FOR POWER TOOLS... -
Page 4: Work Area Safety
SAVE ALL WARNINGS AND INSTRUCTIONS FOR b) Use personal protective equipment. Always wear eye protection. Protective equipment such as dust mask, non-skid safety shoes, hard hat, or hearing FUTURE REFERENCE protection used for appropriate conditions will reduce personal injuries. 1) WORK AREA SAFETY c) Prevent unintentional starting. -
Page 5: Extension Cords
Safety Instructions for All Saws operation. If damaged, have the power tool repaired before use. Many accidents are caused by poorly maintained power tools. DANGER: Keep hands away from cutting area and the blade. Keep your f) Keep cutting tools sharp and clean. Properly maintained cutting tools with second hand on auxiliary handle, or motor housing. - Page 6 Kickback is the result of saw misuse and/or incorrect operating procedures or c) Lower guard should be retracted manually only for special cuts such as conditions and can be avoided by taking proper precautions as given below: “plunge cuts” and “compound cuts.” Raise lower guard by retracting handle and as soon as blade enters the material, the lower guard must be released.
-
Page 7: Components (Fig. 1)
• Stay clear of end pieces that may fall after cutting off. They may be hot, sharp WARNING: Always wear proper personal hearing protection that conforms to and/or heavy. Serious personal injury may result. AS/NZS1270 during use. Under some conditions and duration of use, noise from this •... -
Page 8: Intended Use
FIG. 2 FIG. 3 FIG. 1 TO INSTALL THE BLADE (FIG. 2–5) 1. Using the lower guard lever (K), retract the lower blade guard (I) and place blade on saw spindle against the inner clamp washer (N), making sure that the blade will rotate in the proper direction (the direction of the rotation arrow on the saw blade and the teeth must point in the same direction as the direction of rotation arrow on INTENDED USE... -
Page 9: Lower Blade Guard
LOWER BLADE GUARD 4. Depress the blade lock (C) while FIG. 5 turning the saw spindle with the WARNING: The lower blade guard is a safety feature which reduces the risk of blade wrench (P) stored underneath serious personal injury. Never use the saw if the lower guard is missing, damaged, the main handle (B, Fig. - Page 10 3. Retighten the bevel adjustment by lowering the lever. Bevel Detent (Fig. 9) The DWE575-XE is equipped with a bevel detent feature. As you tilt the foot plate you will hear a click and feel the foot plate stop at both 22.5 and 4 degrees. If either of these is the desired angle, retighten the lever (F) by lowering it.
-
Page 11: Operation
makes the slot or “kerf” cut by the moving blade, fall to the right of the indicator. The markings on the front of the foot plate are in increments of 5 mm (1/5"). FIG. 12 45˚ 0˚ FIG. 10 OPERATION Cut Length Indicator (Fig. - Page 12 NOTICE: Do not switch the tool ON or OFF when the saw blade touches the workpiece ALWAYS DISCONNECT SAW BEFORE MAKING ANY ADJUST MENTS! Place the work or other materials. with its “good” side—the one on which appearance is most important—down. The saw cuts upward, so any splintering will be on the work face that is up when you Workpiece Support (Fig.
- Page 13 go off the line, don’t try to force it back on. Release the switch and allow blade to come to 4. Release the blade guard (its contact FIG. 19 a complete stop. Then you can withdraw the saw, sight anew, and start a new cut slightly with the work will keep it in position to inside the wrong one.
-
Page 14: Maintenance
D. Cutting off long narrow strips (as in ripping) can cause kickback. The cut off blade surface in the material increase the chance for binding and misalignment strip can sag or twist closing the kerf and pinching the blade. (twist) to occur. E. - Page 15 Lubrication ADJUSTING BEVEL ADJUSTMENT LEVER FIG. 21 (FIG. 21) Self lubricating ball and roller bearings are used in the tool and relubrication is not It may be desirable to adjust the bevel required. However, it is recommended that, once a year, you take or send the tool to a adjustment lever.
- Page 16 ACCESSORIES WARNING: Since accessories, other than those offered by D WALT, have not been tested with this product, use of such accessories with this tool could be hazardous. To reduce the risk of injury, only D WALT recommended accessories should be used with this product.
- Page 20 Stanley Black & Decker 82 Taryn Drive, Epping, VIC 3076 Australia • 1800 444 224 (Aust) or 0800 339 258 (NZ) www.dewalt.com.au • www.dewalt.co.nz (JUL12) Part No. N153695 DWE575-XE Copyright © 2012 D WALT The following are trademarks for one or more D WALT power tools: the yellow and black color scheme;...