Advertisement
Advertisement

Related Manuals for Shinco SPF1-12C


Summary of Contents for Shinco SPF1-12C
- Page 1 Model No. SPF1-12C c�us OWNER’S MANUAL lntertek Read and save these instructions.
-
Page 2: Table Of Contents
Setting up your portable conditioner..............6 Product features....................7 Installing y our air conditioner ................8 Using your air conditioner.................. 12 Cleaning & Maintenance..................14 Trouble shooting....................16 Limited Manufacturer’s Warranty ...............17 SPECIFICATIONS Model No . SPF1-12C Voltage 110V~120V 60Hz Frequency 3520W Power Width:17.4in Depth:13.4in Dimensions Height:32.7in... -
Page 3: Safety Information & Warnings
SAFETY INFORMATION & WARNINGS SAFETY PRECAUTIONS Please read the Manual carefully before operating the machine: Read and keep these instructions. Heed all warnings. Follow all instructions. Do not use this machine near water. Clean it only with a damp cloth. Do not block any ventilation openings. - Page 4 16.Turn off the machine before unplugging it. 17.Refer all servicing to qualified service personnel. Servicing is required when the machine has been damaged in any way, such as power-supply cord or plug is damaged, liquid has been spilled or objects have fallen into the machine, the machine has been exposed to rain or moisture, does not operate normally, or has been dropped.
- Page 5 ELECTRICAL SAFETY Integrated circuit breaker For additional safety, the power cord on this air conditioner features an integrated circuit breaker. RESET button You can test and reset the circuit breaker using the buttons provided on the plug case. Consult a TEST button qualified electrician or service person if the grounding instructions are not completely...
-
Page 6: Setting Up Your Portable Conditioner
SETTING UP YOUR PORTABLE AIR CONDITIONER Before using your portable air conditioner • Remove and store (optional) packing materials for reuse. • Remove any shipping tape before using the air conditioner. • Remove tape residue with liquid dish soap and a damp cloth. Do not use sharp tools, alcohol, thinners, or abrasive cleaners to remove adhesive, which could damage the finish. -
Page 7: Product Features
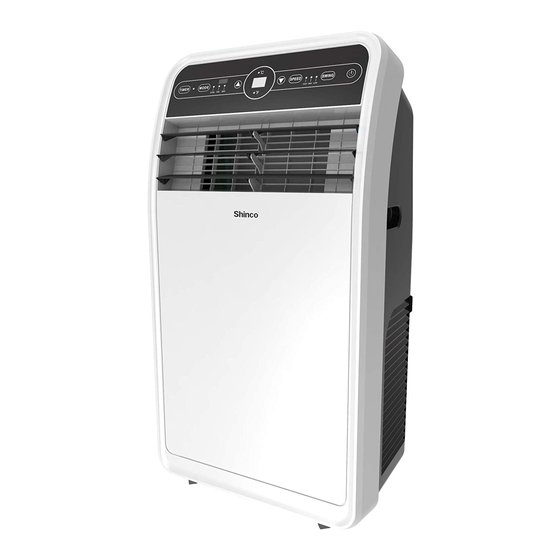
PRODUCT FEATURES 1. Carrying Handle 6. Air Intake 2. Control Panel 7. Moisture Drain Plug 3. Adjustable Front Grille 8. Remote Control 4. Casters 9. Exhaust Duct 5. Exhaust Output 10. Window Sealing Plate... -
Page 8: Installing Your Air Conditioner
INSTALLING YOUR AIR CONDITIONER 1.Screw the exhaust hose to the exhaust outlet on the back of your air conditioner, then screw the hose adapter to the other end of the hose. 2.Measure the window size. 3.Install the window sealing plate in the window opening,adjusting the length to fit the window opening and securing it with "Clip"... - Page 9 Usually Portable air conditioner needs to be equipped with sliding windows. We put two sealing plates in the packaging box of the machine, and the size range after connection is 94cm-127.5cm (37in-50.20in). We also have two spare parts, one short (40cm=15.75in) and one long (67.5cm=26.57in) with "Clip".
- Page 10 4.Insert the hose adapter into the vent panel (A), then slide the adapter until it clicks into place (B). Small gap Insert Slide (Optional): Secure the venting hose to the vent adapter using the included screw. Note: For optimum performance, make sure the venting hose is not twisted and is free of kinks.
- Page 11 Caution: The exhaust duct is designed especially for this air conditioner. Replacing or lengthening the duct could result in damage to your unit.
-
Page 12: Using Your Air Conditioner
USING YOUR AIR CONDITIONER Inserting the batteries in the remote control • Insert two AAA batteries (provided) into the remote control. Make sure that you orient the batteries correctly (+ and –) when you install them. - Page 13 1. Power button Press this button to turn the unit on and off. 2. Mode button Press this button to cycle between the 3 modes: cool (full A\C cooling with temperature setting), fan (just fan operation without any temperature setting) and dry (fan operation plus dehumidification). In dry mode, water will collect inside the unit, and must be drained by removing the plug from the middle of the back of the unit.
-
Page 14: Cleaning & Maintenance
CLEANING & MAINTENANCE DRAINING THE WATER TANK This unit is equipped with an automatic water vaporization system. The condenser is cooled through the circulation of condensing water to improve cooling efficiency and energy conservation. If the tank is full, “FL” will appear on the display to indicate that it needs to be drained. - Page 15 DUST FILTER • Once every two weeks, remove the dust filter from the back of the unit and wash it. Neglecting to clean the dust filter may cause the unit to run poorly over time. SEASONAL CLEANING If you are planning on putting the unit away long-term: •...
-
Page 16: Trouble Shooting
TROUBLE SHOOTING In case of any of the following problems, please contact our customer ISSUE CAUSE SOLUTION Unit is not plugged Plug the unit in. Restart the A/C after powering The display panel The A/C doesn’t off and draining, then it will displays “FL”. -
Page 17: Limited Manufacturer's Warranty
LIMITED MANUFACTURER’S WARRANTY Warranty : We provide one-year warranty. For technical support and warranty service, please email service@shinco.com. Warranty Exclusions: The warranty will not apply if the damage is caused by any of the following: Power failure. • • Damage when moving the appliance.
Need help?
Do you have a question about the SPF1-12C and is the answer not in the manual?
Questions and answers