Advertisement
Quick Links
Quick Installation Guide
AC1200
High Power
Outdoor Gigabit Wi-Fi Range Extender
OPTION ONE
LAN to Wi-Fi Extension Quick Setup
Recommend for big yard
A7. Connect to the Device
For Windows User
For Mac OS X User
1. Unplug the Ethernet cable from your
computer (if any).
2. Click the Wireless Network Connection
icon on your taskbar.
WAVLINK-N
3. Click the refresh icon and connect to the
or
WAVLINK-AC.
Device's network: WAVLINK-N or
WAVLINK-AC.
1. Unplug the Ethernet cable from
your computer (if any).
2. Click the Wi-Fi icon in the top right
corner of the screen, and connect
to the Device's network: WAVLINK-N
or WAVLINK-AC.
WAVLINK-N
WAVLINK-AC.
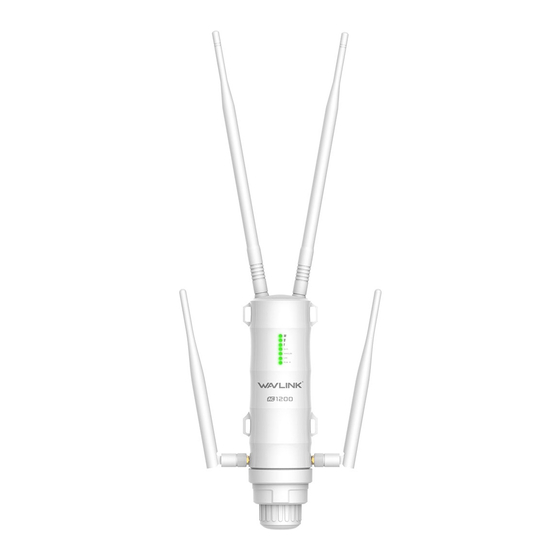
Hardware Overview
Primary Extender
2.4G RP-SMA Antenna Connectors
5G RP-SMA Antenna Connectors
3 x Wi-Fi Signal LEDs
Wi-Fi LED
WAN/LAN LED
LAN LED
POWER LED
Reset button
LAN Port (POE)
WAN/LAN Port (POE)
Grounding Terminal
Default Parameters
WL-WN572HG3
Web: http://wifi.wavlink.com
2.4G SSID: WAVLINK-N
Default IP:
192.168.10.1
5G/AC SSID: WAVLINK-AC
Wireless Key: no
Login Password: admin
REV.E1
A1. Fasten the main body holder
A2. Plug in the Device
A8. Launch a web browser and type
A9. Click "Wizard".
http://wifi.wavlink.com
in the
address field. Enter
admin
(all
A10. Click "AP(LAN Bridge)".
lowercase) to login.
If the login window does not
pop up, please refer to the
FAQ>Q1.
LED indicators
ON: The Device is powered on
POWER
OFF: The Device is not receiving electrical power.
ON:
The Ethernet port is connected.
LAN/WAN
OFF: The Ethernet port is disconnected.
ON:
The Ethernet port is connected.
LAN
OFF: The Ethernet port is disconnected.
Wi-Fi Signal
Mode
AP/Router
ON
ON
ON
Wi-Fi Signal output power 100%
Better reception: signal strength 75% to 100%
ON
ON
ON
Good reception: signal strength 50% to 75%
ON
ON
OFF
Repeater
WISP
ON
OFF
OFF
Weak reception: signal strength below 50%
Flashing
OFF
OFF
Disconnected
Installation
A3. Connect one end of an Ethernet cable to "
POE" port of POE converter.
A4. Connect one end of an Ethernet cable to "LAN DATA IN" port of POE
converter, and connect the other end to a "LAN" port of your Router.
A5. Plug in the power connector to the "DC24V" port of POE converter,
then plug the power adapter into an electrical outlet.
A6. Push the "ON/OFF" button on the POE converter to power on.
A6
A5
A4
A3
POE
Converter
Configuration
For Single Band (2.4G) Users
WAVLINK-N
WPA/WPA2 Mix
A11. Choose a Security Type.
A12. Enter your password for your
extended network.
Assembly
6
Spin 5G antenna into the
5G
2.4G
5G External RP-SMA
connector
5
Spin 2.4G antenna into the
2.4G External RP-SMA
connector
4
Connect the RJ45
cable to RJ45 Port
Description
3
Pass RJ45 cable through
the holder
Pass RJ45 cable through
2
the Rubber seal
Pass RJ45 cable through
1
the spiral cover
ATTENTION:
1. Ensure you use a certified CAT5e/CAT6
Ethernet cable with RJ45 connectors.
2. Ensure the length of the Ethernet cable is
less than 60 meters (196ft.).
Support passive POE power supply via
Ethernet cable.
Change Login Password
For Dual Band (2.4G+5G) User
NOTE: The default login password of the Device is "admin", We
strongly recommend you change the default login password.
WAVLINK-N
WAVLNIK-AC
WPA/WPA2 Mix
A11. Choose a Security Type.
A12. Enter your password for your
extended network.
Note:
Some routers might not be compatible with
WL-WN572HG3. If it doesn't work, please:
a. Click the icon at Static IP column to
ON.
b. Enter the info correspondingly.
c. Try again.
Screw the holder
7
plug the rubber seal to
8
the holder
Screw the spiral cover
9
1. Launch a web browser and type
http://wifi.wavlink.com
in the
address field. Enter
admin
(all
lowercase) to login.
If the login window does not
pop up, please refer to the
FAQ>Q1.
2. Click "Setup->
Login Password".
3. Enter the old password,
then enter the new password
and click "Apply".
Advertisement

Related Manuals for Wavlink AERIAL HD4


Summary of Contents for Wavlink AERIAL HD4
- Page 1 Enter admin (all A10. Click “AP(LAN Bridge)”. A12. Enter your password for your A12. Enter your password for your to the Device’s network: WAVLINK-N lowercase) to login. extended network. extended network. or WAVLINK-AC. 3. Enter the old password,...
- Page 2 1. Launch a web browser and enter • Make sure your computer is set to obtain an IP address automatically. http://wifi.wavlink.com in the • Use the IP address to log in to the page. The default IP is 192.168.10.1. If the address field.Enter...
Need help?
Do you have a question about the AERIAL HD4 and is the answer not in the manual?
Questions and answers