Advertisement
Quick Links
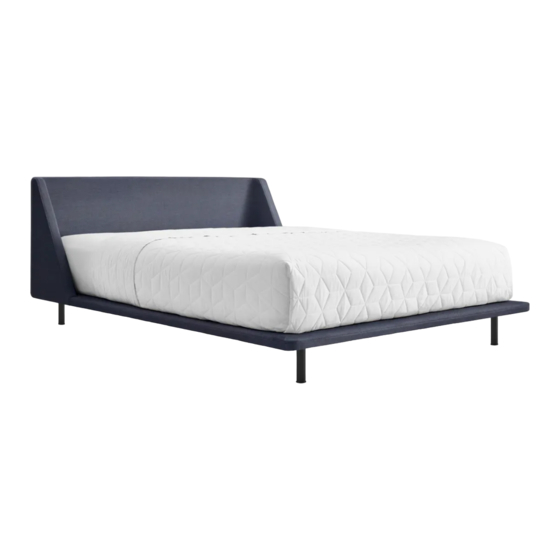
Nook Bed Collection
D E S I G N E D I N 2 0 1 1
A S S E M B LY N O T E S | R E V 0 0
N E E D A H A N D ?
Contact us at service@bludot.com or
844.425.8368 for assistance.
@ B L U D O T
We design all our pieces in our Minneapolis studio. Follow
along on Instagram for some sneak peeks into the process.
Advertisement

Summary of Contents for BluDot Nook Bed
- Page 1 A S S E M B LY N O T E S | R E V 0 0 N E E D A H A N D ? @ B L U D O T Contact us at service@bludot.com or We design all our pieces in our Minneapolis studio. Follow 844.425.8368 for assistance.
-
Page 2: Parts & Hardware
Parts & Hardware Pt. 3001 Pt. 3002 Pt. 1604 Pt. 9016 Corner Bracket Slip Cover Center Rail Left Side Rail Right Side Rail Slats Footboard Headboard 1 | 8 4 4 . 4 2 5 . 8 3 6 8 N O O K B E D C O L L E C T I O N... - Page 3 Step 01 I N S TA L L L E G S . Assemble the bed on a soft, clean surface with the assistance of another individual. Attach legs to headboard, footboard, and center rail by threading them into place as shown. A S S E M B LY N O T E S S E R V I C E @ B L U D O T.
- Page 4 Step 02 A L I G N B E D PA R T S . Carefully align parts in place as shown. 3 | 8 4 4 . 4 2 5 . 8 3 6 8 N O O K B E D C O L L E C T I O N...
- Page 5 Step 03 S E C U R E PA R T S I N P L A C E . Secure the corner bracket and other parts in place using the provided hardware as shown. Do not fully tighten the hardware until all of the bolt locations are aligned.
- Page 6 Step 04 AT TA C H S L I P C O V E R . Starting at headboard, secure hook and loop fasteners between side frame rails and headboard. Continue toward footboard keeping edges smooth and in line with frame edges.
- Page 7 Step 06 I N S TA L L S L AT S . Starting at the headboard, unroll slats along frame. Ensure first and last slat are secured by metal blocking. A S S E M B LY N O T E S S E R V I C E @ B L U D O T.
-
Page 8: Additional Information
Additional Information CL E A N Vacuum your upholstery regularly. SP I LLS Act quickly with spills. Absorb the spill with a clean white cloth or paper towel. Never rub the surface. Do not use water or other liquids to clean, as they may stain the fabric. Consult a commercial cleaning specialist for removal of stubborn stains.


Need help?
Do you have a question about the Nook Bed and is the answer not in the manual?
Questions and answers