Advertisement
Quick Links
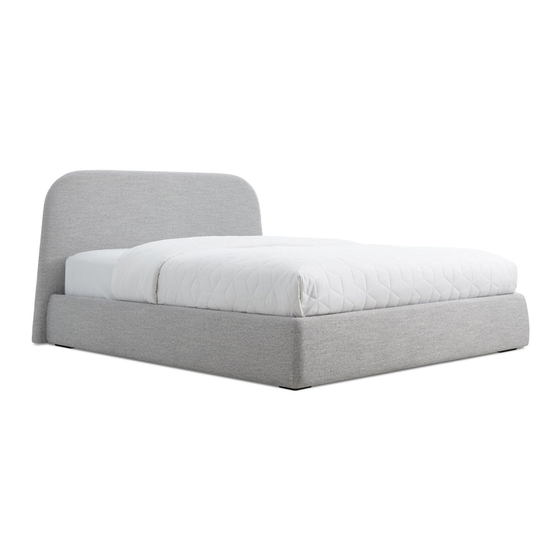
Lid Bed Collection
D E S I G N E D I N 2 0 1 7
A S S E M B LY N O T E S | R E V 0 4
N O W R O N G S I D E H E R E .
Sleep well knowing that you are on top of your storage. Literally. The Lid Storage
bed provides an inconspicuous spot for whatever needs to be stashed below.
N E E D A H A N D ?
Contact us at service@bludot.com or
844.425.8368 for assistance.
Advertisement

Summary of Contents for BluDot Lid Bed
- Page 1 N O W R O N G S I D E H E R E . N E E D A H A N D ? Contact us at service@bludot.com or Sleep well knowing that you are on top of your storage. Literally. The Lid Storage 844.425.8368 for assistance.
-
Page 2: Parts & Hardware
Parts & Hardware Foot Center Foot Pt. 8050 Pt. 8051 M8 x 45mm M8 x 25mm Pt. 1099 Pt. 1106 Pt. 3007 Pt. 3002 M6 x 40mm M6 x 20mm Pt. 1102 Pt. 1103 Pt. 9022 Pt. 4007 * Twin Bed does not include center legs or center rail. Noted hardware quantities will be less to match. Feel free to contact customer service with hardware questions for your particular product. - Page 3 Parts & Hardware Headboard Footboard Left Side Rail Right Side Rail Slip Cover Center Rail Slat Support Slat * Platform storage bed ships with x2 footboards. ** Twin bed ships with x1 slat roll and no center rail. A S S E M B LY N O T E S S E R V I C E @ B L U D O T.
- Page 4 Step 01 AT TA C H I N G T H E F E E T. Begin by attaching the round adhesive pads to the feet. Attach the feet to the side rails as shown using the provided hardware. PT. 4 00 7 x 4 P T.
- Page 5 Step 02 AT TA C H I N G T H E F O O T B O A R D. Attach the footboard to the side rails using the provided hardware as shown. Vertical holes closer to headboard Horizontal holes closer to footboard PT.
- Page 6 Step 03 AT TA C H I N G T H E H E A D B O A R D. With the help of a second person, align the headboard bolt holes with the foot bracket holes. Attach as shown using the provided hardware.
- Page 7 Step 04 I N S TA L L I N G T H E S L I P C O V E R . Begin attaching the slip cover at the inner footboard corners and work up to the headboard. Wrap the slip cover around the frame and attach at the bottom using the velco strips.
- Page 8 Step 05 A S S E M B L I N G T H E S L AT S U P P O R T S . Using a phillips head screwdriver, assemble the slat supports as shown using the provided hardware.
- Page 9 Step 06 AT TA C H I N G T H E S L AT S U P P O R T S . Attach the slat supports to the side rails as shown using the provided hardware. PT. 1 09 9 x 8 P T.
- Page 10 Step 07 A S S E M B L I N G T H E C E N T E R R A I L , I F I N C L U D E D. If assembling a twin bed, please move to Step 09. If a center rail is included, please follow the below step.
- Page 11 Step 08 AT TA C H I N G T H E C E N T E R R A I L , I F I N C L U D E D If assembling a twin bed, please move to Step 09. If a center rail is included, please follow the below step.
-
Page 12: Additional Information
Step 09 AT TA C H I N G T H E S L AT S . Starting at the headboard, install slats as shown. Start here. Additional Information CLEAN Vacuum your upholstery regularly. For leather furniture dust regularly with a dry cloth. SPILLS Act quickly with spills.


Need help?
Do you have a question about the Lid Bed and is the answer not in the manual?
Questions and answers