Table of Contents
Advertisement
Advertisement
Table of Contents

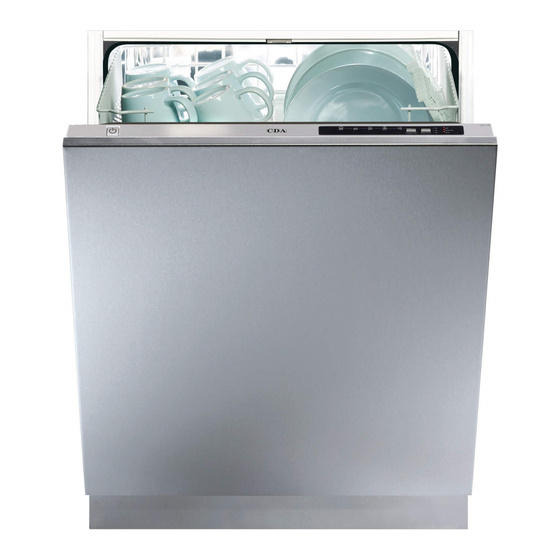
Summary of Contents for CDA WC140
- Page 1 Manual for Installation, Use and Maintenance Passionate about style Customer Care Department • The Group Ltd. • Harby Road • Langar • Nottinghamshire • NG13 9HY T : 01949 862 012 F : 01949 862 003 E : service@cda.eu W : www.cda.eu...
- Page 2 Appliance information: Please enter the details on the appliance rating plate below for reference, to assist CDA Customer Care in the event of a fault with your appliance and to register your appliance for guarantee purposes. your appliance and to register your appliance for guarantee purposes.
-
Page 3: Before First Use
Run a hot programme without any dishes in the dishwasher. Control Panel Power Button To switch the power to the dishwasher on or off, press the power button (1). When you switch on the dishwasher, the end of programme light will illumnate. illuminate. -
Page 4: Starting A Programme
At the end of a programme If possible, do not open the dishwasher door once the programme has started. At the end of the programme, the dishwasher will beep five times, and the end of Programme Indicator light will switch on. Changing a programme It is possible to change the programme if necessary once the programme has started. - Page 5 3. Then close the detergent compartment lid until the latch locks. detergent into the prewash section of the compartment (a in figure 1). CDA recommends the use of separate detergent, rinse aid and dishwasher salt rather than combination tablets as separates achieve better wash performance.
-
Page 6: Softener Adjustment
Keep the testing water testing The efficiency of your dishwasher depends on the softness of the tap water. To ensure best efficiency, the dishwasher through strip in strip. is equipped with a system that reduces the hardness in the mains water supply. The efficiency will increase when the... -
Page 7: Rinse Aid
Rinse Aid Rinse Aid Rinse Aid To fill the rinse aid compartment To fill the rinse aid compartment To fill the rinse aid compartment 1. Open the rinse aid compartment by turning and removing the cap as 1. Open the rinse aid compartment by turning and removing the cap as 1. -
Page 8: Dishwasher Baskets
Dishwasher Baskets To adjust the height of the upper basket: 1. Open the basket retaining clips, as shown in figure 7, but turning them to the side. 2. Remove the upper basket, and relocate the alternate set of wheels on the runner, as shown in figure 8, pushing the basket back into place. -
Page 9: Standard Loading And Test Data
Standard loading and Test Data Capacity • Upper and lower baskets: 12 place settings. • The upper basket should be adjusted to high position. • Cups should be placed on to the dish rack pins. Detergent / Rinse aid • 5 + 25 cm , in accordance with EN50242-DIN 44990 IEC 436 (international norms) / Rinse aid dosage adjustment: 4. -
Page 10: Programme Listing
The values and times provided above have been obtained under laboratory conditions according to relevant standards. This information can change depending on the conditions of the dishwasher’s use and environment (network tension, water pressure, water input temperature and environment temperature). -
Page 11: Care And Maintenance
Dishwasher interior To deal with an accumulation of dirt, oil or limescale in the dishwasher, run an intensive programme with detergent when the dishwasher is empty. Alternatively, there are specialist dishwasher cleaners available that can be used. -
Page 12: Failure Codes And Troubleshooting
Failure Codes and Troubleshooting Your dishwasher control panel is equipped with a diagnostic display to help in the event of a problem with the appliance. Error Code Intensive Normal Error description Quick Prewash Inadequate water supply Continual fill error The waste water in the machine cannot be discharged. - Page 13 Failure Code and Troubleshooting Problem The programme will not start Water remains inside the dishwasher at the end of the programme The dishwasher stops in the middle of a programme Wash performance is of a low standard White stains on the dishes...
-
Page 14: Electrical Information
Electrical information Warning! This appliance must be earthed. The mains lead of this appliance has been fitted with a BS 1363A 13 amp fused plug. To change a fuse in this type of plug, follow the steps below: 1. Remove the fuse cover and fuse. 2. -
Page 15: Installation
This connection should be at a minimum of 50 cm and a maximum of 110 cm from the floor. The drain hose should be no longer than 4m in length to ensure good performance from the dishwasher. fig 14... - Page 16 Passionate about style Customer Care Department • The Group Ltd. • Harby Road • Langar • Nottinghamshire • NG13 9HY T : 01949 862 012 F : 01949 862 003 E : service@cda.eu W : www.cda.eu...
- Page 17 The amount of offset, Y, depends on the height of the fascia door and can be calculated as: - WC140: WC350, WC360: For example, if you have a 731mm tall fascia door and are fitting a door to a WC140, then Y = 731 – 723 = 8mm MT 11/06/09...


Need help?
Do you have a question about the WC140 and is the answer not in the manual?
Questions and answers