Table of Contents
Advertisement
Quick Links
Advertisement
Table of Contents

Related Manuals for kenro KNSC302


Summary of Contents for kenro KNSC302
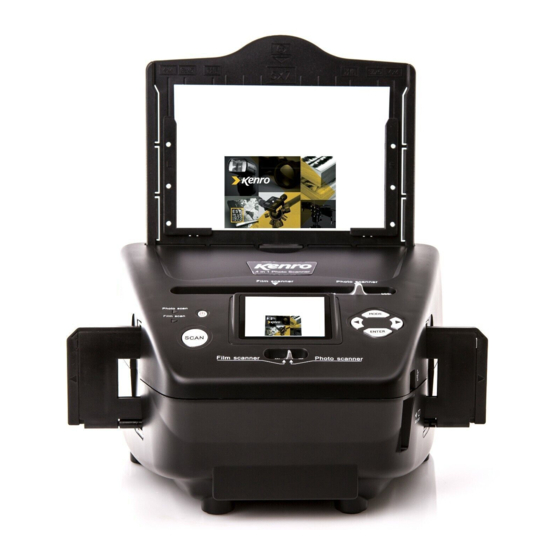
- Page 1 4-in-1 PHOTO & FILM SCANNER KNSC302 INSTRUCTION MANUAL...
-
Page 2: Safety Information
Kenro 4-in-1 Photo & Film Scanner KNSC302 Before using the film scanner, please read this manual carefully for a full understanding of how to use it safely and correctly. Safety information 1. Important: To prolong the life of this product, do not expose it to rain or moisture. - Page 3 4-in-1 scanner Photo / business card holder and brackets Positive slide holder Negative film holder USB cable...
-
Page 4: Loading Slides
Loading slides Hold the slide up to the light, with the trademark side facing away from you. When you look through the slide, the image should appear the correct way round, not a mirror image. Rotate the slide 180 degrees, turning the slide so that the image is upside down while still looking at the same side. -
Page 5: Loading Negatives
Loading negatives Hold the negative up to the light. As you look through, you should be able to read the small negative numbers normally, not a mirror image. Rotate the negative 180 degrees, turning it so that the image is upside down while still looking at the same side. -
Page 6: Loading Photos
Loading photos Position the brackets according to the marked dimensions on the photo tray. Note that for 7x5” photographs, the brackets do not need to be fitted into the photo tray. Place the brackets into the slots and slide them downwards to secure. Check that they are securely fastened by turning the photo tray upside down. - Page 7 Quick start guide Note: There may be some slight differences between the preview image and the saved image. Please check the image that has been saved to the SD card. 1. If you want to scan film, please move the two switches on the top of the device to the left side.
- Page 8 Home / MODE: No memory card If there is no memory card inserted into the device, a warning icon will be shown on screen when entering the main menu. A memory card is not essential to operation, as the scanner has an internal memory of 97 MB, however depending on size and resolution of scans, this could fill up quickly.
- Page 9 1.3 Capture: Live view and edit mode Once you have entered capture mode, you will see an icon in the top left corner to indicate live view mode (circled). In this mode you can adjust colour and brightness (as per instructions in section 1.1) or mirror / flip the image (as per instructions in section 1.2).
- Page 10 2. Playback From the menu screen, use the LEFT and RIGHT buttons to navigate to playback mode (pictured, top right). Press ENTER to confirm selection. 2.1 Playback: Auto slide show Once you enter playback mode, the scanner will default to the auto slide show setting. An icon in the top left corner of the screen will indicate that the scanner is in playback mode (pictured, bottom right, icon circled)
- Page 11 2.3.1 Playback: Edit menu: Rotate / Save Use the arrow keys to navigate to the desired rotation (clockwise or anti- clockwise) and press the ENTER button to rotate. The cursor will automatically move to the save icon. To save changes and return to slideshow, press ENTER again.
- Page 12 3. Film type When the film scanner mode is selected, the user can change film type by entering the film type options from the main menu. Use the LEFT / RIGHT buttons to navigate to the film type icon (pictured, below), and press the ENTER button to confirm.
- Page 13 5. Crop proportion In photo scanner mode, the user can change the crop proportion by entering the crop options from the main menu. Use the LEFT / RIGHT buttons to navigate to the crop icon (pictured, below), and press the ENTER button to confirm. Four options will be displayed (pictured, below).
-
Page 14: Usb Mode
7. Language To change the operating language, select the language options from the main menu by using the LEFT / RIGHT buttons to navigate to the language options icon (pictured, below) and pressing ENTER to confirm. You can then use the LEFT / RIGHT buttons to select your language, and press the ENTER button to confirm. -
Page 15: Troubleshooting
There is a stripe at the edge of my image. Gently adjust the position of the slide holder until the stripe is no longer visible on the preview. If the problem persists, please contact Kenro for technical support. The device cannot connect to my PC. - Page 16 Kenro Ltd, Greenbridge Road, Swindon SN3 3LH, UK +44 (0) 1793 615836 | www.kenro.co.uk | sales@kenro.co.uk...
Need help?
Do you have a question about the KNSC302 and is the answer not in the manual?
Questions and answers