Advertisement
Advertisement
Table of Contents

Subscribe to Our Youtube Channel
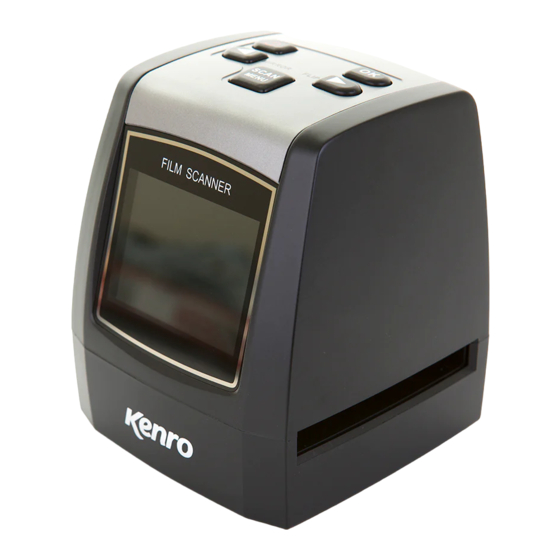
Summary of Contents for kenro KNSC201
- Page 1 FILM SCANNER KNSC201 INSTRUCTION MANUAL...
-
Page 2: Safety Information
Kenro Film Scanner Instruction Manual Thank you for purchasing this film scanner Before using the film scanner, please read this manual carefully for a full understanding of how to use it safely and correctly. Safety information 1. Do not take the unit apart. -
Page 3: Package Contents
Package contents Please check that your scanner package contains all of the following items. If any items are missing, please contact the retailer you bought it from immediately. 1. Film scanner 2. USB cable 3. Power adapter 4. Cleaning brush* 5. -
Page 4: Loading Negatives
Slide and negative loading method Loading negatives Hold the negative towards the light. Face the correct side of the negative towards yourself. Open negative holder and place the negative into the recessed area of the holder. Close the negative holder and squeeze the edges so that it locks into place. -
Page 5: How To Use
How to use The menu 1. Film type 6. USB MSDC 2. Resolution 7. Language 3. Capture 4. Playback 5. Format To return to the main menu from any function, press the [Scan/Menu] button. Capture picture Before scanning, please make sure that the inner backlight panel is clean. - Page 6 In main menu mode, press [OK/Enter] to enter capture mode and display the image. To mirror the image, press the left button. To rotate the image 180° (flip), press the right button. To adjust the exposure compensation value, press the [OK/Enter] button.
-
Page 7: View Captured Image
View captured image In the main menu, use the left and right buttons to highlight the playback mode, then press [OK/Enter]. Captured images will begin to play in a slideshow. To pause, press [OK/Enter] again, then use the left and right arrows to scroll through images manually. 1. -
Page 8: Set The Language
Set the language In the main menu, use the left and right buttons to highlight the language function, then press [OK/Enter] to enter it. Here, you can use the left and right buttons and the [OK/Enter] button to select one of eight languages: English, French, German, Italian, Spanish, Traditional Chinese, Simplified Chinese, and Japanese. -
Page 9: Connect To Computer
Reformat the memory card In the main menu, use the left and right buttons to highlight the format function, then press [OK/Enter]. A warning will appear on screen: ‘Data shall be eliminated’. This will then disappear and you will be presented with the yes/no option to ‘Format the media’. If you select yes, ALL information on the memory card will be deleted. -
Page 10: Product Specification
Product specification Please note that product specifications are subject to change and improvement. Function: Film scanner / USB MSDC Interface: USB 2.0 Image sensor: 14.0 megapixels (4416x3312) 1/2.3” CMOS sensor Display: Colour 2.4” TFT LCD Exposure control: Automatic / manual (-2.0 EV ~ +2.0 EV) White balance: Automatic Resolution:... - Page 11 Kenro Ltd, Greenbridge Road, Swindon SN3 3LH, UK +44 (0) 1793 615836 | www.kenro.co.uk | sales@kenro.co.uk...


Need help?
Do you have a question about the KNSC201 and is the answer not in the manual?
Questions and answers