
Related Manuals for Chef's Choice Diamond Hone 100


Summary of Contents for Chef's Choice Diamond Hone 100
- Page 1 InstructIOns MODEL 100 ® Diamond Hone Sharpener Read these instructions before use. It is essential that you follow these instructions to achieve optimum results. © 2014 EdgeCraft Corp.
- Page 2 Important SafeguardS When using electrical appliances, basic safety precautions should always be followed including the following: 1. Read all instructions. ® 2. To protect against electrical hazards, do not immerse the Chef’sChoice in water or other liquid. ® 3. Make sure only clean knife blades are inserted in the Chef’sChoice 4.
- Page 3 You made a good ChoICe ® ongratulations on your selection of the Chef’sChoice Professional 100 Diamond Hone ® Sharpener. With the Professional 100 you can produce the incredibly sharp, triple ® bevel Trizor edges on your favorite kitchen, sporting or pocket knife. ®...
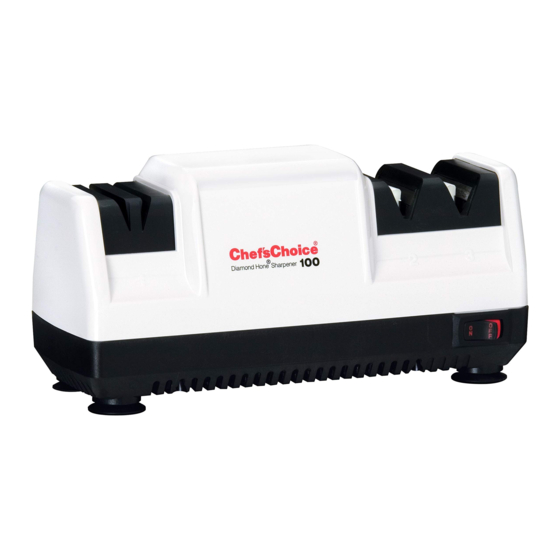
- Page 4 gettIng to KnoW Your Sharpener Before using your sharpener you may wish to become familiar with its features (Figure 1). ® ® 1. Place Chef’sChoice Diamond Hone Sharpener on a level table or kitchen counter surface. Do not plug the sharpener cord into an outlet. 2.
- Page 5 to Sharpen a KnIfe for the fIrSt tIme ® Place the Chef’sChoice on a sturdy table or kitchen counter surface. Plug the sharpener cord into an appropriate electrical outlet. Press the switch, on the lower right front of the sharpener, to “ON”. Stage 1: Hold knife with the illustrated grip below, (Figure 4).
- Page 6 alternately in left and right slots of Stage 1 until you can feel a burr along the right side of the edge following a pull through the right slot of Stage 1. See Figure 5 (feeling for burr). Then pull the blade through the left slot of Stage 1 and inspect for a burr along the left side of the edge.
- Page 7 Stage 3: To develop the finest and sharpest edge possible, proceed to the HONING stage, Stage 3. Pull knife six (6) times through each HONING slot, alternating left and right slots with every pass as in Stages 1 and 2. Continue to use a loose grip. Take about three (3) seconds per pass for a 6”...
- Page 8 3. NEVER PUT THE TIP OF THE BLADE INTO THE SLOT 4. Store knives carefully. Due to extreme sharpness of FIRST AND PUSH THROUGH. edge, EdgeCraft recommends the use of a wooden block, magnetic rack or sheaths. normal maIntenanCe No lubrication is required for any moving parts, motor, bearing surfaces or sharpening surfaces. Your sharpener may be cleaned by carefully wiping with a damp cloth.
Need help?
Do you have a question about the Diamond Hone 100 and is the answer not in the manual?
Questions and answers