Table of Contents
Advertisement
Quick Links
Get the latest Remington Solar product manuals at:
http://remingtonsolar.com/product-manuals/
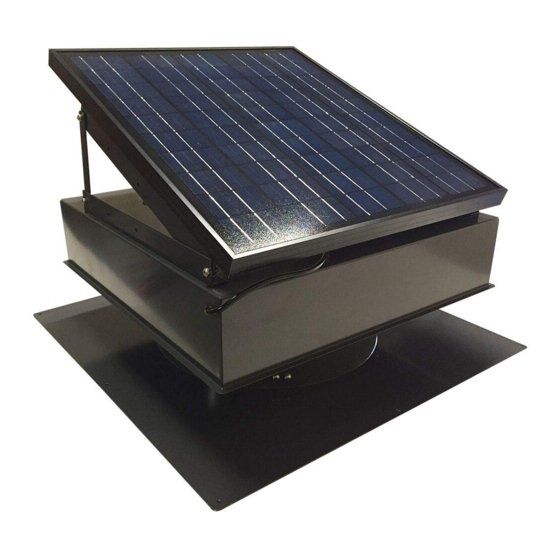
Thank you purchasing the Remington Solar Attic Fan. Please take the time to read through the
entire instructions prior to staring any work.
NOTE: When you first unpack your solar attic fan and place it in the sunlight, it may not
immediately turn on. Check the following:
1. Determine if the outside temperature is 82 degrees Fahrenheit. The built-in thermostat will
prevent the unit from starting below 82 degrees.
2. Make sure the thermostat/humidistat (blue plastic piece) wiring is connected snugly. The
thermostat/humidistat is connected by a simple three pronged plug that should be connected when
your solar attic fan arrives.
3. Make sure the unit is getting sun with no clouds. Sometimes the unit will spin slowly or not at
all with thick cloud cover.
4. If it is cool outside and you want to test your fan, you may cup the thermostat in your hand and
breathe heavily on it. That will typically kick on the fan.
Tools Required
Reciprocating Saw
Marking Pen
Measuring Tape
String
Razor Knife
Screw Gun
Caulking Gun
Ladders
½
6, 6# 1
Phillips Head Screwdriver
NOTE: Please go to
http://remingtonsolar.com/how-to-install-your-remington-solar-attic-fan/
(or
go to RemingtonSolar.com and look for the link How To Install Your Remington Solar Attic Fan)
to watch a brief video of an actual installation.
Model # SF20
Model #SF25
Model #SF-30
- 1 -
Advertisement
Table of Contents

Related Manuals for Remington Solar Attic Fan


Summary of Contents for Remington Solar Attic Fan
- Page 1 Thank you purchasing the Remington Solar Attic Fan. Please take the time to read through the entire instructions prior to staring any work. NOTE: When you first unpack your solar attic fan and place it in the sunlight, it may not immediately turn on. Check the following: 1.
- Page 2 Model # SGF20 (gable mount) Special installation notes for each model: SF20 – This is a simple encased panel fan that flashes underneath the leading edge of your shingles. This unit includes humidistat and thermostat. Make sure you remove the small plastic bag that has the small thermostat and humidistat (underneath the fan near the blade) after installation.
- Page 3 (Whirlybird) or electric fan, you may do so. Just enlarge the hole if necessary, being careful not to cut through a rafter. However, the Remington Solar attic fan may sit atop a rafter if necessary without impeding too much air flow.
- Page 4 14” hole between the rafters or cut a 19” hole with the roof rafter running through the cut hole. Step 3 The Solar Attic Fan must be installed between roof rafters. Do not cut through any framing member. With a reciprocating saw, cut the diameter of the hole. Step 4 With razor knife, cut a 4 inch through the shingles and tar paper.
- Page 5 4. Before you begin, gently clean any oil residue from flashing. 5. Use a high quality silicone sealant to ensure a good waterproof seal. 6. You can remove the solar attic fan thermal switch. The fan then will operate only when there is sunshine, and shut off at dusk.
- Page 6 Acts of God; Dealer will not honor any claims for damage to any products. You must register your Remington Solar product within 30 days to activate warranty: http://remingtonsolar.com/register-your-product/ Additional installation videos: http://remingtonsolar.com/how-to-videos/...
Need help?
Do you have a question about the Attic Fan and is the answer not in the manual?
Questions and answers