
Related Manuals for Bosch PBH6B5B80A


Summary of Contents for Bosch PBH6B5B80A
- Page 1 This cooktop is for use with Natural Gas and Universal LPG Leave this instructions with the owner PBH6B5B80A, PBH6B5B60A, PBH6B5B90A USER INSTRUCTIONS INSTALLATION INSTRUCTIONS MAINTENANCE INSTRUCTIONS...
-
Page 2: Table Of Contents
This instruction is based on safety replacement parts and services can be found at considerations. www.bosch-home.com and in the online shop www.bosch-eshop.com Do not forget that the unit becomes hot when in use. Common sense is important. Just because the flame is out, does not mean parts cannot still be hot. -
Page 3: Installation And Connection
bench top wood, plastic or other non-heat resistant 5Installation and connection materials. Never leave oil or hot fat unattended. The surfaces on heating and cooking appliances get hot when in use. Be careful. Keep children away from Statutory requirements the appliance. This installation must conform with the following: Only use your appliance for the preparation of food and Manufacturer’s Installation instructions... -
Page 4: Clearances
Before connecting the unit, check whether the local connection conditions (type of gas) are compatible with the unit’s setting. Observe any special conditions If an oven is positioned below the cooktop the barrier imposed by local suppliers (utilities). The specifications does not need to be fitted, but a space of 35 mm must of this cooktop are stated on the data label located on be maintained between the underside of the cooktop... -
Page 5: Connection
Connection Use pipe compound or thread sealant, properly theaded pipes and careful assembly procedure so that there is no cross threading, etc., which might cause Electrical damage or leakage. An electrical 10 amp socket needs to be within 1 m of the hotplate to allow electrical connection. -
Page 6: Converting The Cooktop From Nat. Gas To
Converting the cooktop from Nat. Gas to Adjustment of the taps Universal LPG Set the control knobs to minimum. Remove the control knobs from the taps. It has a To change injectors flexible rubber valve reinforcing ring. Press with the All work involved in installation, setting and adaptation tip of the screwdriver to access the tap's adjusting to a different gas type must be carried out by... -
Page 7: Operating The Appliance
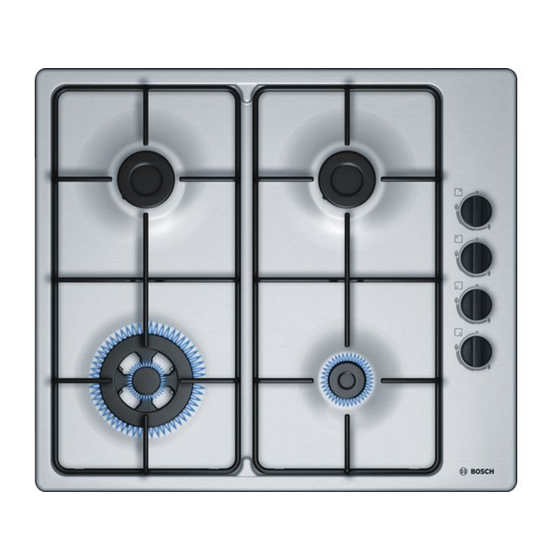
Accessories 1Operating the appliance Depending on the model, the hob may include the following accessories. These can also be acquired from the Technical Assistance Service. Burner locations Additional support for woks Only when using cookware with a domed base on wok burners. Additional support for espresso makers Only when using cookware with... -
Page 8: Operation
Operation Safety system Depending on the model, your hob may have a safety Remove the plastic covering used to protect the system (thermocouple) that prevents the flow of gas if stainless steel before using the appliance (depending the burners accidentally switch off. on the model). -
Page 9: Cooking Pans
that the room is properly ventilated. Keep natural Precautions for use ventilation openings, such as windows, open or provide When using certain pots or pans, a slight and Note: a mechanical ventilation device (e.g. a range hood or temporary deformation of the steel cooking surface may overhead exhaust fan). -
Page 10: Service
If the pan supports are fitted with rubber rests, ensure Maintenance that these are also cleaned. The rests may come loose Always clean off any liquid as soon as it is spilt. This will and the pan support may scratch the hob. prevent food remains from sticking to the hob surface and you will save yourself any unnecessary effort. -
Page 11: Wiring Diagram
Wiring diagram Switch Blue wire Brown wire Terminal Ignition module... - Page 12 *9001044070* 9001044070 970823(C)