Table of Contents
Advertisement
Available languages
Available languages
Quick Links
Advertisement
Table of Contents

Related Manuals for Toshiba F-ATW60(W)US


Summary of Contents for Toshiba F-ATW60(W)US
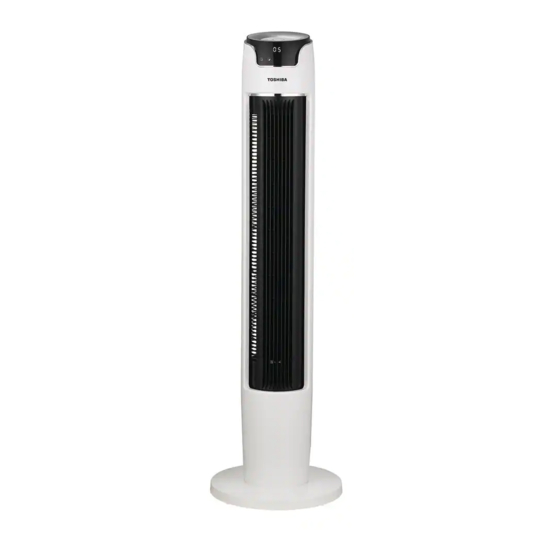
- Page 1 145x210mm k 42" TOWER FAN MODEL: F-ATW60(W)US READ AND SAVE THESE INSTRUCTIONS...
-
Page 2: Rules For Safe Operation
CAUTION Read Rules for Safe Operation and Instructions Carefully. WARNING 1. This appliance has a polarized plug (one blade is wider than the other). To reduce the risk of electric shock, this plug is intended to fit in a polarized outlet only one way. -
Page 3: Installation Instructions
INSTALLATION INSTRUCTIONS Name of components Control panel Display window Body Base Align the column in middle of pedestal with the hole and revolve for fitting... - Page 4 Revolve the arrows of two rotary knobs about 90° Assemble the pedestal and body. Align three screws with corresponding hole locations and screw tightly.
- Page 5 Instructions for operation of body Press a key on the unit to activate a corresponding function. For instance: ● Press “+”、“-”Key to adjust 6 speeds of air flow. (Note: Sleeping winds and nautral winds function only can adjust 3 speeds of air flow.) ●...
- Page 6 OPERATING INSTRUCTION I. Remote Controller a. KEY INSTRUCTION 1. “ ” ON/OFF KEY The “ ” key is for switching on the fan .The fan will be started at normal wind. Press the “ ” key if the fan needs to switch off. 2.
- Page 7 b. BATTERIES (battery not included in the packing) (1) Slide the battery compartment Cover. (2) Insert the batteries, and make sure that the batteries are placed as shown in the right. (3) Slide back the battery cover. NOTES: Use size “AAA” manganese or alkaline batteries.
- Page 8 CLEANING 1. Be sure to unplug from the electrical supply source before cleaning. 2. Plastic parts should be cleaned with mild soap and a damp cloth or sponge. Thoroughly to remove soap film with clean water. 3. Be sure not to make water or other liquid enter inside of motor.
-
Page 9: Service And Support
SERVICE AND SUPPORT This article includes a limited warranty of one (1) year against defects in workmanship and material (s). Excluding wear or breakage caused by abuse or improper use. In the case of a malfunction or breakdown, simply bring or send the product, freight prepaid, along with your PROOF OF PURCHASE to Midea America. - Page 10 145x210mm k VENTILADOR DE TORRE DE 42" MODEL: F-ATW60(W)US LEA Y GUARDE ESTAS INSTRUCCIONES...
-
Page 11: Normas De Seguridad
Instrucciones de seguridad PRECAUCIÓN Lea las normas de seguridad y las instrucciones atentamente. ADVERTENCIA 1. Este aparato tiene un enchufe polarizado (una pata es más ancha que la otra). Para reducir el riesgo de descarga eléctrica, el enchufe está diseñado para encajar en un tomacorriente polarizado de una sola manera. -
Page 12: Instrucciones De Instalación
INSTRUCCIONES DE INSTALACIÓN Nombre de las partes Panel de control Pantalla Cuerpo Base Alinear la columna en el medio de la base con el agujero y mover para encajar. - Page 13 Mover las perillas giratorias hacia las flechas unos 90°. Montar el cuerpo y la base. Alinear los tres tornillos con sus orificios correspondientes y ajustar.
- Page 14 Instrucciones de operación Presione un botón para activar la función correspondiente. Por ejemplo: ● Presione las teclas "+" y "-" para seleccionar entre las 6 opciones de velocidad del aire. (Observación: Los modos noche y viento natural pueden ajustarse con 3 velocidades solamente.) ●...
-
Page 15: Instrucciones De Uso
INSTRUCCIONES DE USO I. Control remoto a. INSTRUCCIONES DE LOS BOTONES 1. “ ” ON/OFF El botón " " es para encender el ventilador. Se iniciará en nivel de brisa. Presione nuevamente " " para apagar. 2. “ ” VELOCIDAD Con el ventilador encendido, presione el botón repetidamente para cambiar entre las diferentes velocidades. - Page 16 b. PILAS (pilas no incluidas) Control remoto (1) Deslice la tapa del compartimento de pilas para abrir. Cubierta de la Pilas batería (2) Inserte las pilas, asegurándose de hacerlo como lo muestra la figura. (3) Vuelva a cerrar la tapa. OBSERVACIONES: Utilice pilas tamaño "AAA"...
- Page 17 LIMPIEZA 1. Desconectar de la fuente de alimentación antes de limpiar. 2. Las partes de plástico deben lavarse con jabón suave y un paño húmedo o esponja. Enjuagar con agua para eliminar todo el jabón. 3. Tenga cuidado de que no entre agua ni ningún otro líquido en el motor.
-
Page 18: Servicio Y Soporte
SERVICIO Y SOPORTE Este artículo incluye una garantía limitada de un (1) año, para defectos de manufactura y material. Se excluyen los daños por desgaste o causados por abuso o uso indebido. En caso de mal funcionamiento o avería, simplemente envíe el producto, flete prepagado, junto con su RECIBO DE COMPRA a Midea America.