
Related Manuals for Toshiba F-LYA20HKG


Summary of Contents for Toshiba F-LYA20HKG
- Page 1 OWNER’S MANUAL Electric Fan MODEL: F-LYA20(W)HKG READ AND SAVE THESE INSTRUCTIONS Attention: Pictures in the IM are for reference only.
- Page 2 CAUTION Read Rules for Safe Operation and Instructions Carefully. WARNING 1. If the supply cord is damaged, it must be replaced by manufacturer,its service agent or a similarly quali ed person in order to avoid a hazard. 2. This appliance can be used by children aged from 8 years and above and persons with reduced physical, sensory or mental capabilities or lack of experi- ence and knowledge if they have been given supervision or instruction concerning use of the appliance in a safe way and understand the hazards...
-
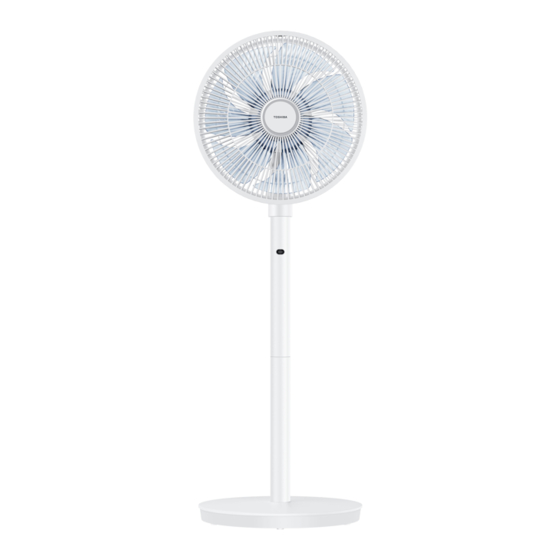
Page 3: Product Introduction
Product Introduction Name of Each Component Machine head Rear Grill Blade Front Grill Pole Chassis... -
Page 4: Control Panel
Control Panel Turn on/o the oscillating button Wind speed button On/standby button Status indicator Installation Instructions Installation preparation Please take out the lock nut of blade from the front enclosure of the motor clockwise, and then take out the lock nut of grill counterclock- wise before installing. -
Page 5: Installation Procedures
Installation Procedures Chassis Installation Position the pole and chassis sockets Insert the bolt into the hole at the bottom of in the direction shown, insert the pole the chassis and tighten the bolt to x the into the chassis socket and stabilize it; pole and chassis. -
Page 6: Blade Installation
Blade Installation Align the blade with the motor shaft and put it on, and the side with warning label of the blade faces outward; Rotate the spinner counterclockwise to lock the blade. Lock nut of blade (Anti-clockwise direction) Concave and convex clamping Front Grill Installation Then fasten the net buckle at the bottom First, nd the front and rear... - Page 7 Instructions for Use Panel of machine head Turn on/o the oscillating button Wind speed button On/standby button Timing/reserved High-grade indicator wind indicator Low-grade Medium-grade wind indicator wind indicator Instructions of buttons on the machine head Icon Function description Startup/Standby Switch to the normal wind grade by pressing the low→medium→ high→low to cycle Turn on/off shaking the head to supply wind Descriptions for the indicators...
- Page 8 Panel of Remote controller Turn on/o On/ standby button the oscillating button Strong wind Fan speed button button Button of wind volume Button of wind volume increase (Timing decrease time increase) Timing/reserved button (Timing time decrease) (AAA battery 1.5V) Power assembly drawing Control range of remote controller Please use a manganese or alkaline battery of...
-
Page 9: Maintenance Instruction
MAINTENANCE INSTRUCTION The fan requires little maintenance. Do not try to x it by yourself. Refer it to quali ed service personnel if service is needed. 1. Before cleaning and assembling, fan must be unplugged. 2. To ensure adequate air circulation to the motor, keep vents at the rear of the motor free of dust.
Need help?
Do you have a question about the F-LYA20HKG and is the answer not in the manual?
Questions and answers