
Related Manuals for Ispring UVF55FS


Summary of Contents for Ispring UVF55FS
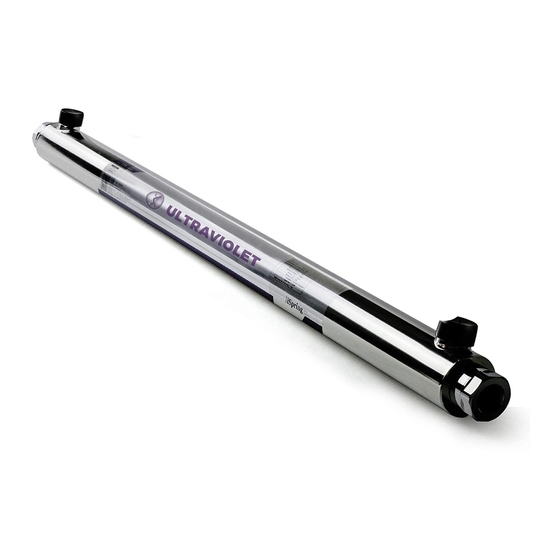
- Page 1 Whole House Ultraviolet Light Water Filter Installation and Maintenance Manual Model UVF55FS Please read the User's Manual Carefully and keep it available...
-
Page 2: Table Of Contents
(POE) systems. Being a chemical-free, environmentally friendly, and affordable UV water filter system, iSpring’s upgraded UVF55FS UV water filter can protect the whole house against water concerns commonly found in private wells. For houses that get water from municipal water suppliers, this UV light water filter provides an effective solution against chlorine- resistant substances so that you know you and your loved ones get clean and worry-free water for drinking, washing, showers and more. -
Page 3: Components In Thepackage
Components in the Package Model: UVF55FS POE/POU:POE(Point of Entry) Input: 110-120V 50/60Hz UV Bulb: Model#UVB55FS 7. UV lamp Filter chamber(304SS) 8. Open-end nut 2. Clamps 3. Nut 9. Cover Cap 4. Flow switch 10. UV lamp socket 5. Quartz tube 11. -
Page 4: Precautions
Maximum Ambient Air Temperature 100°F Minimum Ambient Air Temperature 32°F Maximum Humidity 100% Maximum Hardness 120ppm Maximum Iron 0.3ppm Minimum UVT Installation Vertical or horizontal Rated Flow UVF55FS – 12GPM Rated Service life of the lamp 1 Year - 3 -... -
Page 5: Installation
Installation Before Installation The unit comes with two ports. Both are 1-inch MNPT and can be used as an inlet or outlet. Please choose the correct fittings to fit your plumbing. For easy maintenance, it is recommended that you install an inlet valve and an outlet valve before and after the unit. - Page 6 Step2–Open the package to check all components inside: Filter Chamber, UV Lamp, Quartz Tube, O-rings, Electronic Ballast, Clamps, Flow switch. Make sure that the Quartz Tube and UV Lamp are clean before installation (clean it with alcohol or mild detergent). Wear soft non-abrasive gloves to keep any finger marks away from them. Step3–Remove both Open and Closed End Nut from filter Chamber.
- Page 7 Step 5–Insert the quartz tube into the Filter chamber. Step6–Install O-ring onto the closed end of the quartz tube. Step8 –Hand-screw open end nut on the filter chamber Step7–Hand-screw closed end nut on the filter (open end of quartz tube). To protect the O-ring, do not chamber(closed end of quartz tube).
- Page 8 Step 9–Connect 4-pin electrical socket with UV lamp pins tightly. Step10 –Carefully insert the UV lamp into the quartz tube through open end nut. Step 11–Install the cover cap and hand-tighten onto open Step 12–Insert the flow switch on the outlet, please End Nut.
- Page 9 Step 13– Connect flow switch cable with control switch, close the switch cover. Step 14– Push control switch to button “AUTO”,the UV lamp will starts working automatically when there only water flowing. Push control switch to button “MOVE”, the UV lamp keep working continuedly. Push control switch button “STOP” to turn off the UV lamp. Mode AUTO is highly recommended to protect the UV lamp.
-
Page 10: System Operation
Step 15–Select a readily accessible and well lit location to fix the system. The system should always be located close to the point of entry and can either be installed horizontally or vertically. Step 16–When all plumbing connections are finished, slowly turn on the water supply and check for leaks. Step 17–Allow the water to run for a few minutes to clear any air or dust that may be in the filter chamber. -
Page 11: Maintenance
The UV system should be installed after the POE whole house water filtration system. Always disconnect the water supply and completely drain the water purifier if it will be subjected to temperatures below freezing for extended periods of time. Maintenance For your safety, ALWAYS wear goggles and turn the power OFF before REPLACING the UV lamp or CLEANING the quartz sleeve! Servicing the unit with power on will also cause damage to the ballast. -
Page 12: Troubleshooting
- The UVF55FS come with a flow sensor that turns the UV unit on and off automatically with water flow. Push control switch to button “AUTO”, the UV lamp will start working automatically when there only water flowing. Push control switch to button “MOVE”, the UV lamp keep working continuously. -
Page 13: Warranty
Warranty This Limited Warranty extends to the original purchaser of the system only. This warranty only covers all manufacturer-supplied items that prove to be defective in material, workmanship, or factory preparation. This warranty covers parts only; all labor is excluded from this warranty, including, but not limited to, services related to the removal, replacement, installation, adjustment, maintenance, and/or repair of the unit or its component items. - Page 14 Density Index (SDI) greater than 5.0. In addition, damage to the unit due to fire, accident, negligence, acts of God, or events beyond the control of the Manufacturer are not covered by this warranty. Incidental and Consequential Damages Limitation: The Manufacturer will not be responsible for any incidental or consequential damages as a result of the failure of this unit to comply with express or implied warranties or any defect in the unit, including but not limited to, lost time, inconvenience, damage to personal property, loss of revenue, commercial losses, postage, travel, telephone expenditures, or other losses of this nature.
-
Page 15: Warranty Registration
Warranty Registration To register your product for the warranty, please visit our website at 123filter.com and go to the “Warranty Registration” tab. We provide a 30-day money back guarantee, a 1-year manufacturer warranty, and lifetime tech support for all of our products. However, we do not have the order information from websites other than 123Filter.com (Amazon, Home Depot, etc.), so please be sure to fill in that information upon registration of your system. - Page 16 Water Systems,LLC Atlanta, Georgia, USA...
Need help?
Do you have a question about the UVF55FS and is the answer not in the manual?
Questions and answers