Advertisement
Quick Links
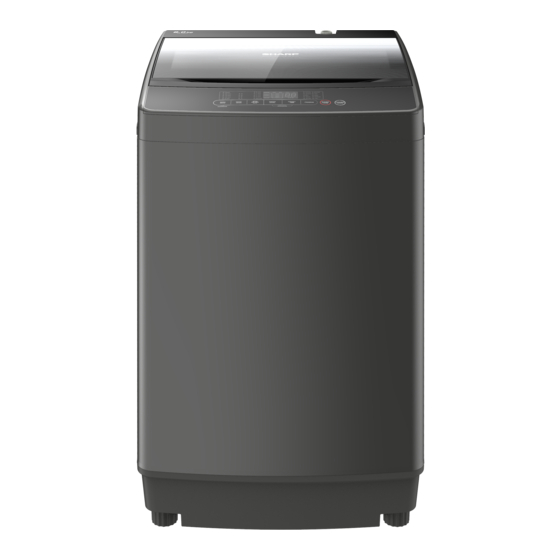
ES-G80G
WASHING MACHINE
Operation Manual
If the appliance is sold or transferred to another owner or if you moved house and leaving the
appliance, always ensure the manual is supplied with the appliance in order for the new owner
can get to know its functions and its relevant warnings. These warnings have been provided for
your safety. You MUST read them carefully before installing or using the appliance.
Advertisement

Related Manuals for Sharp ES-G80G


Summary of Contents for Sharp ES-G80G
- Page 1 ES-G80G WASHING MACHINE Operation Manual If the appliance is sold or transferred to another owner or if you moved house and leaving the appliance, always ensure the manual is supplied with the appliance in order for the new owner can get to know its functions and its relevant warnings. These warnings have been provided for...
- Page 2 Contents Before using Parts name........1 Cautions........... 2 Installation and adjustment....4 How to use drain pipe......5 Water inlet installation......6 Operation Preparation before operation ....8 Load laundries........9 Use of detergent........ 9 Control panel instructions....10 Operation steps........
- Page 3 ES-G80G 8.0kg 220-240V~ 50Hz 10/66L 9/61L 8/56L 7/52L 6/48L 5/44L 4/40L 3/36L 2/32L 1/28L 0.03MPa~0.85MPa Wash:480W Spin :310W About 34kg W560mm D585mm H944mm Warning symbols Pay attention to the warning symbols.There may be serious risks on personal safety or may damage the washing machine if not followed.
- Page 4 220-240V.
- Page 5 This appliance is not intended for use by persons(including children) with reduced physical, sensory or mental capabilities, or lack of experience and knowledge, unless they have been given supervision or instruction concerning use of the appliance by a person responsible for their safety.Children should be supervised to ensure that they do not play with the appliance.
- Page 6 1. Abnormal display 1. Abnormal display Please install and adjust the machine according to the requirements of the manual. Display Explanation Settlement Correct operation is very important for your safety. The top lid is opened Unpacking Close the top lid and clear up the alarm when preset is started Open the top lid and refer to the "before using"...
- Page 7 Set the drainpipe clip into the drainpipe to 2-3cm(from the drainpipe end without Clean the lint filter hook). Then install the drainpipe into the drainpipe connector and fixed it with the drainpipe clip. After that put up the drainpipe clip to fasten the grip. It is necessary to use lint filter during washing.
-
Page 8: Soak Function
Tap selection Soak function Not suitable tap Suitable tap When you choose “Normal” , “Speedy” , “Air Dry” , “Blanket” , Press and hold “Soft” , “Baby” or “Delicate” program, you can use soak for 2 seconds function before wash. After selecting the program, press “WASH”... - Page 9 Put the slider down and insert the inlet hose into the inlet hose connector. Insert the hose firmly and the click sound is heard. If you use the washing machine more than once a week, there is no need to remove the inlet hose connector to avoid damaging the fixing screw.
- Page 11 Put the needed washing powder in the detergent box and softener in the softener box evenly...
-
Page 12: Control Panel Display
Control panel / Display Control panel / Display When turning on the machine, the digital timer shows “--” . If select “Air Dry” program, the digital timer displays the air dry time, unit is MIN. When washing, the digital timer shows the remaining operation time, unit is MIN or Hour.