
Related Manuals for Leica DISTO A5


Summary of Contents for Leica DISTO A5
- Page 1 Electronic Measurement in the Horizontal Jumps Mark Heckel, Master Official Three Rivers Association, USA Track & Field 448 Dogwood Lane Hughesville, PA 17737 mtheckel@windstream.net 570.584.3128...
- Page 2 Basic setup of the beam You can use a standard, certified steel tape to create the baseline for your setup. In the illustration below, the steel tape is laid perpendicular to the scratch line of the take-off board. To ensure that it is perpendicular, we use the lane boundary line.
- Page 3 When you are setting up the beam, ideally, it should allow for the spotting laser to be able to travel as far back as the leading edge of the pit nearest to the take-off board. Since any attempt in which the athlete makes the land area, without otherwise committing a foul, is considered a legal attempt, it must be measured.
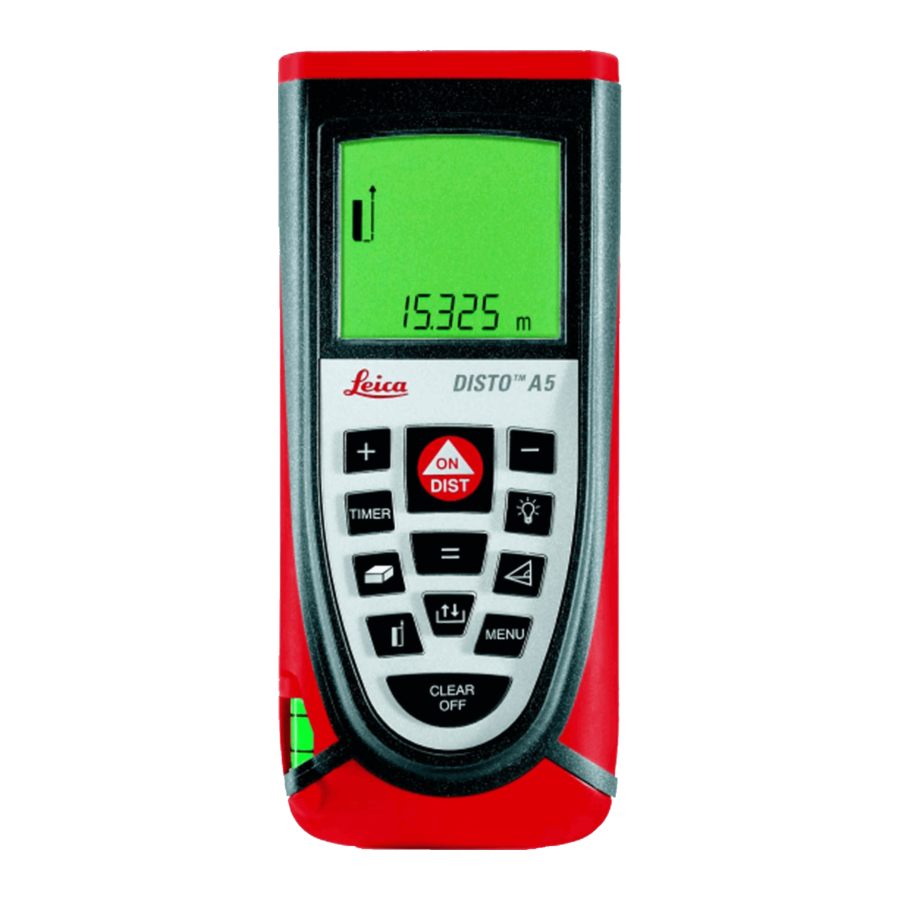
- Page 4 Calibrating the measurement device These instructions are based on using the Leica Disto A5; however, the process is essentially the same on all Leica units. Electronic Measurement in the Horizontal Jumps – Mark Heckel – 2010 - Page 4...
- Page 5 Turn the unit on by pressing the On/Dist key. Press the Menu button. You will see Unit on the flashing screen. Press the button again until Offset appears on the screen. Press the = key. The screen will display the current offset. Using the + and – keys, reset the offset to 0.000m.
- Page 6 With the spotting laser still on the check mark, press the On/Dist key. The measurement from the end of the measuring device nearest the scratch line to the spotting laser will appear. (For example, the distance may appear as 3.500m). Since the marker rod is at 4.50m, we need to set the offset to 1.000m.
- Page 7 Move the spotting laser to the second checkmark, read and verify the distance. As an in-event checkmark, pick a distance that you can quickly move the spotting laser to. Place a small marker, such as a small piece of tape, on the ground outside the landing area that will not be disturbed.
- Page 8 Press the On/Dist button again to take a measurement. Press the On/Dist button again to reset the laser but keep the measurement on screen. Press the On/Dist button again to record the next measurement. If you continue to take measurements by pressing the On/Dist button and do not press the Clear/Off button in between, the device will display the previous three measurements taken.
- Page 9 When the competition is over Even though you have periodically checked your check mark, you should repeat the process that you used in setting up. Run the steel tape out parallel to the lane boundary, and measure the same points that you measured during the setup process.
Need help?
Do you have a question about the DISTO A5 and is the answer not in the manual?
Questions and answers