
Related Manuals for Motorola L Series


Summary of Contents for Motorola L Series
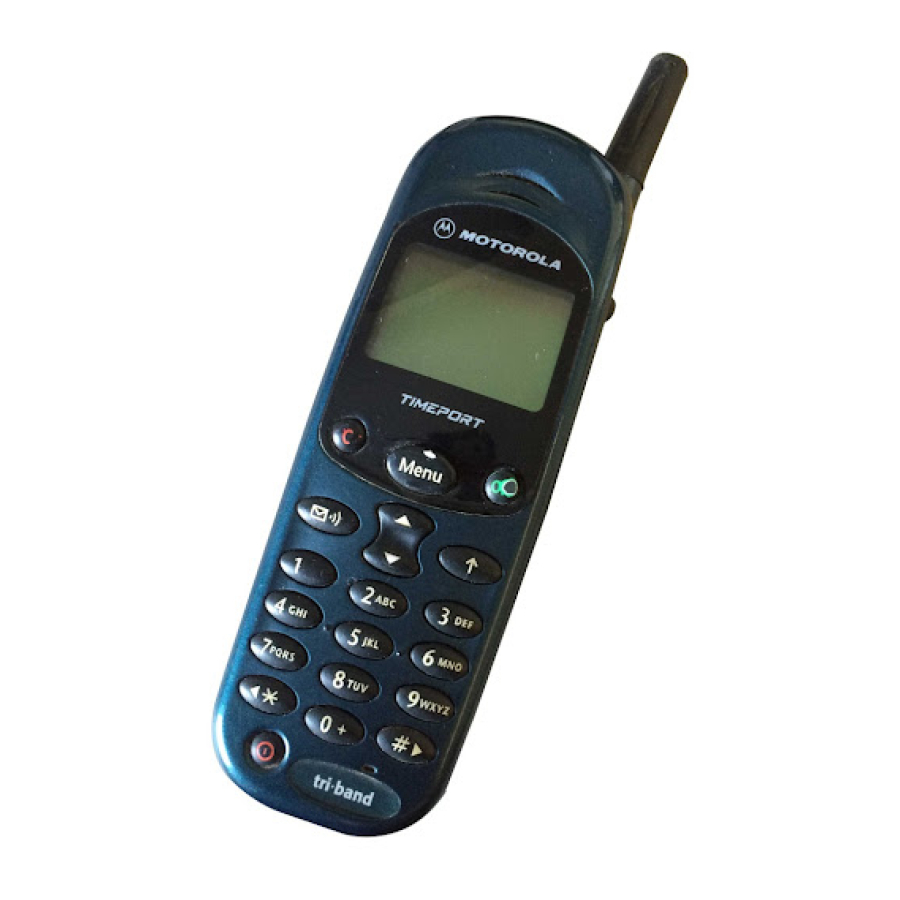
- Page 1 L-Series phone TrueSync ® QuickStart Guide Synchronizing your Motorola Wireless ® Telephone...
- Page 2 Copyright (c) 1999 Starfish Software, Inc. All rights reserved. Starfish, TrueSync, Sidekick, EarthTime and the Starfish logo are trademarks of Starfish Software, Inc. For TrueSync Plus: U.S. patent nos. 5,519,606 and 5,778,346; other patents pending. For TrueSync Desktop: U.S. patent nos. 5,519,606, 5,778,346, 5,845,257, and D388,776;...
-
Page 3: Table Of Contents
Contents Introduction Learn about the benefits of TrueSync and TrueSync Desktop Getting Started Learn how to start synchronizing information to your phone Tips and Tricks Learn how to customize your synchronizations Managing messages Learn how to read and compose SMS message text Synchronization Contents... -
Page 4: Introduction
Introducing TrueSync TrueSync provides complete and consistent synchronization between your Motorola wireless phone and the most popular personal information managers (PIMs). You enter data only once on your computer. Then, with a single click, synchronize that information quickly and smoothly to your phone and to other supported PIMs. - Page 5 Protect your investment with free updates Starfish frequently updates its synchronization software, to ensure that customers can synchronize with the most recent releases of supported software and devices. For details, see “Free Software Updates” on page 6. Manage your SMS messages Use TrueSync SMS for composing and reading SMS messages on your PC.
- Page 6 Introducing TrueSync Plus TrueSync Plus is also included with your purchase. Use it for setting up and starting synchronizations without opening TrueSync Desktop. For example, if you maintain your contacts in Outlook, use TrueSync Plus to synchronize that information with your phone. For details on starting and setting up TrueSync Plus for synchronization, see “Getting Started”...
-
Page 7: Getting Started
Chapter 0 Learn how to start synchronizing information to your phone This chapter explains the steps needed to start synchronizing information to your Motorola L-Series phone. Setting up infrared communications Before you install TrueSync, perform the following steps to check that... - Page 8 Infrared Monitor will indicate this and you are ready to skip to “Choosing your PIM” on page 9. The Infrared Monitor indicates when the IR reader is communicating with the phone. Troubleshooting IR communications: If the IR reader is not communicating, Windows may prompt you to specify an infrared driver.
- Page 9 1 Select the file lser7389.inf in the root of the Motorola L-Series CD-ROM. After Windows installs the driver, restart your computer. 2 Restart the Infrared Monitor in the Windows Control Panel and double-check that communication is now occurring. Choosing your PIM The personal information manager (PIM) you choose to maintain your contact information on your computer—either TrueSync Desktop or...
- Page 10 Configuring TrueSync After installation, TrueSync Plus or TrueSync Desktop starts automatically. If you have installed TrueSync Desktop, click the TrueSync icon on the Deskpad to display the TrueSync view. The TrueSync Setup Wizard assists you in providing the basic information needed to start synchronizing.
- Page 11 NOTE Specify the virtual port, created when you installed the infrared reader software, not the physical port you plug the reader into. To determine which port to select: 1. Run the Infrared Monitor (double-click the Infrared icon) and click the Options tab. 2.
- Page 12 3 If prompted, select your PIM (TrueSync Desktop users may not see this prompt). Then specify where the PIM’s data is located. Depending on the PIM you choose, you may have the option of specifying a different data folder by clicking the Browse button, or selecting data folders or categories on additional wizard pages.
- Page 13 3 Select the Web-based organizer service you want to synchronize or select NONE. You may see additional screens asking you to enter your user name and password for the service. 4 Make sure your phone is communicating with the computer as described in “Setting up infrared communications”...
- Page 14 5 TrueSync sets up synchronization for the clients you have chosen and displays a summary of its choices, such as: Examine the files, folders, and categories TrueSync has selected for synchronization. To make changes, click Change Settings. To accept the settings, click Finish. 6 If you clicked Change Settings, you will see a setup page such as the example shown below.
- Page 15 folder names on the same row Click in any cell to select from available choices on that client. If you align <not mapped> in one column with an item in another column, that item will not be synchronized. Click any cell to display a list of the folders or...
- Page 16 7 When you have completed your selections, click OK. Examine the settings on the summary page, and then click Finish. 8 If you chose to install other components: If you installed an additional device, you may be asked whether you want to synchronize with it and how you connect the device to your computer.
- Page 17 How to synchronize After you have completed your setup, the TrueSync window will resemble the figure below, with your choices shown. To synchronize, make sure your phone is communicating with your computer as described in “Setting up infrared communications” on page 7, and then click the TrueSync globe Click the TrueSync globe to synchronize.
- Page 18 For more information Your product CD-ROM contains electronic copies of this QuickStart Guide and the TrueSync Desktop and Synchronization Guide. Use the ® free Adobe Acrobat Reader to read these manuals. To install Acrobat Reader: Insert the TrueSync CD-ROM in your CD-ROM drive. Click Start on the Windows taskbar and choose Run.
- Page 19 Starting TrueSync After the installation and setup has completed, start future TrueSync sessions using one of the following methods. TrueSync Desktop users: Open TrueSync Desktop and click the TrueSync icon on the Deskpad or select View | TrueSync. TrueSync Plus users: Right-click the TrueSync icon in the Windows taskbar, and click Configure or click Start | Programs | TrueSync Plus | TrueSync Launcher.
-
Page 20: Tips And Tricks
Tips and Tricks Chapter 0 Learn how to customize your synchronizations After you have completed the TrueSync Setup Wizard, you can change your initial settings at any time, including: ‹ whether or not to overwrite the data on your L-Series phone ‹... - Page 21 Choosing an overwrite option for your phone Select a synchronization option for your phone by clicking its icon in the TrueSync window. Select Do not synchronize to exclude the phone from synchronizations. Select Synchronize to synchronize the phone’s data with data from your PIM and other TrueSync clients.
- Page 22 Changing the PIM with which to synchronize To add a different PIM to your TrueSync configuration, choose Client | Add | Application in the TrueSync Window. Select the new PIM and follow the Setup Wizard steps. Then you can: ‹ leave the previous PIM set up for synchronization.
- Page 23 2 Select the new folder or folder group available for synchronization. In addition, if you are an Outlook user: a) Click the Contacts tab and specify whether you organize your contacts in a single folder with categories, in a single folder without categories, or in multiple folders, then click Next.
- Page 24 Creating an Outlook category for your phone Take the following steps to create a new Outlook category and filter the records that you want to synchronize to your phone. If you use folders to organize your Outlook contacts, see “Creating an Outlook folder for your phone”...
- Page 25 Creating an Outlook folder for your phone If you use folders to organize your Outlook contacts, take the following steps to create a new Outlook folder and filter the records that you want to synchronize to your phone: 1 In the Contacts folder, choose View | Address Cards from the Outlook toolbar.
- Page 26 Choosing a display format for your contacts Choose the display format for your contacts by clicking the phone’s icon in the TrueSync window, then clicking the Options tab. Click next to your choice of formats. Depending on the length of the contact’s name, the information may be truncated on the phone’s display.
-
Page 27: Managing Messages
Learn how to read and compose SMS message text TrueSync SMS provides an easy-to-use interface for composing and reading SMS (Short Message Service) messages that you send and receive using your Motorola L-Series phone. SMS messages are text- only, sent specifically to and from your phone number. NOTE You must subscribe to this network feature through your service provider. - Page 28 To start TrueSync SMS: ‹ If you use TrueSync Desktop, click the TrueSync SMS icon: Click the icon to start TrueSync SMS. ‹ If you installed TrueSync SMS only, click the Windows Start button, and choose Programs | TrueSync SMS | TrueSync SMS. Managing messages...
- Page 29 To set up TrueSync SMS: To set up TrueSync SMS for exchanging messages, make sure your phone is communicating with your computer as described in “Setting up infrared communications” on page 7, and then click the Options tab. Enter the phone number for your Message Service Center.
- Page 30 Composing a message Make sure the phone is communicating with your computer, start TrueSync SMS, and then click the Compose tab. Enter the recipient’s name and phone number (using international format as described on page 29), or click the drop-down list to select from previous recipients.
- Page 31 Viewing and re-sending previous messages Make sure the phone is communicating with your computer, start TrueSync SMS, and then click the Outbox tab to view or re-send messages you have previously sent. Click a message to read its text. Click the Retrieve button to get outgoing messages from...
- Page 32 Reading incoming messages When you have received a message on your phone, make sure the phone is communicating with your computer, start TrueSync SMS, and then click the Inbox tab. TrueSync SMS attempts to match each message’s originating phone number with a recipient to whom you have sent a message.
-
Page 33: Synchronization
Chapter 0 Follow these guidelines to synchronize successfully: ® ‹ The Motorola L-Series phone currently only supports the GSM 7- bit ASCII character set. If you are synchronizing data containing other characters to your phone, those characters must be changed to the following set to synchronize successfully: •... - Page 34 Index adding or changing data folder or category accessor selecting category, changing selected SMS. See TrueSync SMS contacts starting TrueSync selecting synchronization overwrite options error messages starting folder, changing selected TrueSync software updates starting log messages TrueSync Desktop creating a cardfile messages introduction TrueSync Plus, starting...
- Page 35 Software License Agreement, Disclaimer, and Limitation of Liability IMPORTANT. READ CAREFULLY. This Software License Agreement, Disclaimer, and Limitation of Liability (together called "Agreement") is a legal agreement between you (an individual or a single entity) and Starfish Software, Inc. ("Starfish"). This Agreement covers as many of the software programs TrueSync Plus, TrueSync Desktop, TrueSync Component Install, and any other Starfish software as together accompany this Agreement in one Starfish-authorized product and covers all software and files that are downloaded or installed at any time (including the future) using TrueSync Component Install, TrueSync Plus, or the other Starfish...
- Page 36 E. Miscellaneous This Agreement can only be modified in writing signed by an authorized officer of Starfish. If any part or provision is found to be unenforceable or void, the remainder shall be valid and enforceable. If any remedy provided is determined to have failed of its essential purpose, all limitations of liability and exclusions of damages shall remain in effect.
- Page 38 www.mot.com www.starfish.com...