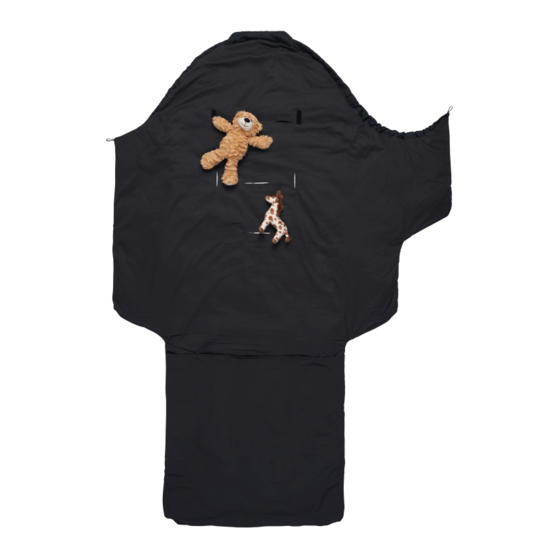
Summary of Contents for Voksi CLASSIC+
- Page 1 USER MANUAL Click on your CLASSIC+ CLASSIC+ MINI prefered language ILLUSTRATIONS SC AN D I NAVIAN C H I LD H OO D...
- Page 2 FIG. 1 12 13 FIG. 2 7a 7b Strop/Strap...
- Page 3 FIG. 3 1a-1b FIG. 4 2a-2b...
- Page 4 FIG. 5 3a-3b+4 FIG. 6 5a-5b+6...
- Page 5 FIG. 7 7a-7b...
- Page 6 FIG. 8 FIG. 9 2a-2b...
- Page 7 FIG. 10 3a-3b+4 FIG. 11 5a-5b+6...
- Page 8 FIG. 12...
- Page 9 FIG. 13 8a-8b FIG. 14 2a-2b...
- Page 10 FIG. 15 3a-3b+4 FIG. 16 5a-5b+6...
- Page 11 FIG. 17 FIG. 18 FIG. 19 4-10...
- Page 12 Classic+ til vejrforholdene ved at udskifte ® ulddynen med en af sommerdynerne. Voksi Classic+ kan nemt omformes til en praktisk liftpose når den bruges sammen med Voksi Classic+ bærepladen (tilbehør). En vejledning til at installere bærepladen kan findes på www.voksi.com.
- Page 13 Før snor 5a gennem løkke nr. 6 og bind en sløjfe med snor 5b fig. 11 Træk i snorene 7a & 7b for at trække hovedåbningen sammen omkring barnet. Dette sikrer at Voksi Classic+ posen er lun, tryg ® og behagelig for barnet, og forhindrer barnet i at falde ud af posen.
- Page 14 Tjek altid vaskemærket på selve prokuktet. AFMONTERING AF INDERDYNEN INDEN VASK Løsn alle sløjfer og knuder. Voksi Classic+ dynen er fastgjort inde i betrækket ved to sløjfer i ® bunden af den nederste flap og en sløjfe i toppen af hovedenden.
- Page 15 ® Når Voksi Classic+ ikke er i brug kan den opbevares i sin ® emballage eller i en pose af papir eller tekstil. Opbevar ikke Voksi ® Classic+ i en plasticpose. ADVARSLER Husk altid at tage højde for temperatur- og vejrforhold, og at sørge for at barnet er hensigtmæssigt klædt på...
- Page 16 Board (accessory). Instructions on how to install the carrying board can be found on our website www.voksi.com. Voksi Classic+ as a carry cot is safety tested and approved in accordance with the Danish/European safety standard DS/EN 1466:2014 in regards to mechanical requirements.
- Page 17 4 with a bow. ( Insert string 5a through loop 6 and make a bow with string 5b. fig. 11 Tighten drawstrings 7a & 7b to fit the Voksi Classic+ bag snugly ® around your baby, keeping him/her warm, comfortable and secure.
- Page 18 Always check the care instruction label on the product. DISMANTLING THE INNER DUVET BEFORE WASH Untie all strings. Voksi Classic+ duvet is fastened inside the cover with two knots at ® the bottom end of the flap and one at the top of the head end.
- Page 19 Regularly check for damaged or loose parts and replace as needed. Only use original spare parts and accessories. Do not place the Voksi Classic+ near an open fire or other source of strong heat. The handles and the bottom of the Voksi Classic+ should be inspected regularly for signs of damage and wear.
- Page 20 CONTACT NORWAY AND OTHER CONTRIES: HTS BeSafe AS NO-3535 Krøderen Norway Tel.: +47 32 15 08 00 Mail: marked@hts.no www.voksi.com HTS BeSafe AS Mogölsvägen 28 553 02 Jönköping Tel.: +46 36- 18 16 90 Mail: market@hts.no www.voksi.se DANMARK: HTS BeSafe AS Mogölsvägen 28...


Need help?
Do you have a question about the CLASSIC+ and is the answer not in the manual?
Questions and answers